Upload Recurring Transactions in Bulk
After you register for recurring payments in bulk, you can upload the recurring transactions in bulk as described in this section.
Prerequisites
- Download the sample file as in the below procedure (Step 1 to 4) and update it to include the data to be uploaded.
- Ensure that all mandatory fields in the file are filled with the correct details. The columns in the Excel sheet for upload are described in the following table (Expandable Text):
Description of Columns in Excel sheet for uploading transactions in bulk
| Column Name | Field Type (Mandatory/ Optional) | Character Limit | Description |
|---|---|---|---|
| authpayuid | Mandatory | 20 | The authpayuid for the recurring transaction. |
| amount | Mandatory | 15 | The amount to be debited for the recurring transaction. |
| txnid | Mandatory | 50 | The transaction Id of the transaction. |
| Optional | 50 | The email ID of the customer. | |
| phone | Optional | 50 | The mobile number of the customer. |
| udf 1 | Optional | 255 | The user defined field information. |
| udf 2 | Optional | 255 | The user defined field information. |
| udf 3 | Optional | 255 | The user defined field information. |
| udf 4 | Optional | 255 | The user defined field information. |
- Ensure that your bulk upload files are in the Excel format, as this is the only supported file type.
- Each batch can contain up to 60,000 records (approximately), which is the maximum number of records processed in a single batch.
Procedure
To upload recurring transactions using PayU Dashboard:
- Login to the Merchant Dashboard. For more information, refer to Log in to Dashboard.
- Navigate to Subscriptions.
- Click Bulk Upload at the top-right corner.
- Select any of the following type of file you want to upload.
- Recurring: This must be used for Enach mandates
- Recurring + Pre-Debit: This must be used for Cards and UPI mandates
For example, Recurring is selected in the following screenshot.
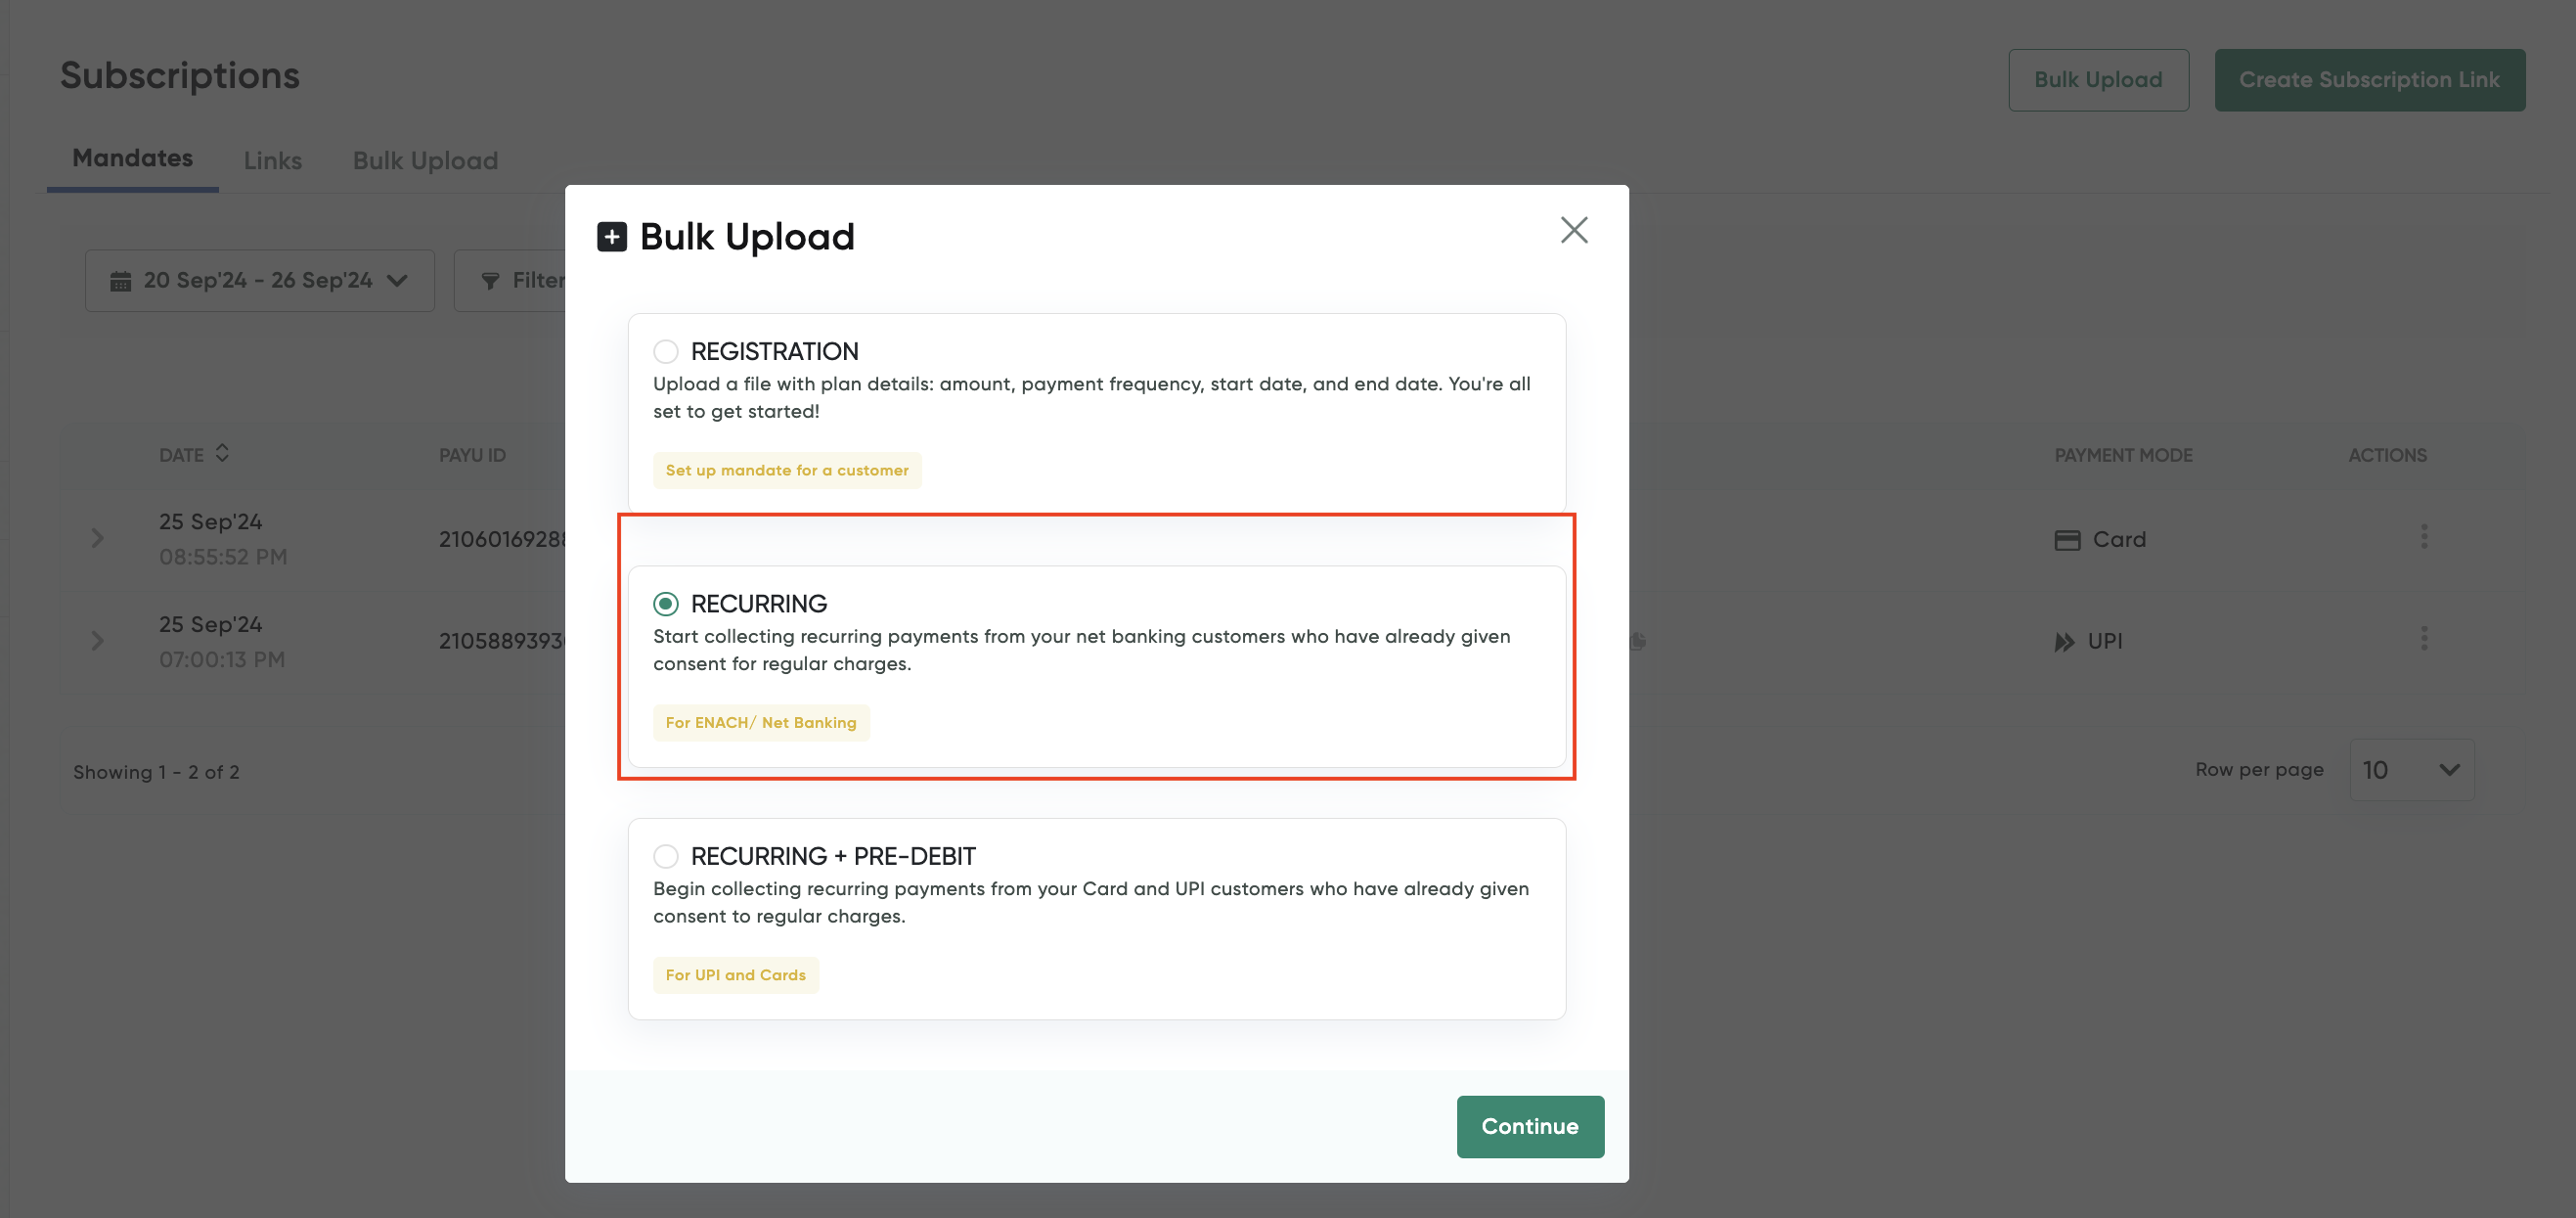
- Click Continue.
Note: Download the sample file for registration or mandate using the Download button.
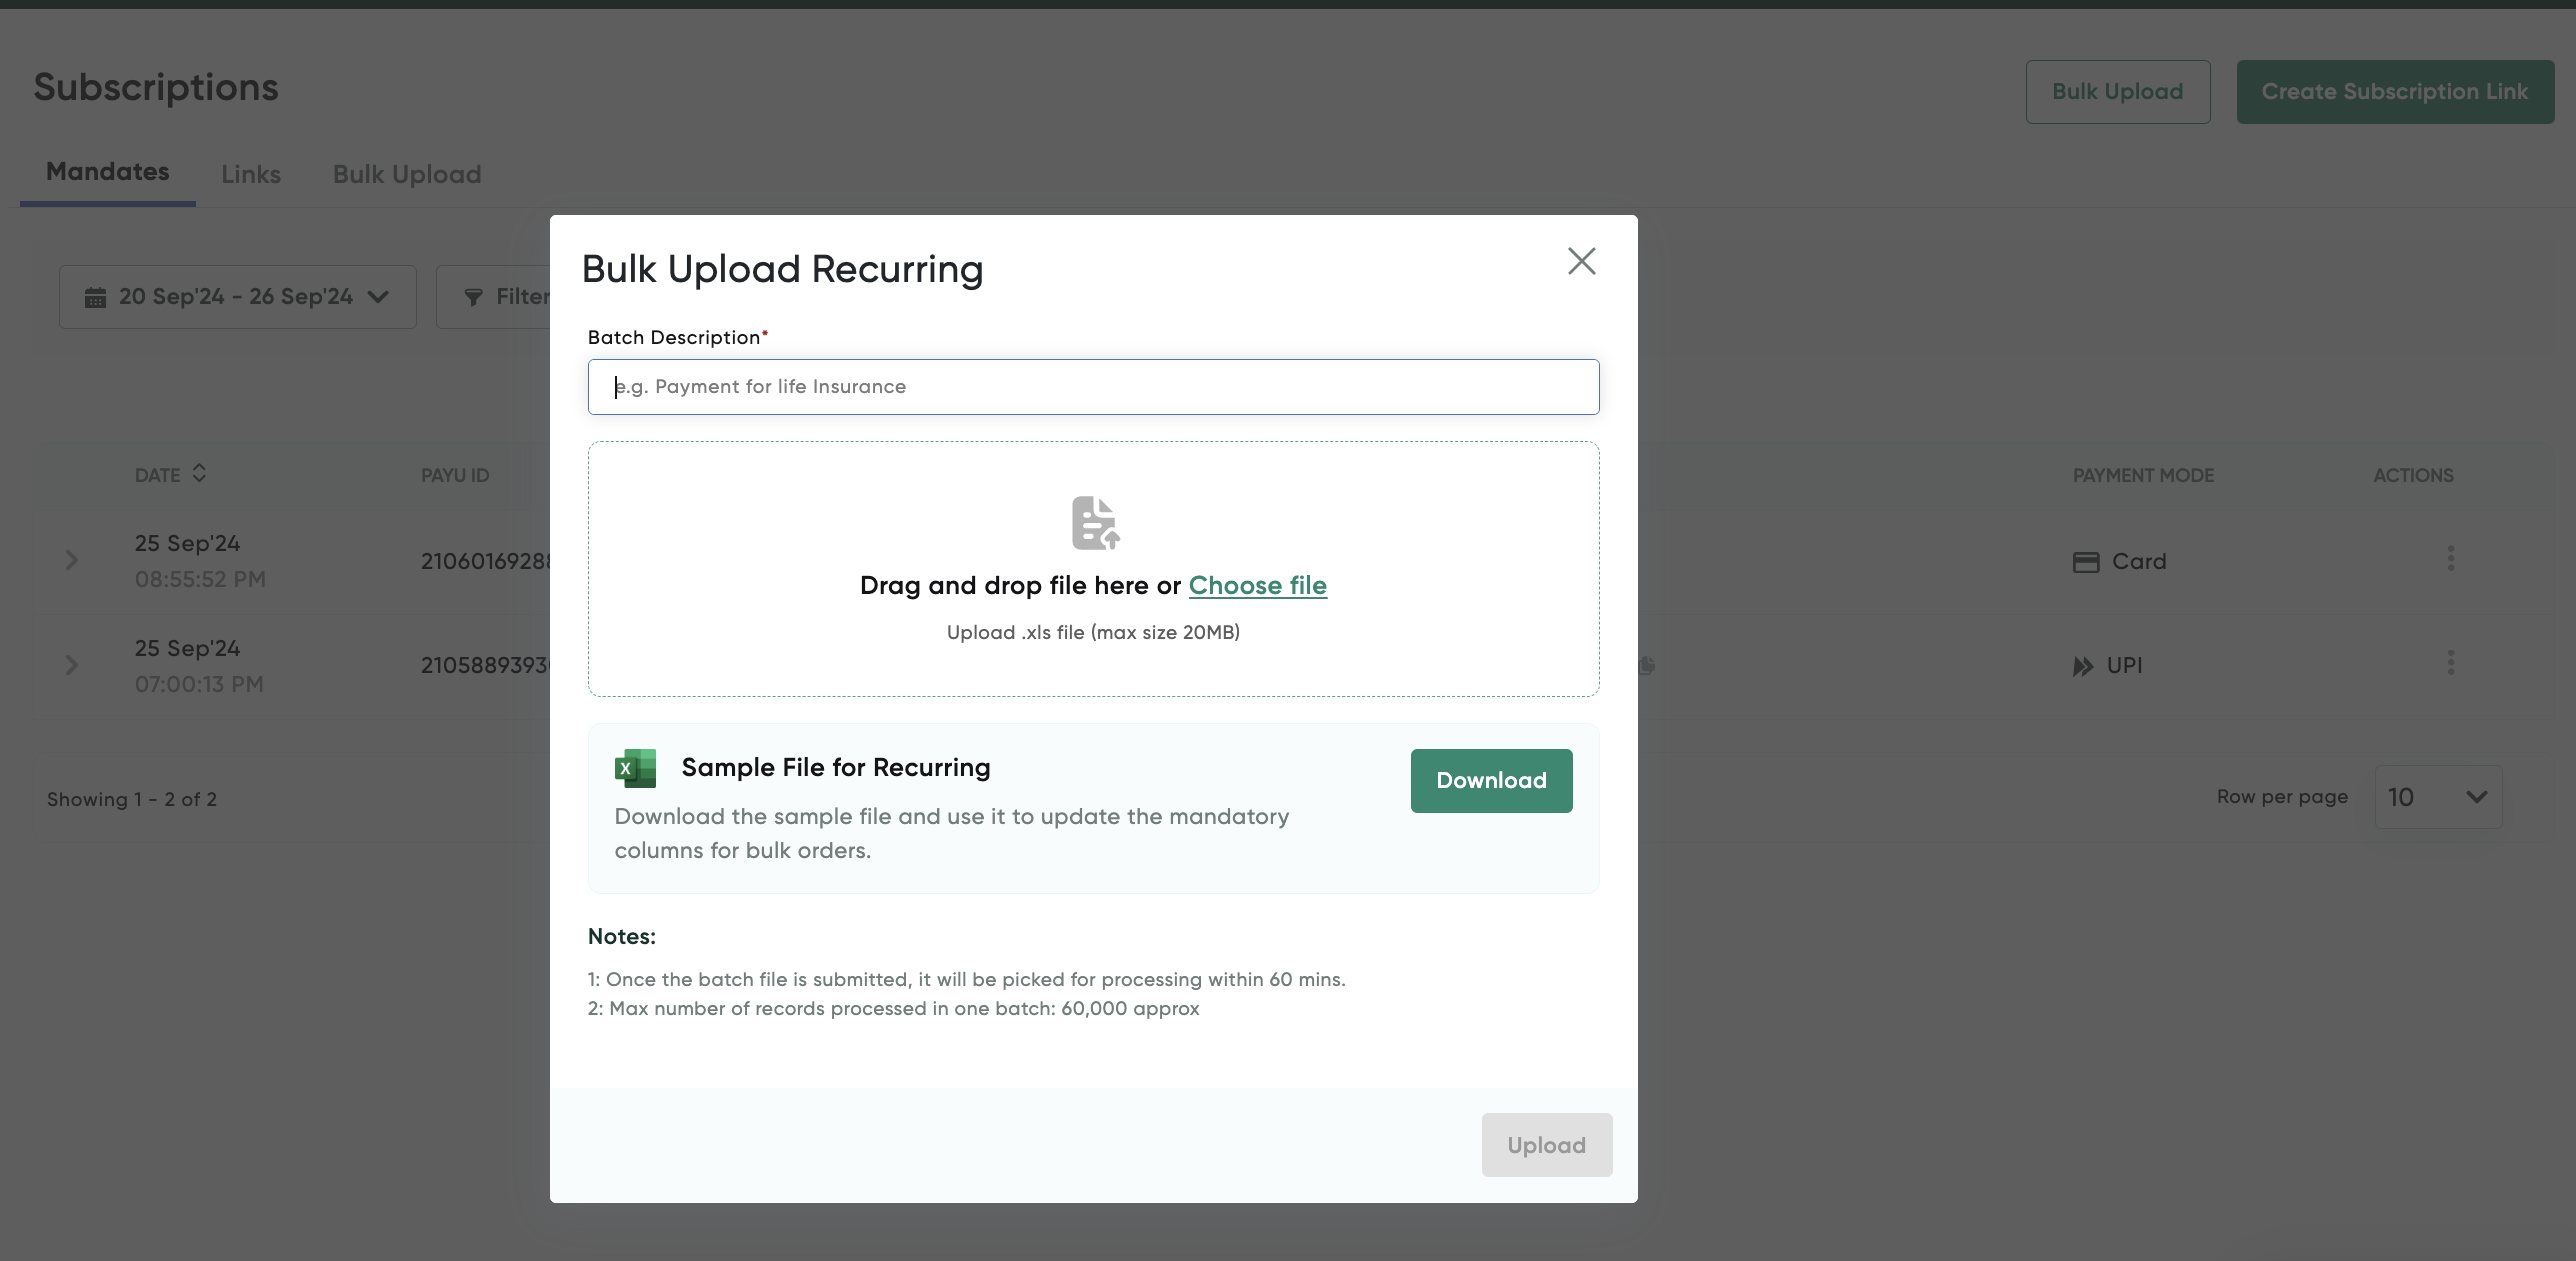
- Click Choose file and select the file containing all the mandates that need to be debited. This file should follow the format outlined in the provided sample file. For more information, refer to Prerequisites.
- Click Upload.
After uploading the file, the system will automatically check for discrepancies. If there’s an issue, an error message will appear on the screen.
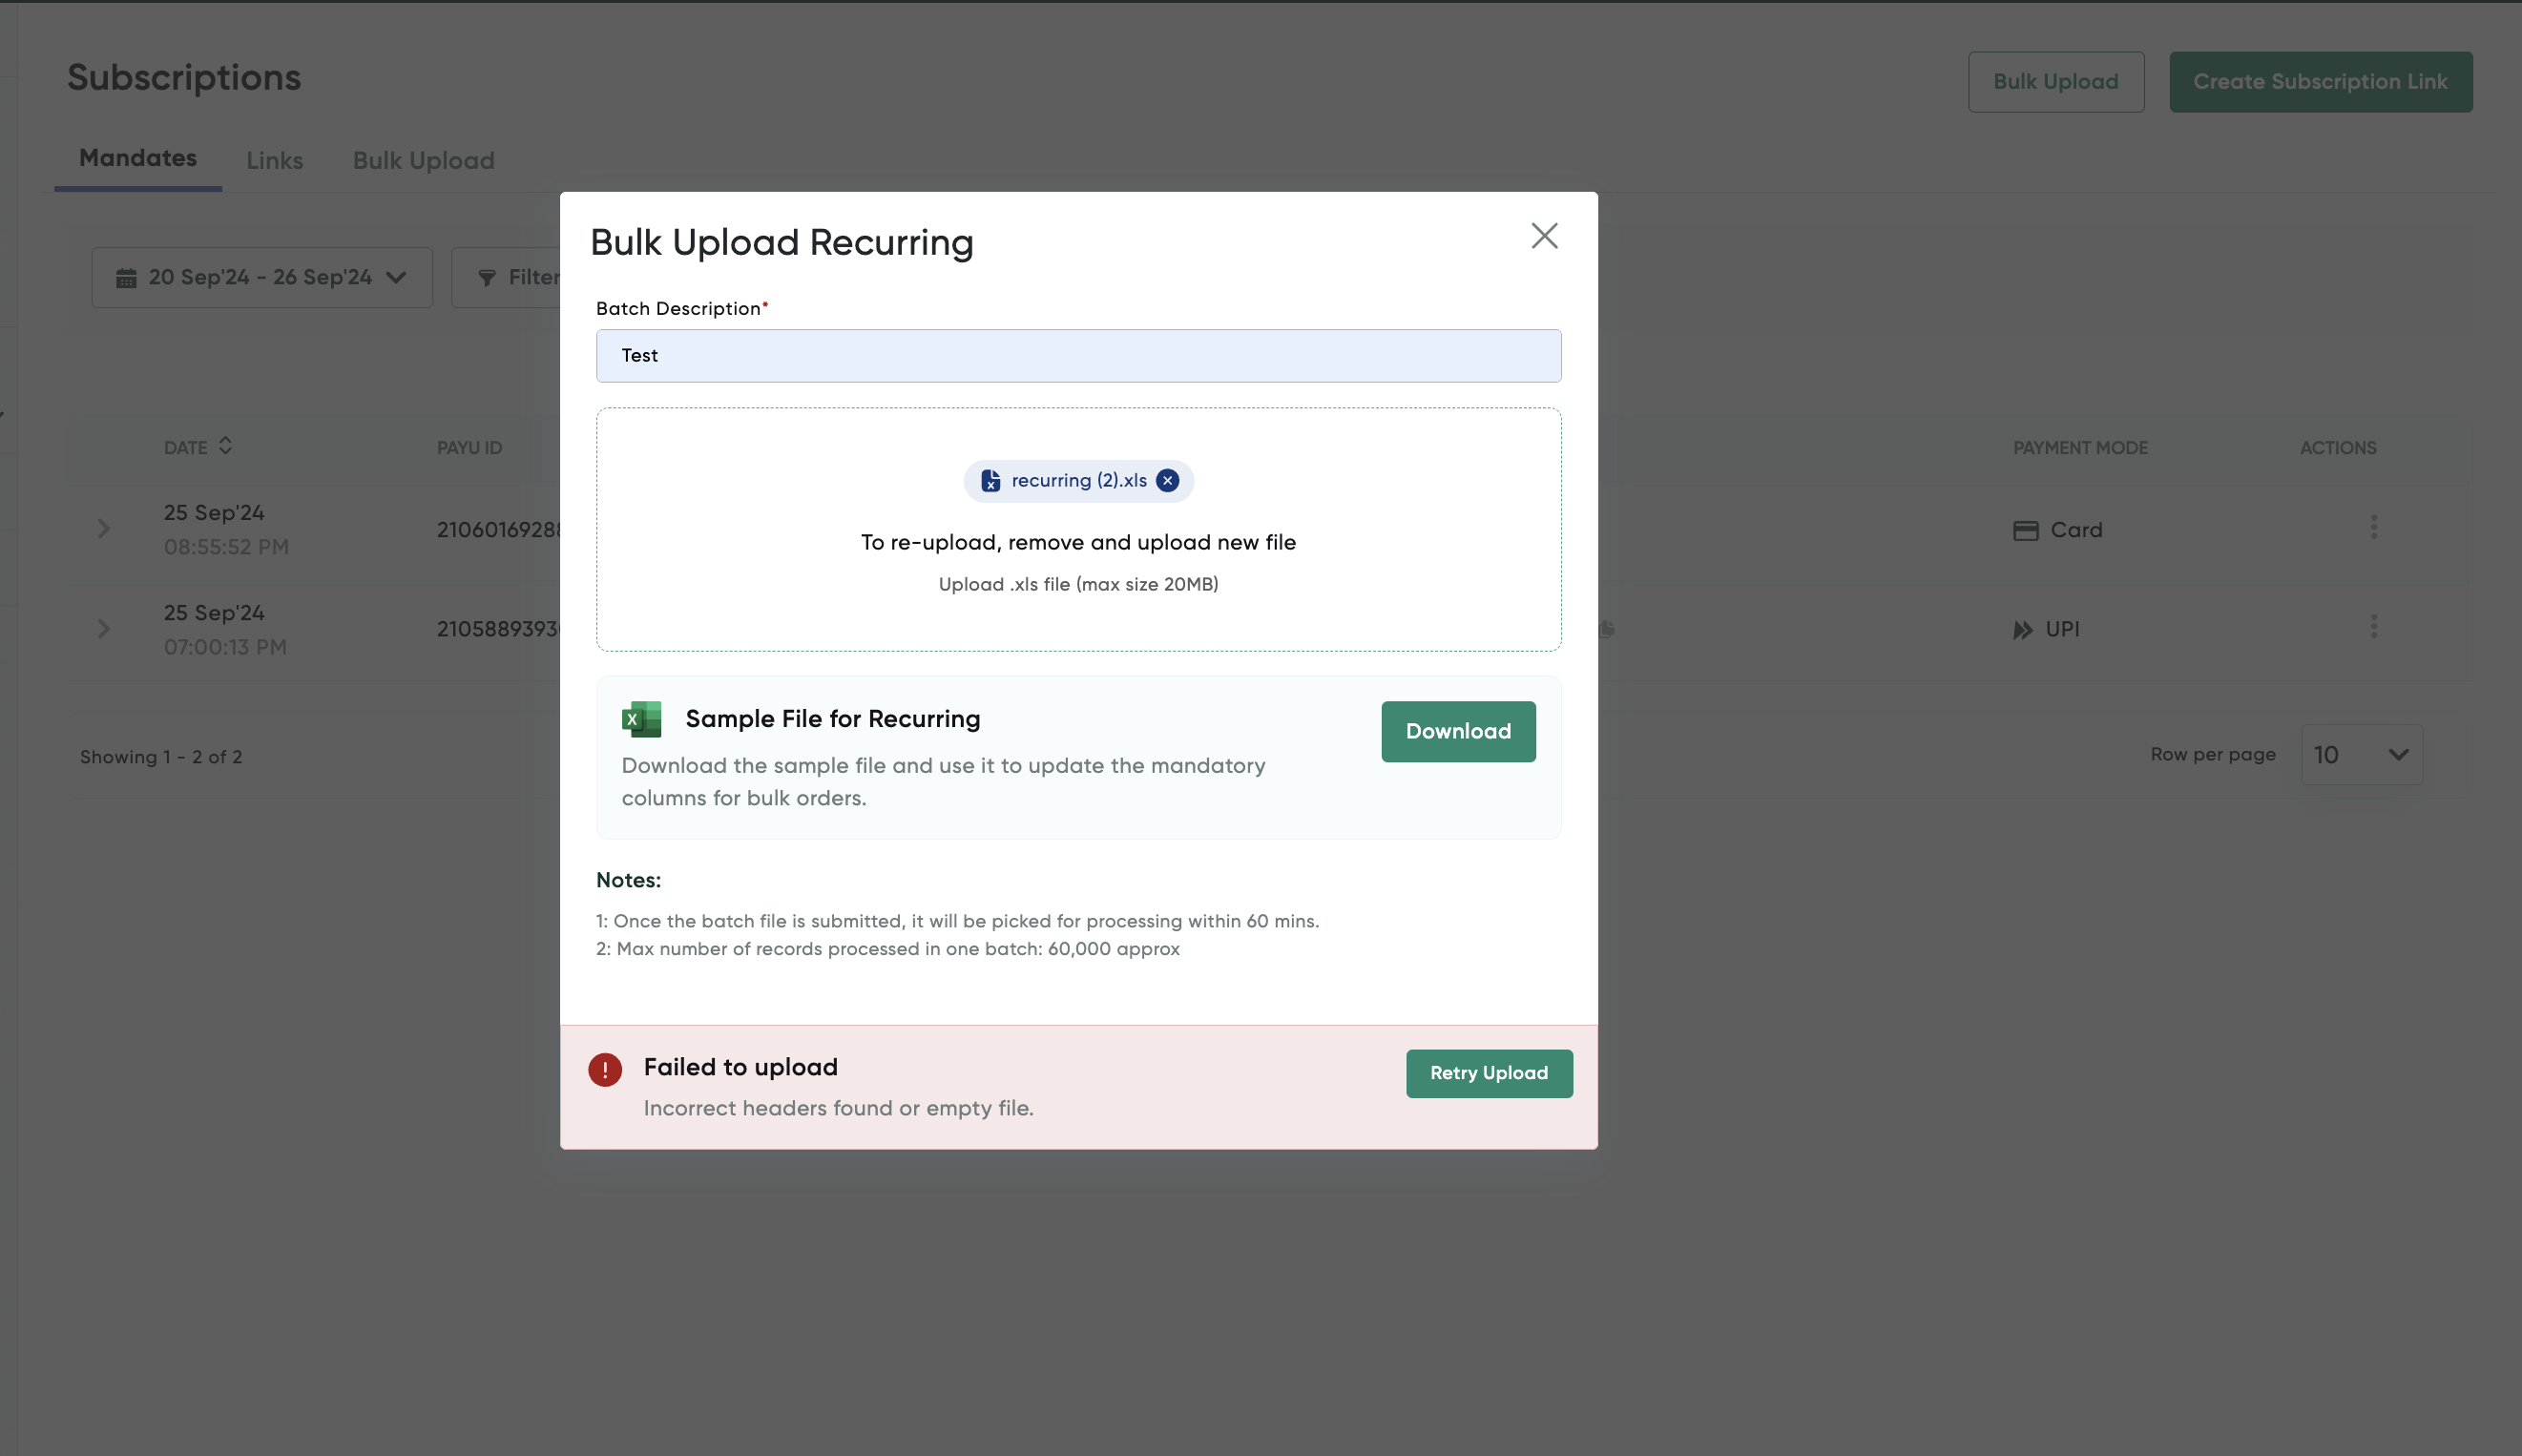
After your file is successfully uploaded, a message similar to the following screenshot is displayed and then you will be redirected to the Bulk Upload listing screen.
Updated 10 months ago
Did this page help you?