UPI Bolt UI SDK Integration
UPI Bolt UI SDK allows you to manage the checkout options on their checkout screen. You use PayU UPI Bolt UI SDK for customer registration, payment and profile management. This integration involves the following steps:
- Add permissions to Manifest file
- Include Bolt UI SDK and AAR Files
- Initialize the SDK
- Check for UPI Bolt SDK availability
- Register and pay
For hash generation logic and Listener/Callback integration, the Hash generation logic and Listener or Callback logic sub-sections.
Prerequisites
- Minimum Android SDK Version - 23 and above.
- Compile SDK Version - 31 and above.
- The following .aar (Android archive) files provided by PayU during onboarding:
- NPCI Secure Component
- AXIS Olive
Step 1: Add permissions to Manifest file
Update the manifest file to include the following so that permissions are provided for SDK:
// To send SMS for device binding
<uses-permission android:name="android.permission.SEND_SMS"/>
// To check current network state
<uses-permission android:name="android.permission.ACCESS_NETWORK_STATE" />
// To access internet for API calls
<uses-permission android:name="android.permission.INTERNET" />
// To get sim details from devices below or equal to 29
<uses-permission android:name="android.permission.READ_PHONE_STATE" />
// Too get sim details from devices above 29
<uses-permission android:name="android.permission.READ_PHONE_NUMBERS" />
// To provide location details for transaction
<uses-permission android:name="android.permission.ACCESS_COARSE_LOCATION" />
<uses-permission android:name="android.permission.ACCESS_FINE_LOCATION" />
Step 2: Include Bolt UI SDK and AAR Files
To include the PayU UPI Bolt UI SDK in your project, add the following code snippet to your app’s build.gradle.
implementation 'in.payu:payu-upi-bolt-ui-sdk:1.3.0' // PayU Bolt SDK
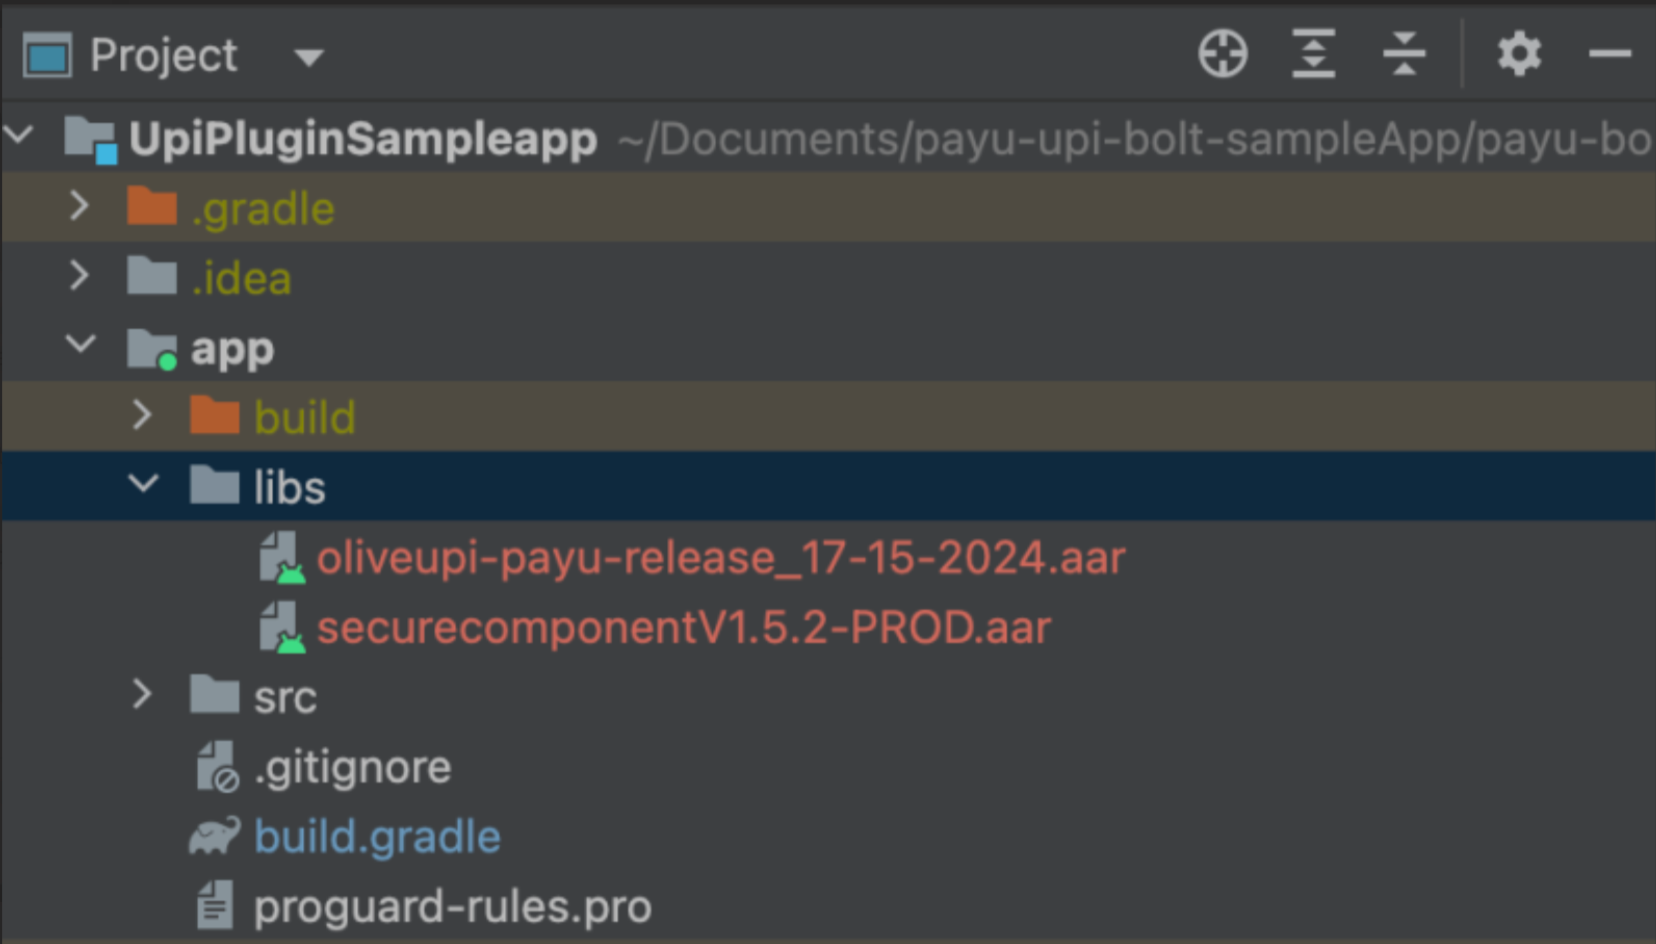
implementation 'in.payu:payu-upi-bolt-core-sdk:1.3.0'Add the .aar files provided by PayU during onboarding. in the libs directory of your android module and add these in module level build.gradle. For the list of files, refer to Prerequisites.
api(files("$projectDir/libs/SecureComponent-release-prod_05062024_9d3904ab.aar")) // NPCI .aarThe screenshot of libs directory is similar to the following:
Step 3: Initialize the SDK
It is used to initialize the SDK. This method returns a object that will be used to access other methods available in PayUUPIBoltUI.
val bolt = PayUUPIBoltUI.getInstance(
    activity: AppCompatActivity,
    config: PayUUPIBoltConfig,
    hashGenerationListener: PayUHashGenerationListener
)
The following fields are needed as a request for this API:
| Fields | Definition |
|---|---|
activity mandatory | AppCompatActivity Calling activity of the merchant App |
config mandatory | PayUUPIBoltUIConfig Config includes the below fields. |
hashGenerationListener mandatory | PayUHashGenerationListener Callback listener for hash generation |
merchantKey mandatory | StringPayU Merchant Key |
phone mandatory | StringPhone number for registration |
email mandatory | StringCustomer Email Id |
pluginType mandatory | String ArrayList of Supported Banks (“AXIS, HDFC”) |
isProd optional | BooleanProduction environment - true, Test or Staging environment - false |
excludedBanksIINs optional | String ArrayList of Bank’s IIN to exclude |
requestId mandatory | StringUnique reference ID |
De-initialise PayUBolt UI SDK
reset: This method is used to deinitailise the bolt object.
`PayUUPIBoltUI.reset()`Step 4: Check for UPI Bolt SDK availability
The isUpiBoltEnabled API allows you to manage UPI accounts and transaction history.
boltUI.isUpiBoltEnabled(callback: (PayUUPIBoltResponse) -> Unit)Step 5: Register and Pay
The registerAndPay API allows you to initialize registration and payment flow. It will internally authenticate and register the customer. After successful authentication and registration, the user will follow the payment journey. Once payment is completed, based on the payment status the merchant will get a callback through the listener.
boltUI.registerAndPay(paymentParams PayUUPIBoltPaymentParams, callback: PayUUPIBoltUICallBack)
Callback reference:For callback logic refer to Listener or Callback logic sub-section.
| Parameter | Definition |
|---|---|
paymentParams mandatory |
|
callbackmandatory |
|
Manage UPI accounts
The openUPIManagement API allows you to manage UPI accounts and transaction history.
boltUI.openUPIManagement(enforceScreenType: EnforceScreenType, callback: PayUUPIBoltUICallBack)
Callback reference:For callback logic refer to Listener or Callback logic sub-section.
The following fields are needed as a request for this API:
| Fields | Data Type | Optional /Mandatory | Definition |
|---|---|---|---|
| enforceScreenType | EnforceScreenType | O | "ALL" or "TRANSACTIONHISTORY" or "MANAGEUPIACCOUNTS" or "DISPUTE" or "DEREGISTERUPI" |
callback mandatory | PayUUPIBoltUICallBack | M |
|
Generate Payment Params
val paymentParams = PayUUPIBoltPaymentParams.Builder()
    .amount(<amount>)
    .productInfo(<productInfo>)
    .firstName(<firstName>)
    .surl(<surl>)
    .furl(<furl>)
    .udf1(<udf1>)
    .udf2(<udf2>)
    .udf3(<udf3>)
    .udf4(<udf4>)
    .udf5(<udf5>)
    .txnId(<uniqueTxnId>)
    .isCCTxnEnabled(<Bool>)
    .build()
The following fields are needed as a request:
| Parameter | Description |
|---|---|
amountmandatory | StringTransaction amount. |
productInfomandatory | StringInformation about the product or service. |
firstNamemandatory | StringCustomer's first name. |
surlmandatory | StringAndroid success URL. |
furlmandatory | StringAndroid failure URL. |
ios_surlmandatory | StringiOS success URL. |
ios_furlmandatory | StringiOS failure URL. |
initiationModemandatory | StringMode of initiation (e.g., "10"). |
purposemandatory | StringPurpose code (e.g., "00"). |
txnIdmandatory | StringUnique transaction ID. |
udf1 - udf6optional | AnyUser-defined fields for additional transaction metadata. |
isCCTxnEnabledoptional | BooleanEnables card fallback if supported – true or false. |
Listener or Callback logic
Listener/Callback contains 3 methods where the merchant app will get the API response and hash-related callbacks
| S.No. | Listener | Description |
|---|---|---|
| 1 | fun generateHash(map: HashMap<String, String>, hashGenerationListener: PayUHashGeneratedListener) | For hash generation, refer to Hash generation logic sub-section |
| 2 | fun onPayUSuccess(response: PayUUPIBoltResponse) | It will contain success response. |
| 3 | fun onPayUFailure(response: PayUUPIBoltResponse) | It will contain failure response. |
PayUUPIResponse
| Fields | Data Type | Definition |
|---|---|---|
| responseType | Integer | f. ResponseType section |
| code | Integer | Error or success code |
| message | String | Error or success message |
| result | Object | Response data |
ResponseType
| Response Type | Response Code | Definition |
|---|---|---|
| REQUEST_UPI_BOLT | 100 | UPI Bolt Status |
| REQUEST_TRANSACTION | 124 | Register And Pay |
| REQUEST_MANAGE | 125 | UPI Management |
Hash Generation logic
The PayU SDKs use hashes to ensure the security of the transaction and prevent any unauthorized intrusion or modification.
For generating and passing dynamic hashes, the merchant will receive a call from the generateHash() method of PayUUPIBoltUiListener. The generateHash() method is called by the SDK each time it needs an individual hash.
fun generateHash(map: HashMap<String, String>, hashGenerationListener: PayUHashGeneratedListener): Merchant will get map with type of hash and hash string as value of map.

  They have to sign that string using salt to create hash value and pass that to hashGenerationListener.onHashGenerated().
      In the map you have to check for three keys to generate hash.
      1. hashString
      2. hashName
      3. postSalt
  At the end of that hashString append your salt and use SHA-512 algo on that final string to generate hash.
  Note: If you got postSalt also in the map, first use hash string append salt and then append postSalt value to that string and use SHA-512 algo on that final string to generate hash.
  Once the hash is generated use hashGenerationListener parameter to pass the hash to SDK. Example code:
         val hashMap: HashMap<String, String> = HashMap()
         hashMap[hashName] = hash //hashName is the value you got in map and hash is the hash value.
         hashGenerationListener.onHashGenerated(hashMap)
Updated 8 days ago