Customer Journey
This document demonstrates the checkout plus workflow for an UPI payment.
NoteThe following is a sample workflow, so the actual user experience may vary based upon the checkout page GUI (for example, the button names can be different) of your website/Mobile app but broadly, the flow of the transaction remains unchanged.
Step 1: Enter the mobile number and the email address associated with your user account and click on Buy Now.
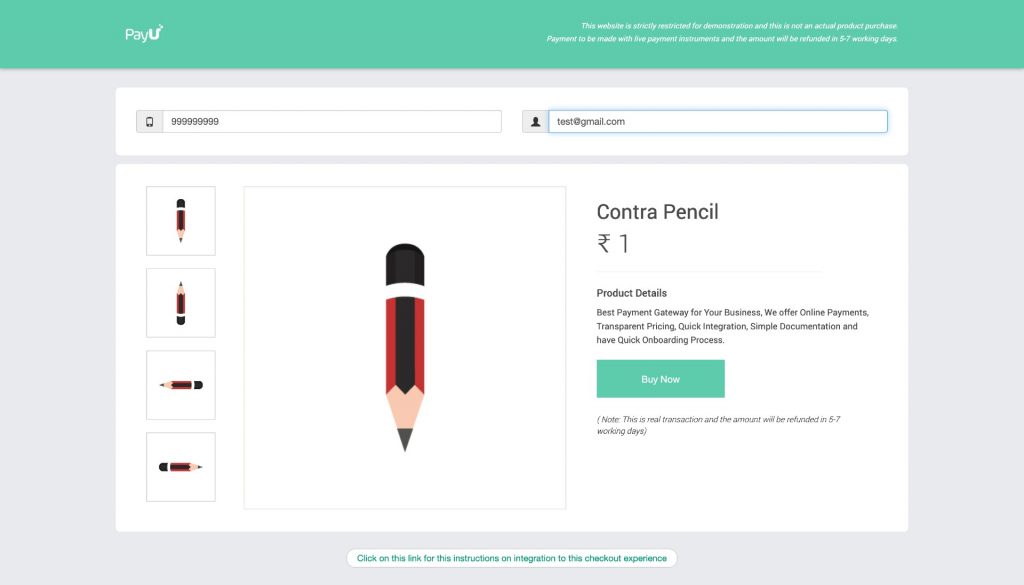
The payment modal is displayed on the same page
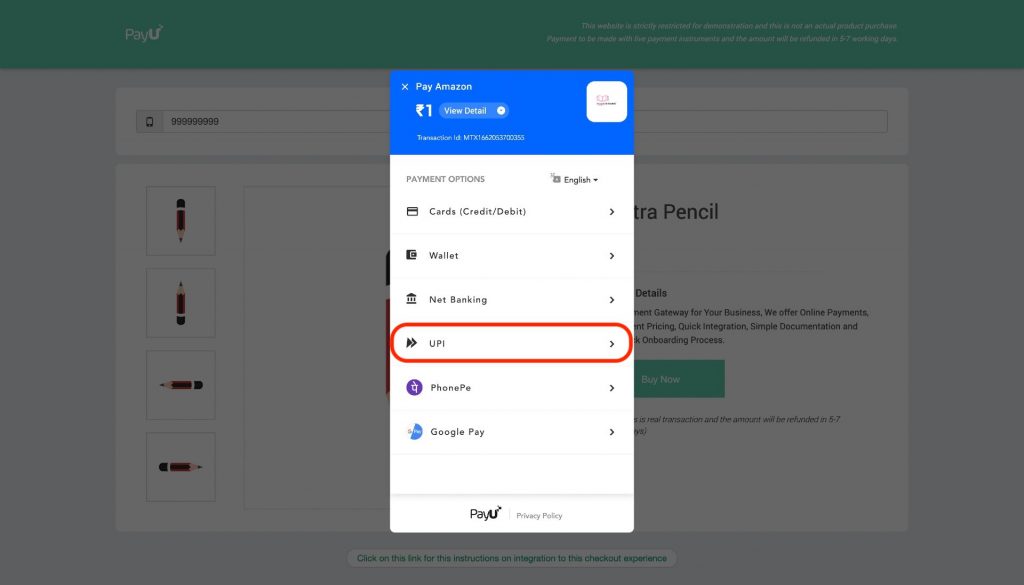
Step 2: Since we are using UPI for this payment, select UPI and choose the UPI option that is convenient for you, such as PhonePe, Google Pay, BHIM, Paytm etc and then:
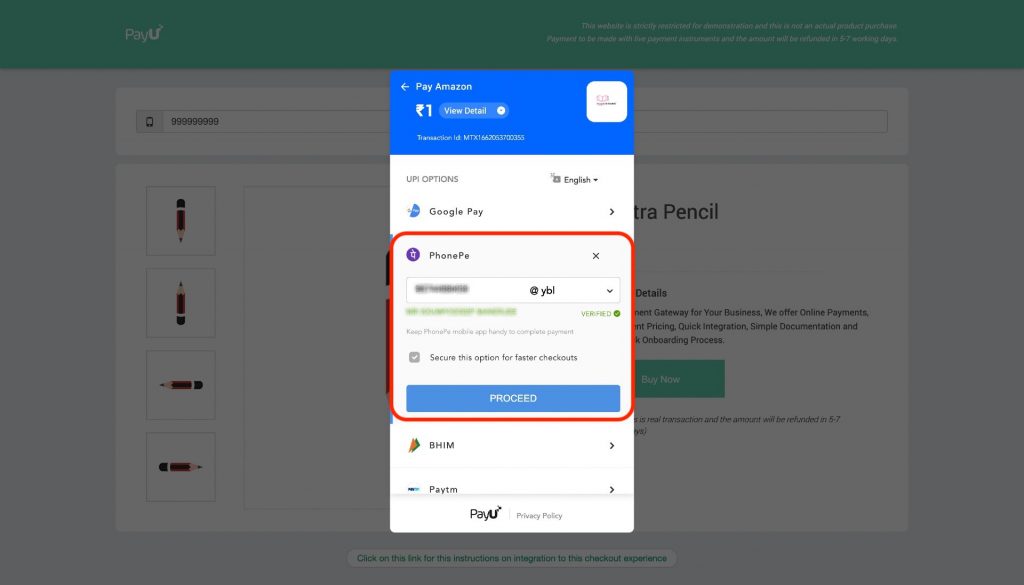
- Enter your UPI ID.
- Click Proceed, once the UPI id is verified.
Step 3: PayU checkout plus modal waits for the payment to be approved by you.
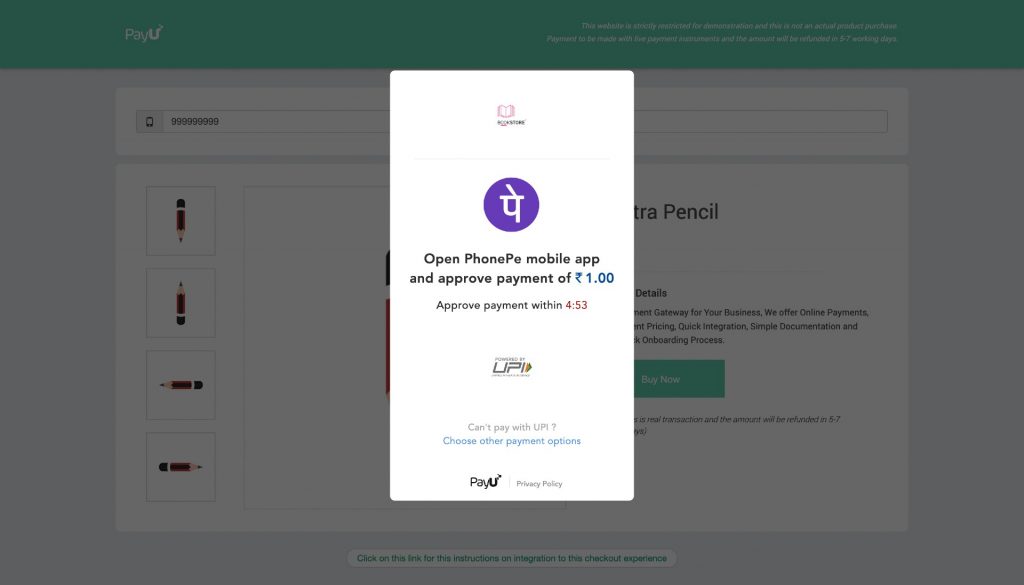
The payment status(Success/Failure) is displayed on the screen. If the payment is failed, you can click on Retry to restart the payment process from Step 1.
RememberThe page that is displayed on a successful/failed transaction depends on the URL specified in the surl/furl parameters by the merchant in the Transaction Request.
Updated about 1 month ago