Advanced Integration
This section describes how to integrate the following advanced features with Flutter SDK:
Prerequisites:
Before you start with the advanced integration with PayUCheckoutPro, the payUCheckoutProConfig object needs to be passed with payUPaymentParams in the openCheckoutScreen method of the PayU SDK. The sample code snippet is similar to the following:_checkoutPro.openCheckoutScreen( payUPaymentParams: payUPaymentParams, payUCheckoutProConfig: payUCheckoutProConfig, );
Change theme
For iOS
You can change the primary and the secondary color of the UI to match the theme of your app:
var payUCheckoutProConfig = {
 PayUCheckoutProConfigKeys.primaryColor: "<Color Hex Code e.g. #aabbcc>",
 PayUCheckoutProConfigKeys.secondaryColor: "<Color Hex Code e.g. #000000>",
}
For Android
You can modify the color scheme and theme used in the PayUCheckoutPro SDK by providing your own set of colors. To change the color theme of the SDK, add the following color configuration to your colors.xml file.
If you don't have a colors.xml, create an empty file in your app project with this name, and include the following configuration settings:
<color name="one_payu_colorPrimary">#053bc1</color>  //primary color has changed the appbar/toolbar and background color.
<color name="one_payu_colorPrimaryDark">#053bc1</color> //primaryDark color has changed statusbar and contextual app bar.
<color name="one_payu_colorAccent">#053bc1</color> //colorAccent has changed such as check boxes, radio buttons, and edit text boxes, cursor.
<color name="one_payu_baseTextColor">#ffffff</color> //baseTextcolor as changed header and button text
Customise font
You can customize the font used in the PayU checkout page as per your preference. To customize the font, add the following code snippet in the style.xml file of your Android app.
<style name="PayU_header">
    <item name="android:fontFamily">@font/font_name</item>
</style>
Here, we are setting the fontFamily attribute to the font file that you want to access. See Add a font as an XML resource in the Android developer documentation to learn more.
NoteSee Add a font as an XML resource in the Android developer documentation to learn more.
Set merchant name
You can customize the name to personalize the checkout screen.
var payUCheckoutProConfig = {
 	PayUCheckoutProConfigKeys.merchantName: "<Merchant Name>",
}
Set merchant logo
You can customize the logo to personalize the checkout screen for iOS or Android platforms.
For iOS
   var payUCheckoutProConfig = {
    PayUCheckoutProConfigKeys.merchantLogo: "<Image asset name like 'Jio'>",
   }
For Android
Add the image in the app/res/drawable folder of the native Android app and pass the same under the merchantLogo key.
Show/Hide Merchant Logo
Merchants want to show the logo on the PayU Hosted Page. By default, the logo is invisible.
var payUCheckoutProConfig = {
  PayUCheckoutProConfigKeys.showMerchantLogo: false, //true/false
}
Show/Hide Saved Card Features
Merchants want to hide Saved Card features. By default, the Saved Card feature is enabled.
var payUCheckoutProConfig = {
  PayUCheckoutProConfigKeys.enableSavedCard: false, //true/false
}
Hide Checkout screen Back button dialog box
You can choose to hide the dialog box that is displayed when the Back button is clicked from the L1 screen. The default value is true.
var payUCheckoutProConfig = {
 	PayUCheckoutProConfigKeys.showExitConfirmationOnCheckoutScreen: true/false,
}
Hide Back button dialog box after payment initialisation
You can choose to hide the dialog that is displayed when the Back button is clicked after payment is initialized. The default value is true.
var payUCheckoutProConfig = {
PayUCheckoutProConfigKeys.showExitConfirmationOnPaymentScreen: true/false,
}
Auto Select OTP
You can choose to auto-select OTP flow on the bank page with the flag as in the following code block. The default value is false.
var payUCheckoutProConfig = {
PayUCheckoutProConfigKeys.autoSelectOtp:: true/false,
}
Set merchant response timeout
The merchant response timeout is the time interval that PayU waits for merchant surl/furl to load before passing the transaction response back to the app. If merchant surl/furl pages take longer to load, PayU has a response timeout of 5000 milliseconds by default. However, if you feel that their surl/furl can take longer than 5000 milliseconds, you can set this flag.
var payUCheckoutProConfig = {
 PayUCheckoutProConfigKeys.merchantResponseTimeout: 5000,
}
Review order
You can pass the checkout order details to the SDK that will be displayed in the SDK during the transaction flow.
var payUCheckoutProConfig = {
 PayUCheckoutProConfigKeys.cartDetails: [{ 'Order': 'Value' }, { 'Key Name': 'Value1' }]
}
For example:
var cartDetails = [
         {"GST": "5%"},
         {"Delivery Date": "25 Dec"},
         {"Status": "In Progress"}
];
Additional payment options on the Checkout screen
The following code snippet is used to display Google Pay, PhonePe, and Paytm on the primary Checkout screen.
var payUCheckoutProConfig = {
PayUCheckoutProConfigKeys.paymentModesOrder: [{ 'UPI': 'TEZ' }, { 'Wallets': 'PAYTM' }, { 'Wallets': 'PHONEPE' }]
}
This will display Google Pay, PhonePe, and Paytm respectively on top of available payment options.
Configure checkout payment modes order
Default payment modes order on the checkout screen, as illustrated in the following code block, is:
- Card
- NetBanking
- UPI
- Wallets
You can configure the checkout payment options order. You need to provide a list of payment modes to configure the payment options order. Checkout order will be the order of items in the list. If not all payment modes' order is mentioned in the list, all other payment modes will be displayed in their default order as shown above.
The following code snippet is used to order the payment modes on the L1 screen:
var payUCheckoutProConfig = {
PayUCheckoutProConfigKeys.paymentModesOrder: [{ 'cards': '' }, { 'net banking': '' }, { 'upi': '' }, { 'wallets':'' }, { 'emi': '' }]
}
The resulting payment order on the initial Checkout screen will be:
- Cards (Credit or Debit)
- Net Banking
- UPI
- Wallets
- EMI
Offers integration
To pass offers in the CheckoutPro SDK, use the following code snippet:
	var payUPaymentParams = {
PayUPaymentParamKey.userToken:           "<Pass a unique token to fetch offers>", // OPTIONAL
}
Native OTP assist
To enable Native OTP assistance in iOS, use the following code. In Android, this will be added by default.
var payUPaymentParams = {
PayUPaymentParamKey.enableNativeOTP: true, // OPTIONAL
}
Customize UPI Apps Order
You can customize the display order of UPI payment apps. Define the sequence using a pipe-separated format to rearrange how UPI apps appear to users.
var payUCheckoutProConfig = {
PayUCheckoutProConfigKeys.upiAppsOrder: "phonepe|paytm|gpay"
}
Custom Note integration
This subsection describes how to integrate custom notes in PayUCheckoutPro SDK. To integrate custom notes in PayUCheckoutPro SDK:
- Create a custom note list
- Pass custom note list to SDK
Step 1: Create a Custom Note list
Create a list of custom notes that you want to pass to the CheckoutPro SDK. For each custom note, custom_note and custom_note_category need to be passed.
var customNotes = [ { "custom_note": "Its Common custom note for testing purpose", "custom_note_category": [ PayUPaymentTypeKeys.emi, PayUPaymentTypeKeys.card ] }, { "custom_note": "Payment options custom note", "custom_note_category": null } ];Step 2: Add in PayU Checkout config
Add in the PayU Checkout Config similar to the following code snippet:
var payUCheckoutProConfig = {  		     	PayUCheckoutProConfigKeys.customNotes: customNotes
}
Enforced Payment Modes
1. Create an enforced payment list
2. Add in PayU Checkout Config
Step 1: Create an enforced payment list
```Text Dart
var enforcePaymentList = [
{"payment_type": "CARD"},  {"payment_type": "NB"}, {"payment_type": "EMI"}, {payment_type": "WALLET"}, {"payment_type": "UPI"},{"payment_type": "BNPL"},{"payment_type": "NEFTRTGS"}];
```

<Accordion title="Advanced Card Payment Enforcement" icon="fa-code">
  <Accordion title="Card Type Enforcement (CC/DC Only)" icon="fa-code">
    Enforce payment based on card type - Credit Card (CC) or Debit Card (DC):

    ```Text Dart
    var enforcePaymentList = [{"payment_type": "CARD", "card_type": "DC"}, {"payment_type": "CARD", "card_type": "CC"}];
    ```

    This configuration allows all debit cards and all credit cards, regardless of the card scheme.
  </Accordion>

  <Accordion title="Card Scheme Enforcement (VISA, MASTERCARD, AMEX, etc.)" icon="fa-code">
    Enforce payment based on specific card schemes along with card type:

    ```Text Dart
    var enforcePaymentList = [{"payment_type": "CARD", "card_type": "DC", "card_scheme": "VISA"}, {"payment_type": "CARD", "card_type": "CC", "card_scheme": "MAST"}];
    ```
  </Accordion>
</Accordion>
Enforce Specific Bank/Wallet Provider
  **Net Banking - Specific Bank:**

  ```Text Dart
  var enforcePaymentList = [{"payment_type": "NB", "enforce_ibiboCode": "AXIS"}];
  ```

  **Wallet - Specific Provider:**

  ```Text Dart
  var enforcePaymentList = [{"payment_type": "WALLET", "enforce_ibiboCode": "PAYTM"}];
  ```
</Accordion>
Step 2: Add in PayU Checkout config
Add in PayU Checkout Config similar to the following snippet:
var payUCheckoutProConfig = {
 PayUCheckoutProConfigKeys.enforcePaymentList: enforcePaymentList,
}
Android specific configurations
Runtime SMS permission
You can set this flag to false if you do not want CheckoutPro SDK to ask for runtime SMS permission on the bank OTP page. The default value is true.
var payUCheckoutProConfig = {
PayUCheckoutProConfigKeys .merchantSMSPermission: true/false
}
Auto Approve OTP
You can choose to automatically approve OTP flow on the bank page with the flag specified in the following code block. The default value is false.
var payUCheckoutProConfig = {
PayUCheckoutProConfigKeys.autoApprove: true/false
}
Hide toolbar in the Custom Browser (CB)
You can choose to hide the toolbar on CB. By default, the CB toolbar is displayed.
var payUCheckoutProConfig = {
PayUCheckoutProConfigKeys.showCbToolbar: true/false
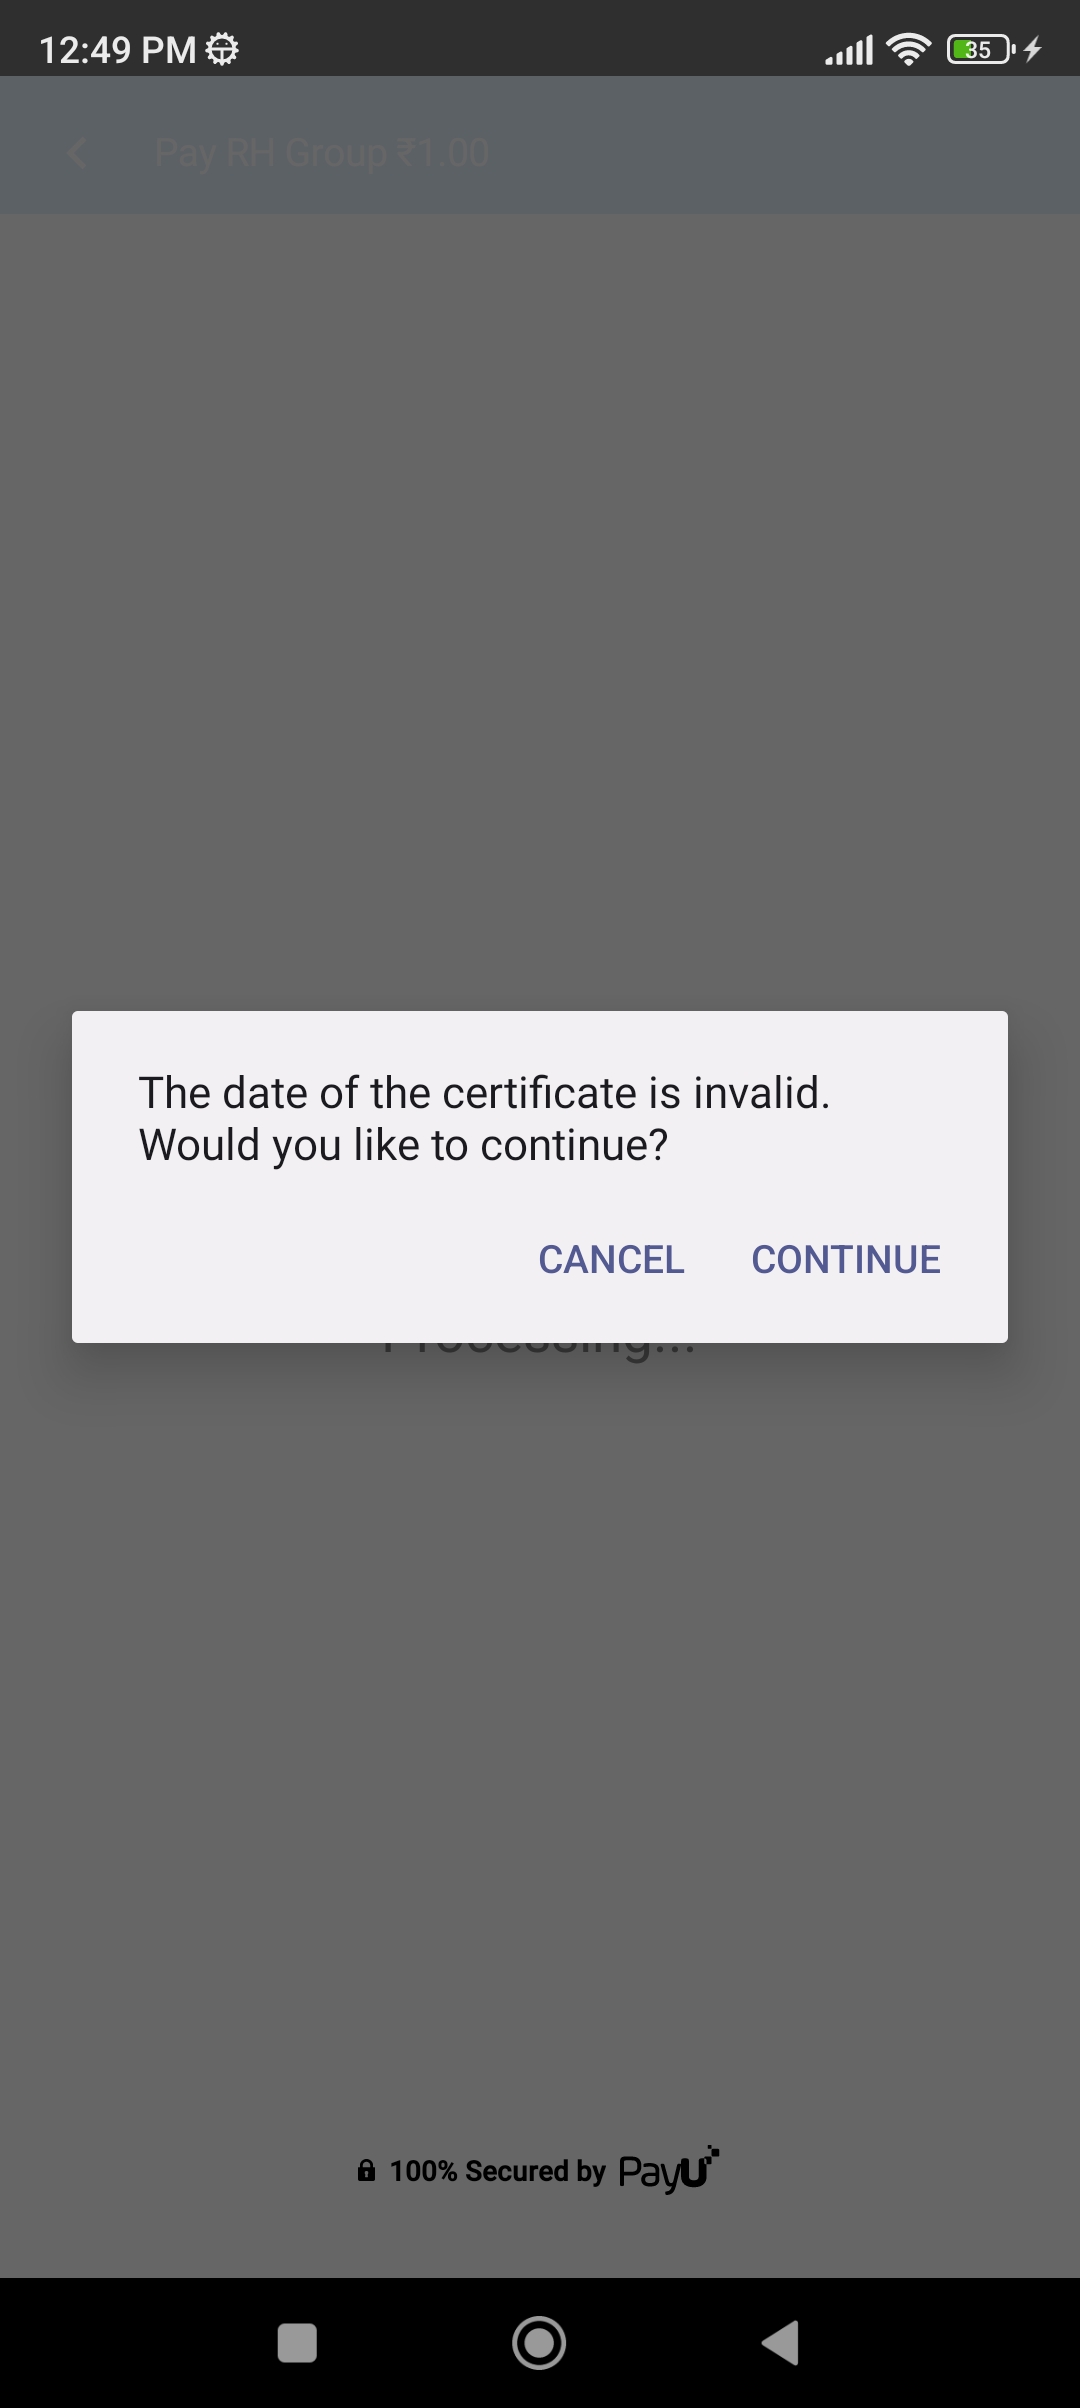
}Show SSL Dialog Alert
you are trying to show the dialog from a place that isn't permitted.
 var payUCheckoutProConfig = {
  payUCheckoutProConfig.enableSslDialog = true //true/false
}
. The error message is shown as received from the SSL error description