Transactions Dashboard

The Transactions Overview page provides a summary of all captured transactions. It also displays the generated revenue , refunds, and success rate of transactions made for the selected date range. You may click on any of the transaction to see the transaction details and even filter and download(in csv/xlsx format) the transaction record for a specific time-range.

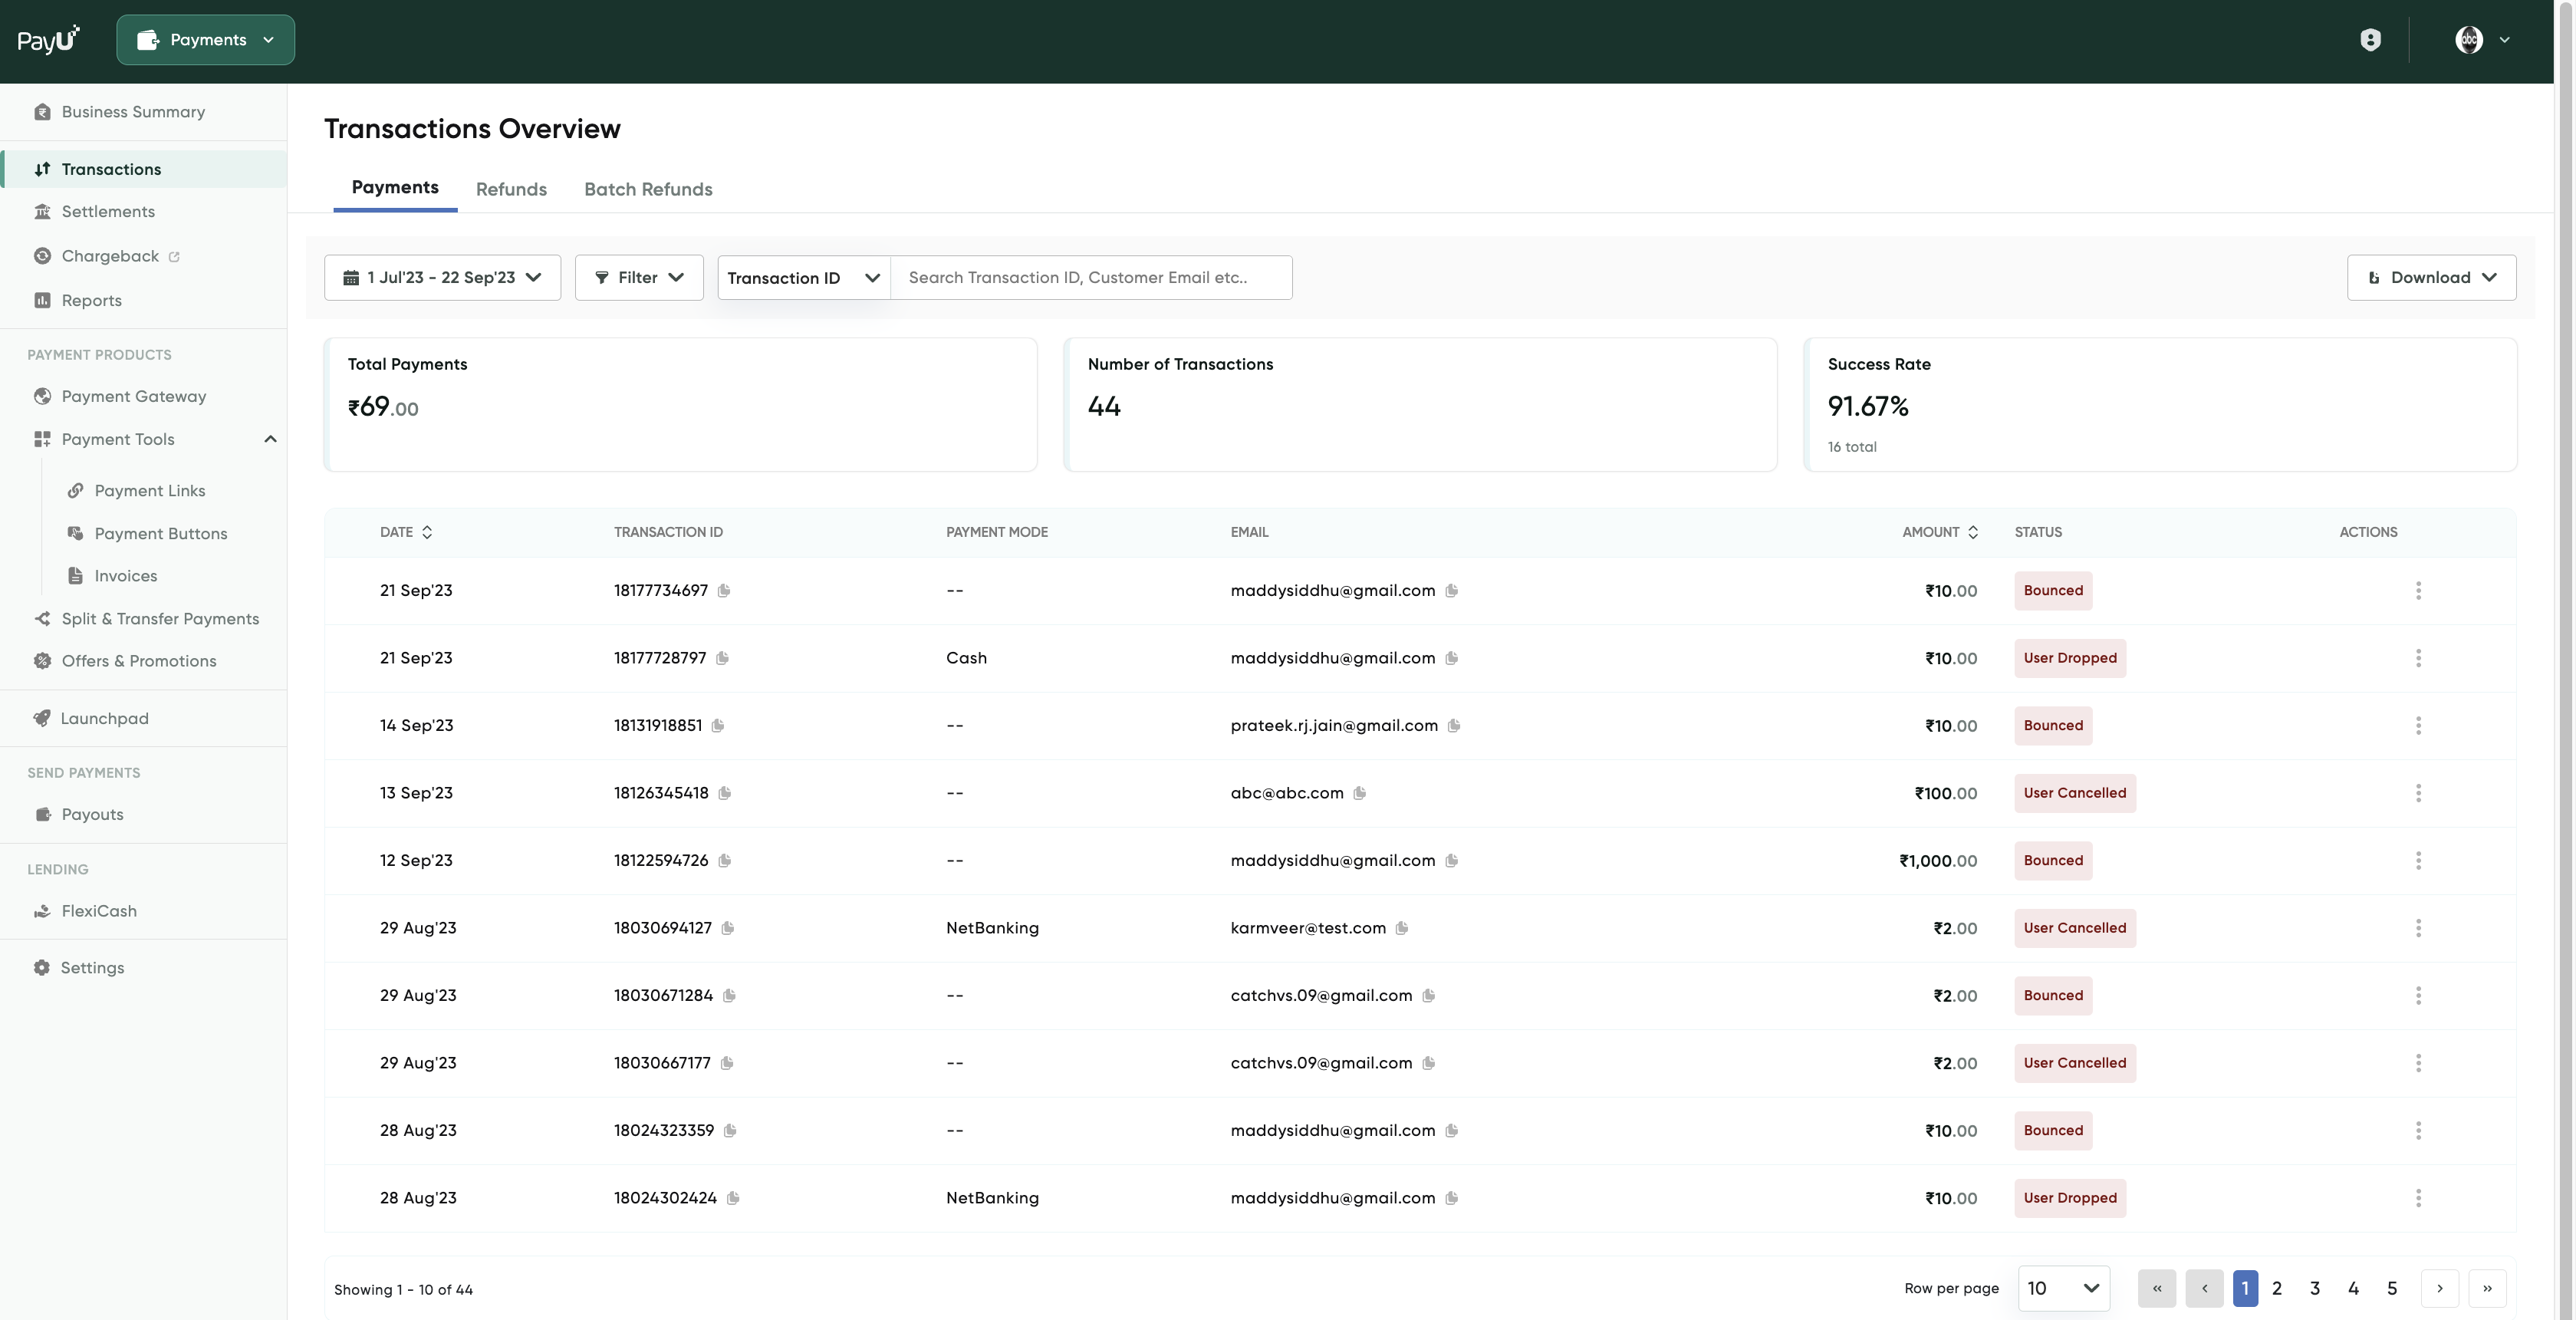
The following sections describe how to track, categorize, view details of the individual settlement, filter, and export transaction records.

Track transactions

To view the transaction summary for a preferred interval:

  1. Login to the Merchant Dashboard. For more information, refer to Log in to Dashboard.
  2. Navigate to Track > Transactions.
  3. Below the Transactions Overview, click the drop-down for calendar view
  4. Select the option Today to view the summary of transactions triggered for the day.

Note: You can select Yesterday, Past 7 days, or Past 30 days options to view the transaction Summary for the mentioned time frame.

  1. Click the Custom Range filter to choose the desired time frame.
  2. Select a particular date range, month and year from the drop-down list or you can use the next and previous buttons given on the top of the calendar view to navigate through the months.

📘

Note:

The transaction overview page will display a maximum of 50 entries of transactions for a selected period. You can navigate through the pages using the next and previous buttons given on the left bottom corner of the page.

The transaction records provide the complete details of the transactions done or the refunds for the selected date range. You can perceive the information of Transactions or Refunds by choosing the specific tabs given below the Records section.

The Transaction tab displays the essential details like Date, Transaction ID, Source, Customer email, Amount, Transaction Status, and the Actions fields by default. In the Refund tab, the bank ARN will be displayed instead of source, along with other fields listed above.

Categorize the transactions records using variables

You can categorize the records view using the customize columns and filter options.

To customize the transaction records view using the variables:

  1. Click to select the desired variable from the drop-down list to show the results by Transaction ID, Customer email ID, Merchant Reference ID, Phone Number, or Customer Name.
  2. To search for a particular transaction, enter the particular transaction ID or any other variable listed above in the Search field.
  3. Press the Enter key to get the results.

View transactions for a custom period

The dashboard will show the past seven days’ transactions on the page by default. You can select a particular date range or month or year using the calendar view option given in the dashboard.

To set up the time frame:

  1. Click Calendar to open the calendar view.
  2. Click to select the Today, Yesterday, Past 7 days, or Past 30 days to view the transactions for the mentioned period.
  3. Click Apply to view the results.

To customize the calendar view:

  1. Click the Custom Range menu.

Note: The calendar view will display the current and previous month by default, along with the time range starts from 12:00 AM to end time 11.59 PM.

  1. Select the desired month and year from the drop-down list given at the top of the calendar view.
  2. Click to select the desired date range for the selected month.
  3. Click Apply to view the results.

View the Details of Individual Transaction

To view the specific settlement details, including the settlement breakup and net settle amount along with the transactions in the specific settlement:

  1. Enter the UTR Number in the search column and click Search to view the results
  2.  Click UTR number to view the complete settlement details including the fields Settlement amount, Settled as on, and Total transactions.

📘

Note:

You can export the detailed settlement record to .pdf format using the Download Report button on the top-right corner of the page.

Filter the Transaction Records

The filter option enables you to filter the transactions by Source, Transaction Status, Payment Mode, and Outlets.

  1. Click the Filter menu to list the filter options.
  2. Click to select the check box for the desired options from the Filter menu.
  3. Click Apply to get the results.

Note: You can use the Reset to clear all checkbox selections.

📘

Note:

You can search the specific outlet by entering the outlet name in the search column

Export the Transaction Records

To download the transaction records:

  1. Click the Download menu to view the options.
  2. Choose the required format (csv or xslx) from the Download menu to generate the report.

Note: You can choose the column entries in the report using the Select Fields option from the drop-down list. Click to check or uncheck the boxes of desired entries from the Column Settings pop-up window. Click Save to complete the action.

A pop-up window will display the status of the generated report and then displays the Download when the report is ready.

  1. Click Download report option to complete the action. You can share the generated report using an email ID.
  2. Click Share and enter the recipient email ID.
  3.  Click Share to complete the action.

Note: You can share the report to multiple email IDs by entering the comma-separated entries.

Actions for a Transaction

The Actions option enables you to copy the customer email for your next action.

  • Authorize: After end-user has entered Card/Account credentials bank checks for availability of Credit Limit or Account balance to authorize the transaction as valid.
  • Capture: If an authorized (explained before) transaction is not captured automatically, the merchant can capture them manually to get payments credited to their account.
  • Cancel: An authorized Transaction can be cancelled to get the money refunded in the customer account. The cancel function does not work for Captured transactions.
  • Refund/ Partial Refund: Captured transactions can be refunded back to the customer using this function. Even Partial refunds are possible. A transaction is refunded owing to many reasons like product/service non-availability, customer request, etc.
  • Chargeback: A Chargeback or dispute request is raised by the customer to issuing bank, owing to many reasons like a fraud transaction or unsatisfactory product/service delivery, etc.
  • Bounced: The customers who did not click on Pay Now/Make Payment button on PayU Payment Page.
  • Dropped: Customer who did not receive any status revert from Bank. Could be due to various reasons like 3D Secure Password not being available, Bank server downtime, the problem with an internet connection, etc.
  • Failed by Bank: A transaction not authorized by the bank due to reasons like Invalid Credentials, Credit Limit exhausted, etc.
  • User Cancelled: Transaction cancelled by the customer at PayU payment page via Cancel Button.