Which Model you Should Choose for Tokenization?
If you are using PayU Hosted Checkout, you must use Model 1, where PayU manages everything end-to-end without a single line of code change at your end. For more information on PayU Hosted Checkout integration, refer to PayU Hosted Checkout.
For seamless integration, minor changes are expected in the APIs, which is explained in the Using Merchant Hosted Checkout Integration sub-section.
Processing a Transaction with PayU with Token Created Outside PayU
You would need the token, expiry, and TAVV values to be passed using PayU _payment API. Apart from this, no further changes are expected. For more information, refer to Collect Payments using a Tokenized Card.
Choosing the Tokenization Model
PayU offers the following models to integrate vault using PayU Hosted Checkout or Merchant Hosted Checkout integration:
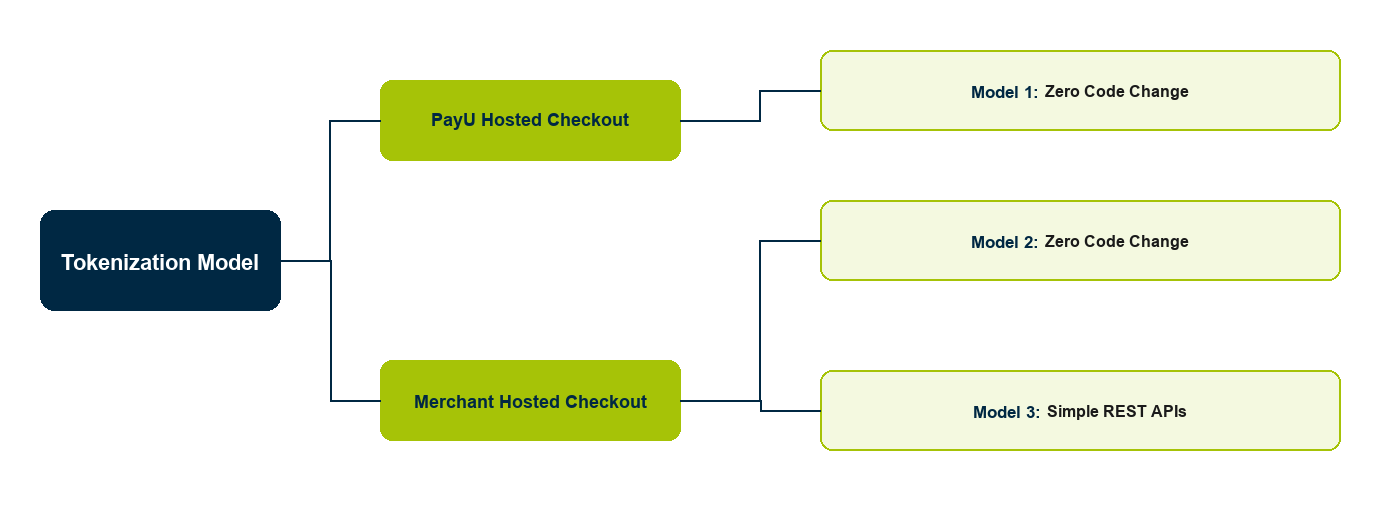
- PayU Hosted Checkout Integration - Model 1
- Merchant Hosted Checkout Integration
Using PayU Hosted Checkout Integration
Model 1 – Zero Code Change
If you are using the PayU Hosted Checkout integration and vault, there are no changes required from your side. PayU will manage everything from procuring, managing tokens, consent management, and displaying tokenized cards on the checkout page end-to-end. To enable vault with PayU Hosted Checkout integration:
- Reach your PayU Key Account Manager to enable vault.
- If you are not using the PayU vault, the only change required will be passing a user identifier.
Using Merchant Hosted Checkout Integration
PayU offers the following models to use vault with Merchant Hosted Checkout integration
Model 2-Zero Code Change
If you are using the Server-to-Server integration, you can choose to have PayU create and manage tokens on your behalf. You need to send an extra parameter in the _Payment API call, and PayU takes care of the vault.
Pros
- Zero cost of compliance at your end. PayU will take care of creating, managing, and storing the tokens.
- Minimal technical changes at you end as you will only need to pass the customer consent to create a token which is one extra parameter in the _payment API.
Note:In this model, you need to ensure that first-time payment is done with PayU Payment Gateway to create the token.
Model 3-Simple REST APIs
It provides you with complete control and flexibility in creating and managing tokens. The workflow involves:
- PayU exposes the CRUD APIs which the merchant can call to create and manage the cards
- The merchant calls the create token API after payments confirmation to create the token.
- The merchant can choose to store the card tokens (including network and issuer token).
Note:You need to be PCI-DSS compliant if you want to store the network tokens at your end.
Pros
- You have complete control on the token creation and management. The token can continue to be stored at PayU and/or merchant end.
- Completely decouple tokenization from payment processing as they are independent events.
Cons
- High cost of compliance
- You need to ensure that the orchestration is in compliance with the guidelines as the create token call and create payment calls are disjointed.
- You need to be PCI-DSS compliant if you want to store the network tokens at your end.
Updated about 1 month ago