Add a Priority-Based Routing Rule
You can add a rule involving single or multiple payment methods with Priority-Based Routing. This section describes how to add a routing rule with examples.
Add a rule for Net Banking
-
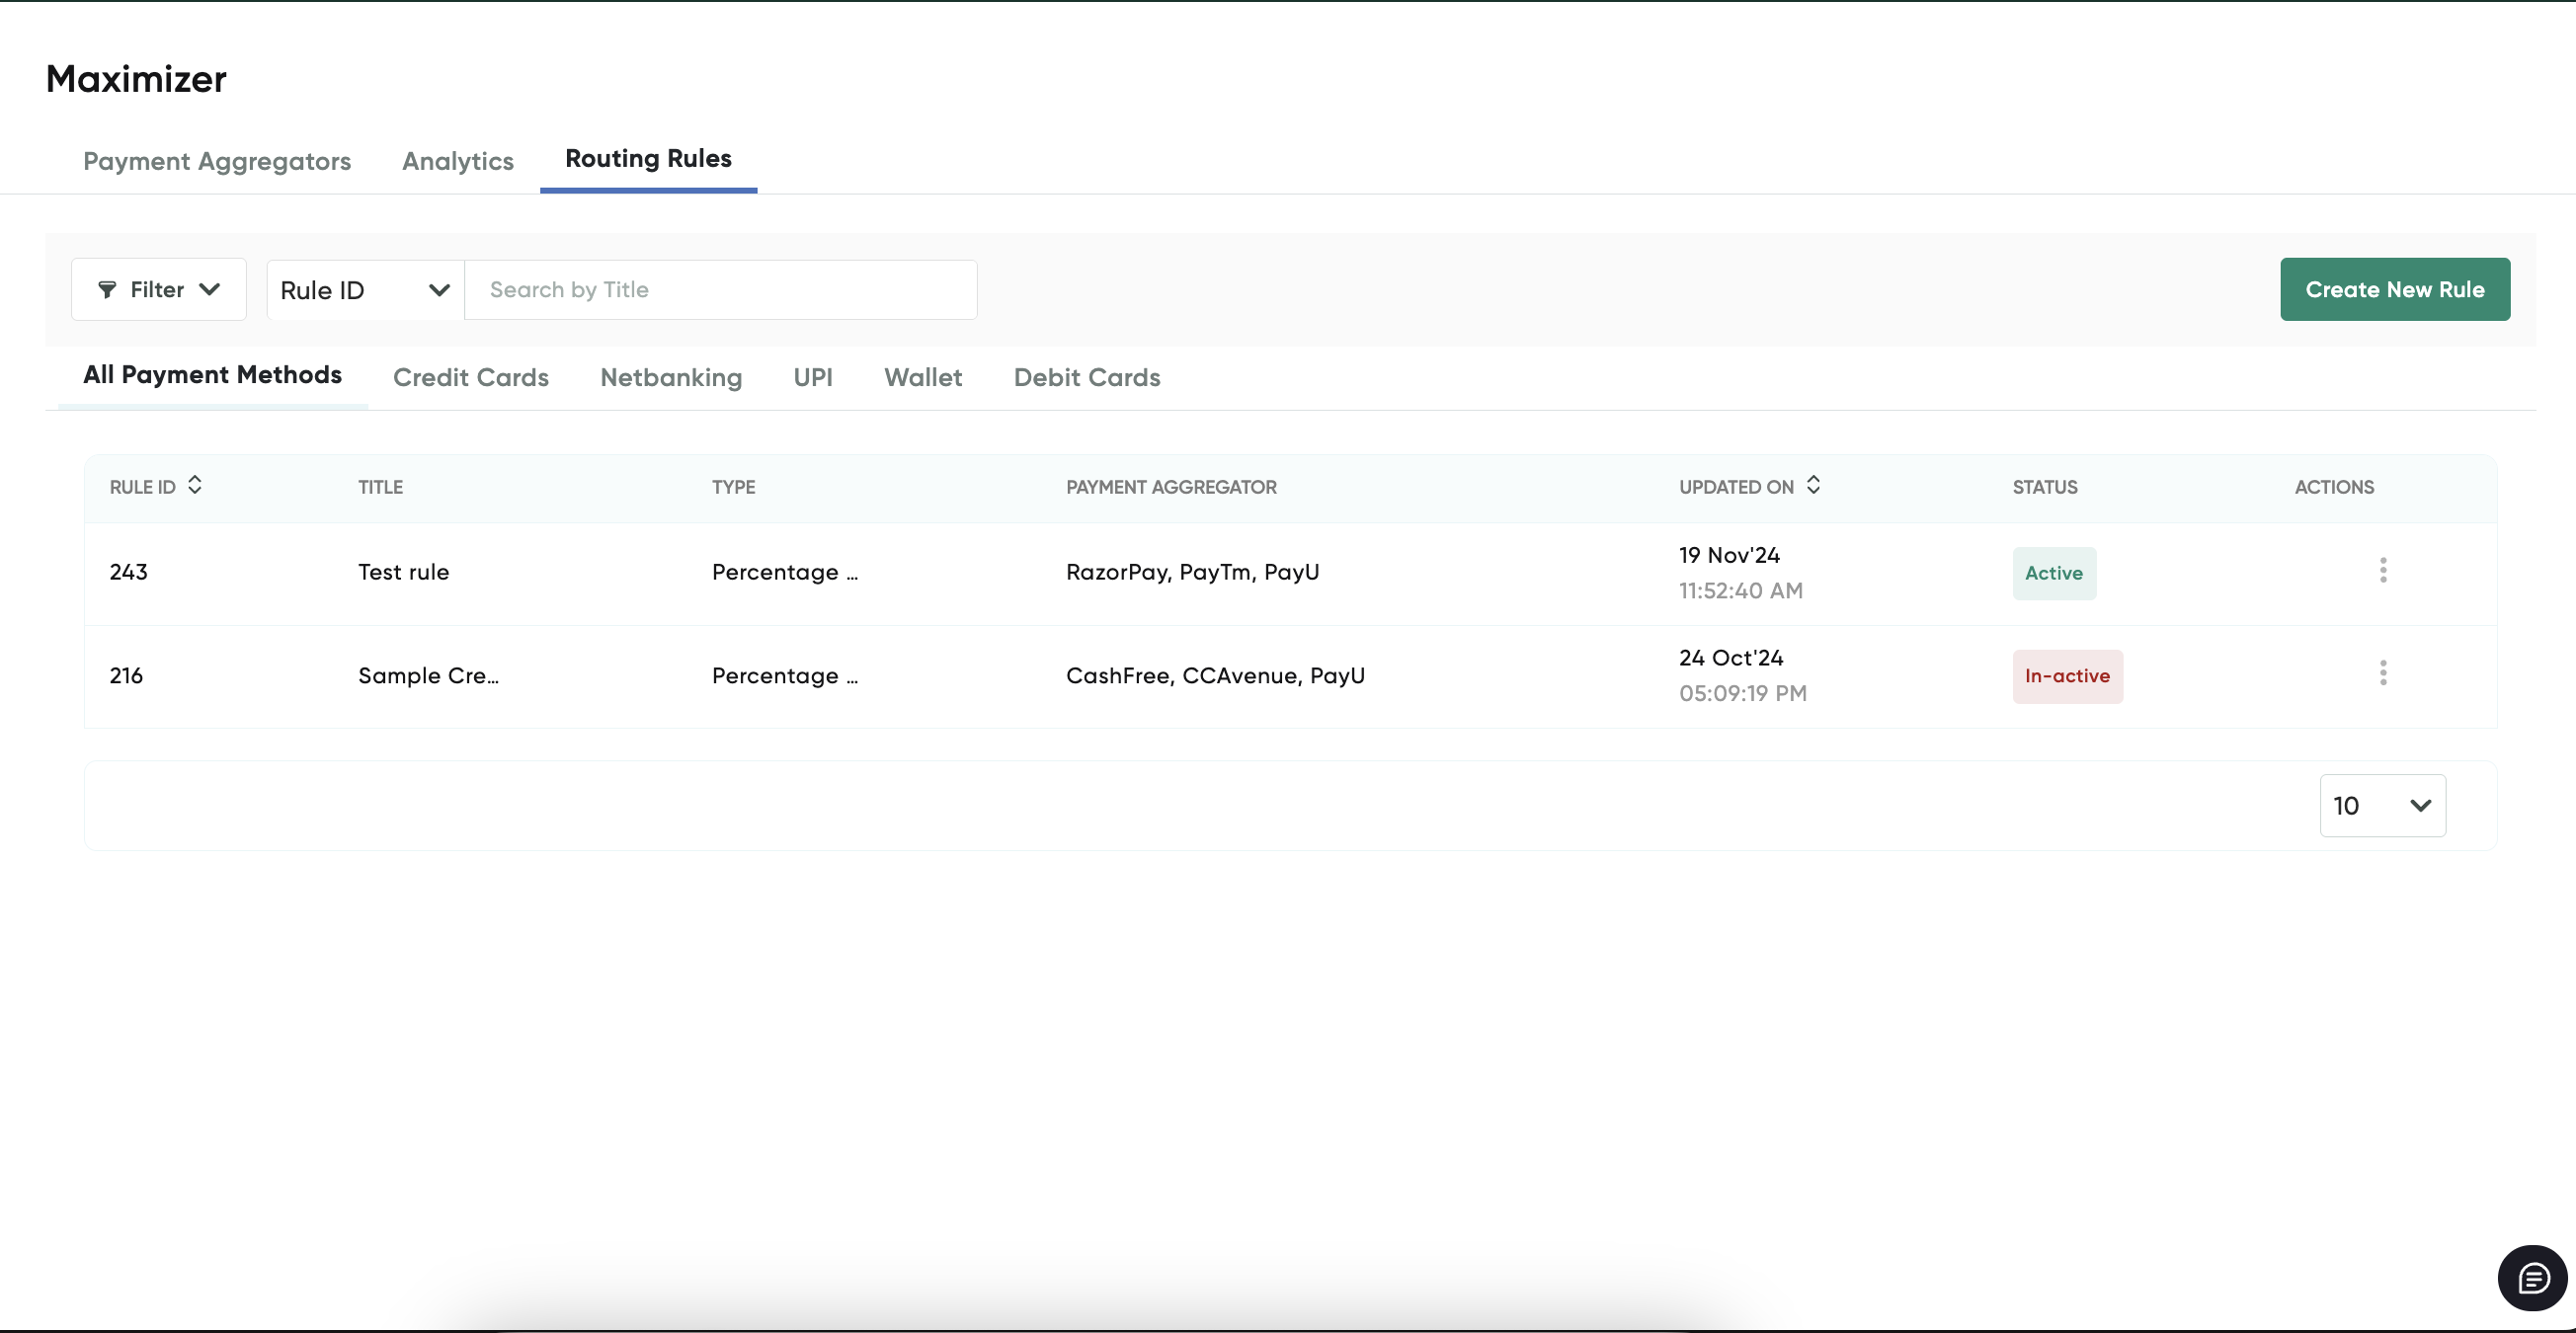
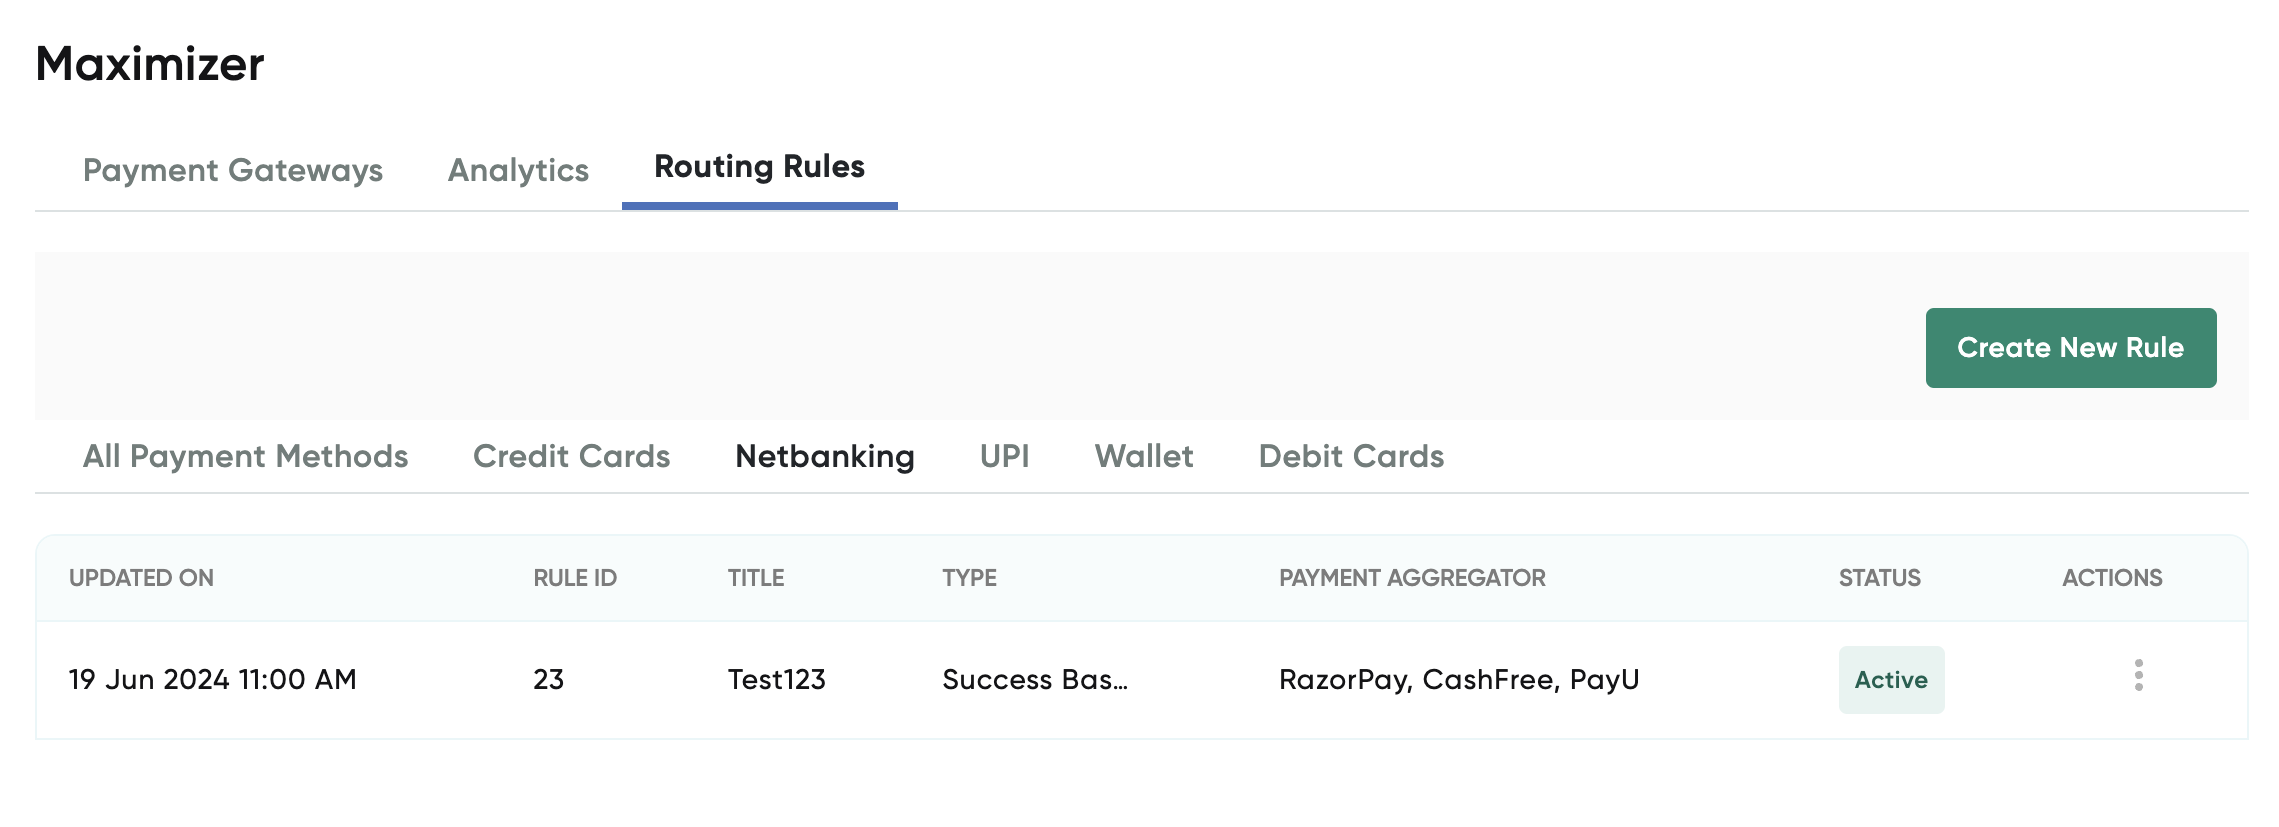
Select the Routing Rules tab on the Maximizer Dashboard.
The Routing Rules tab is displayed similar to the following screenshot.
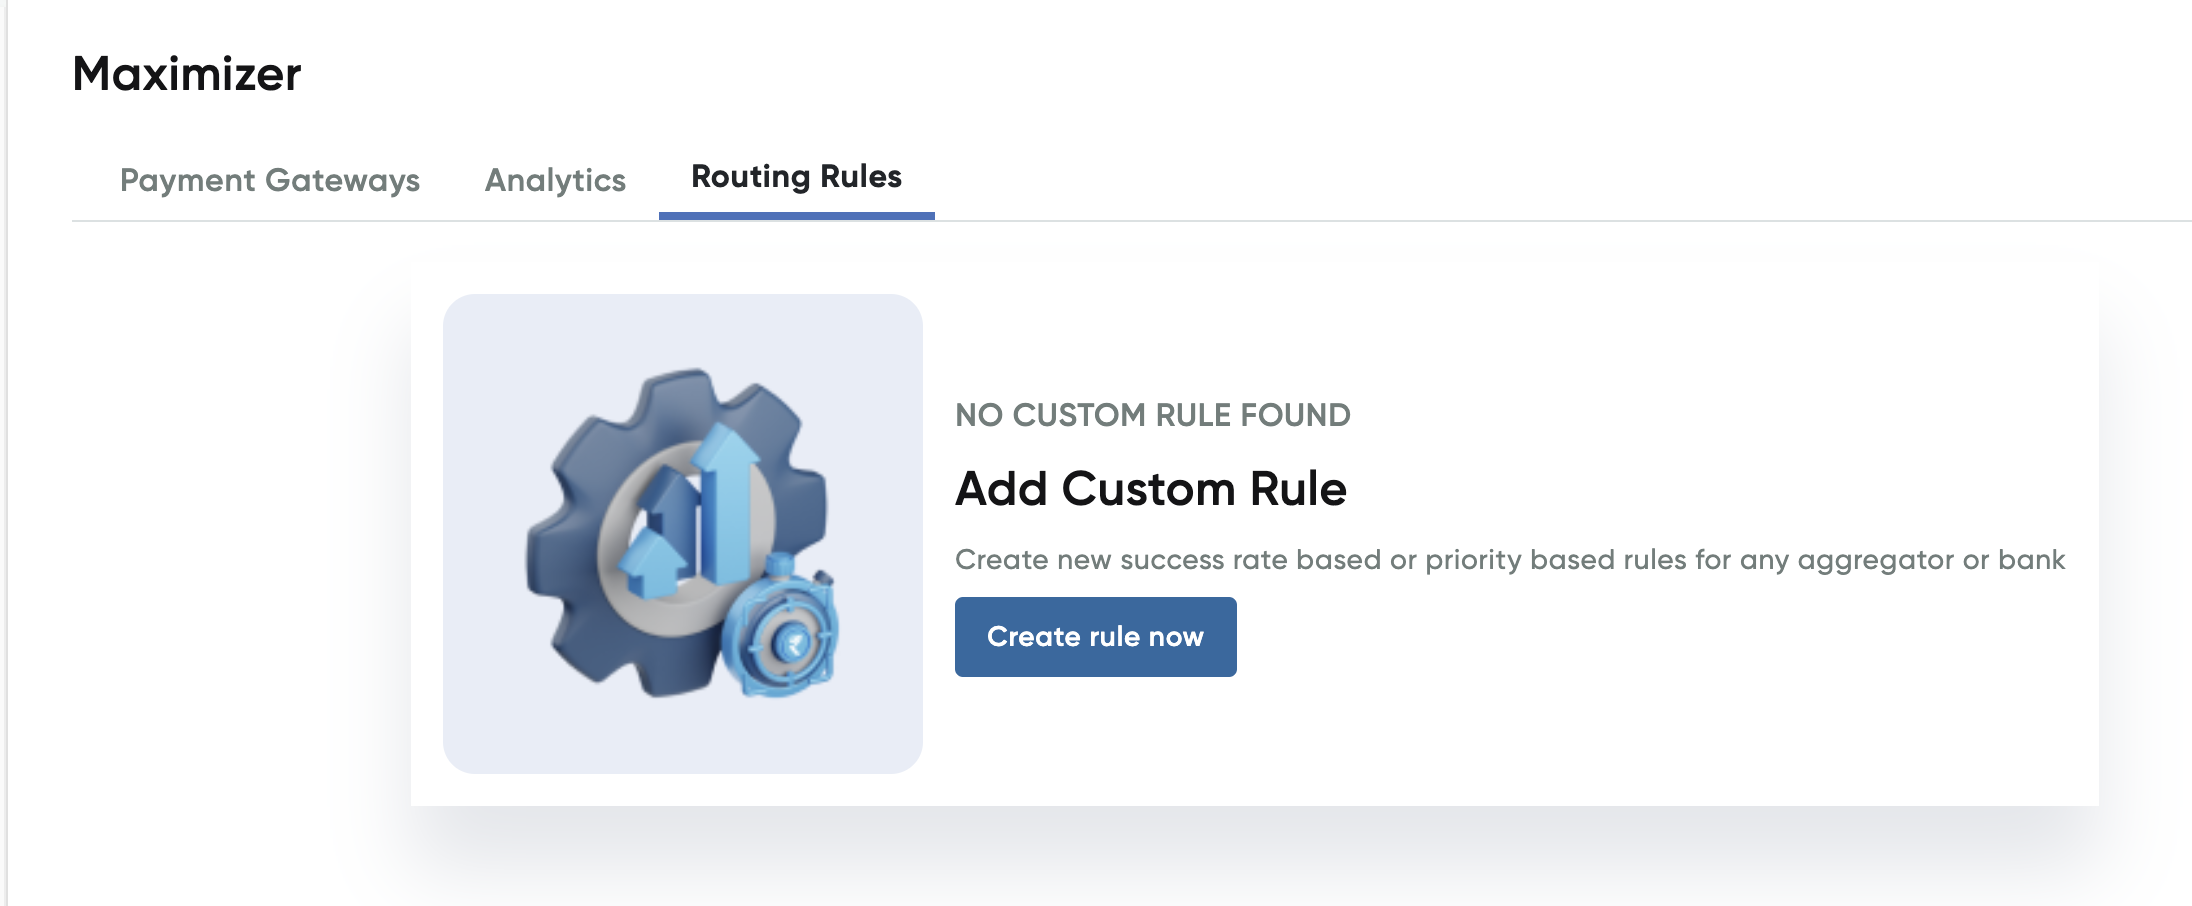
- Click Create rule now.
The Create Custom Rule page with the Rule Configuration screen is displayed.
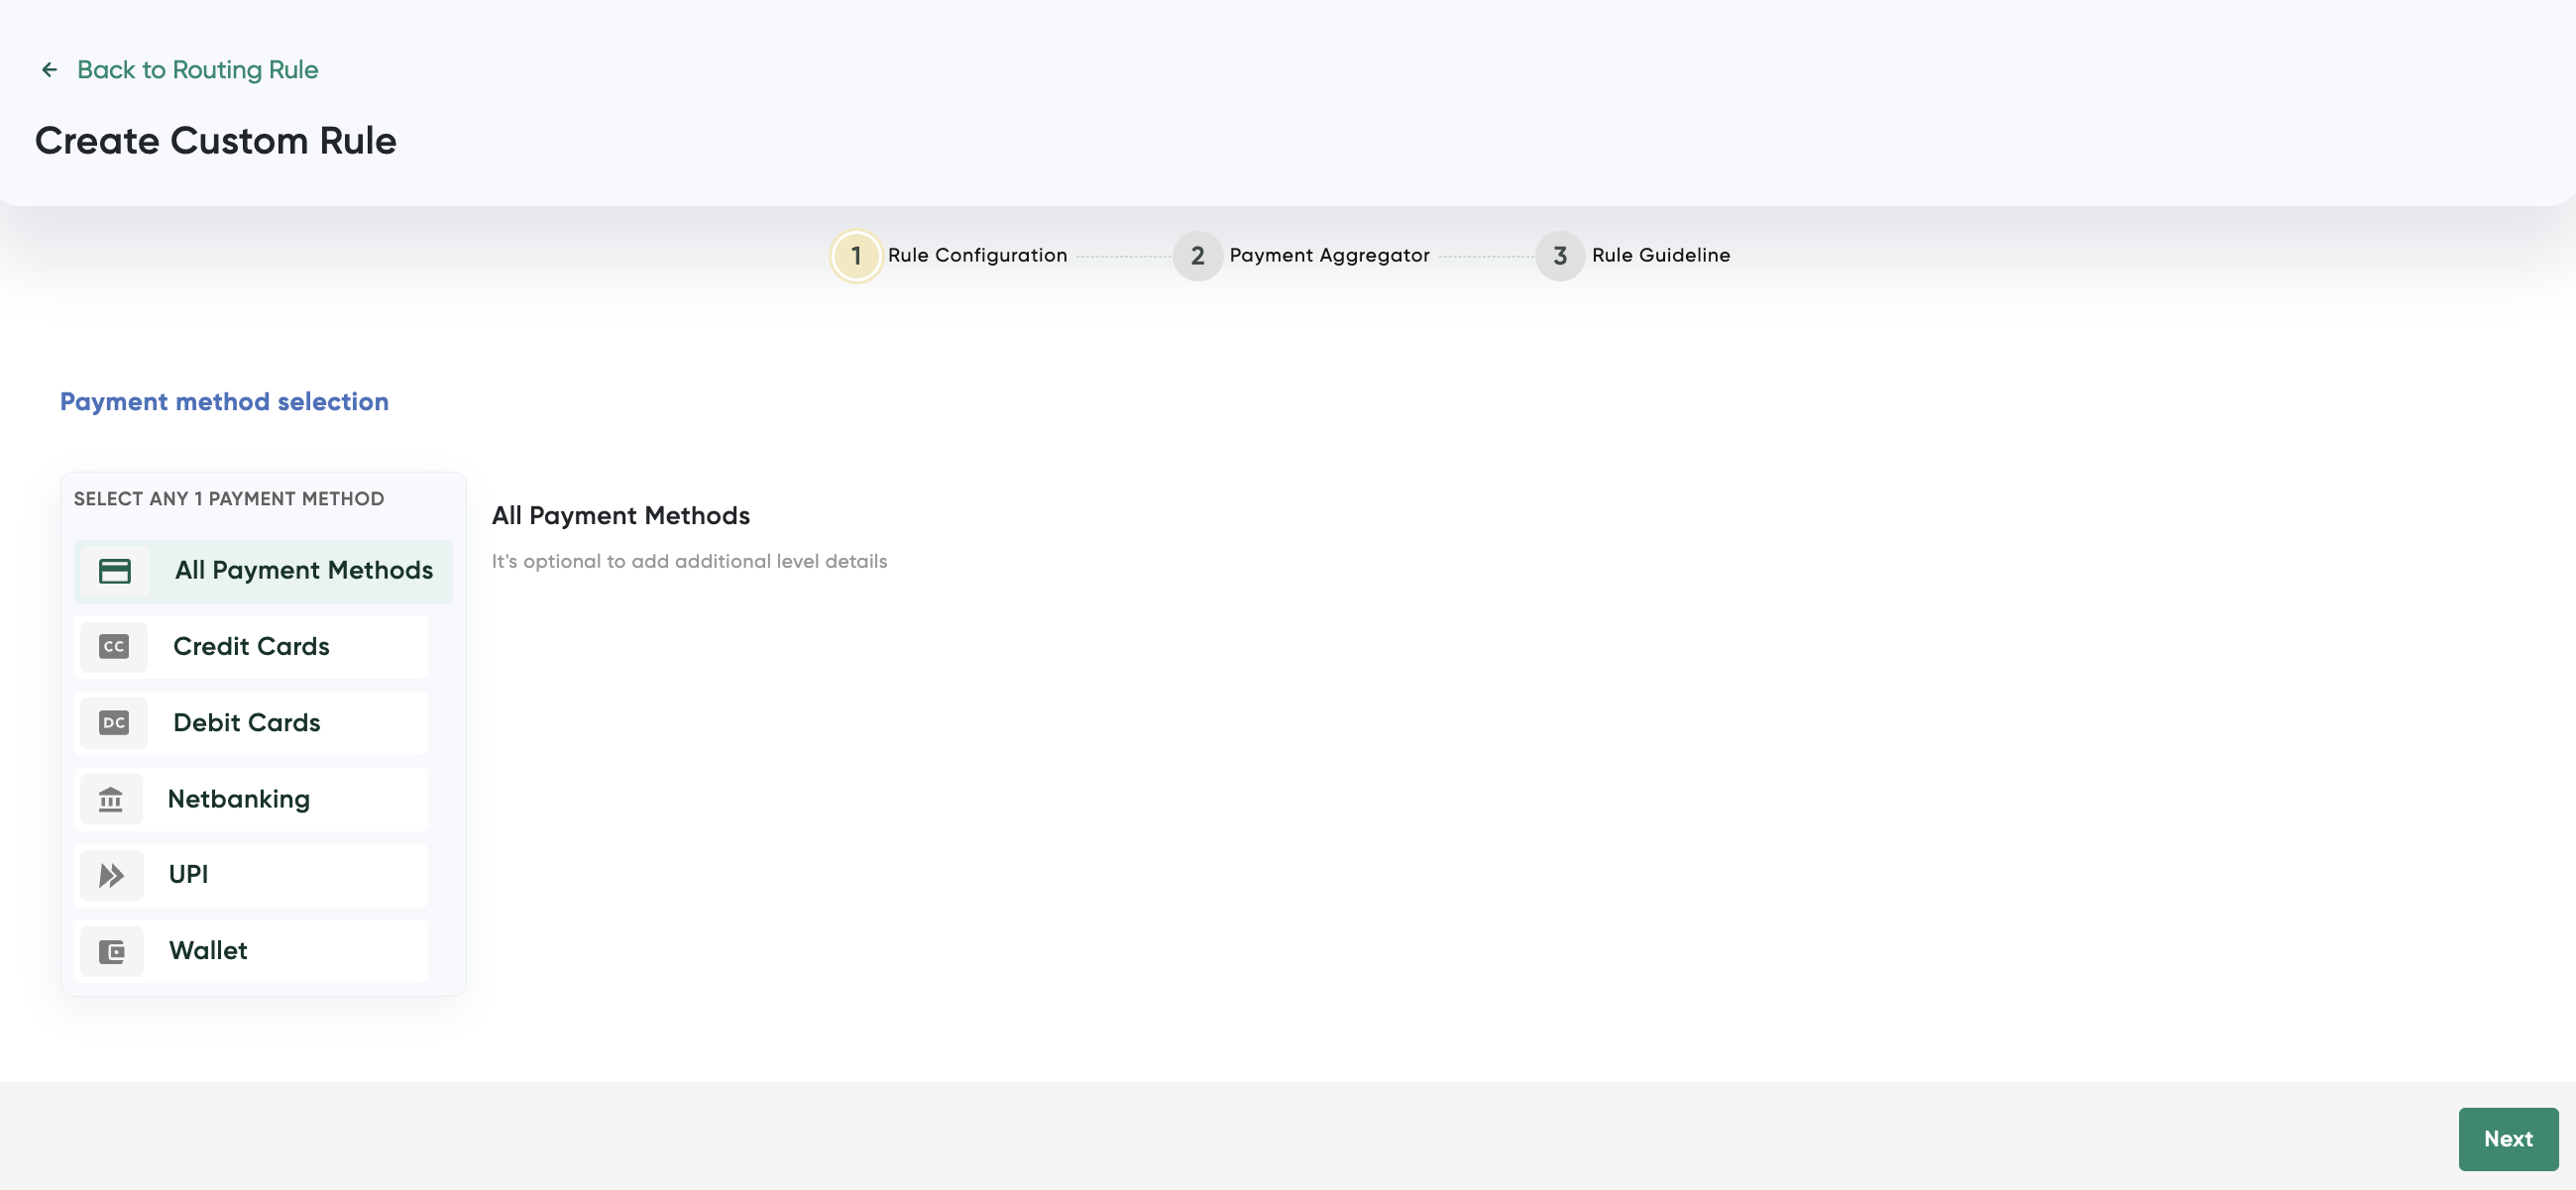
- Select the Netbanking tab.
The Netbanking tab is displayed.
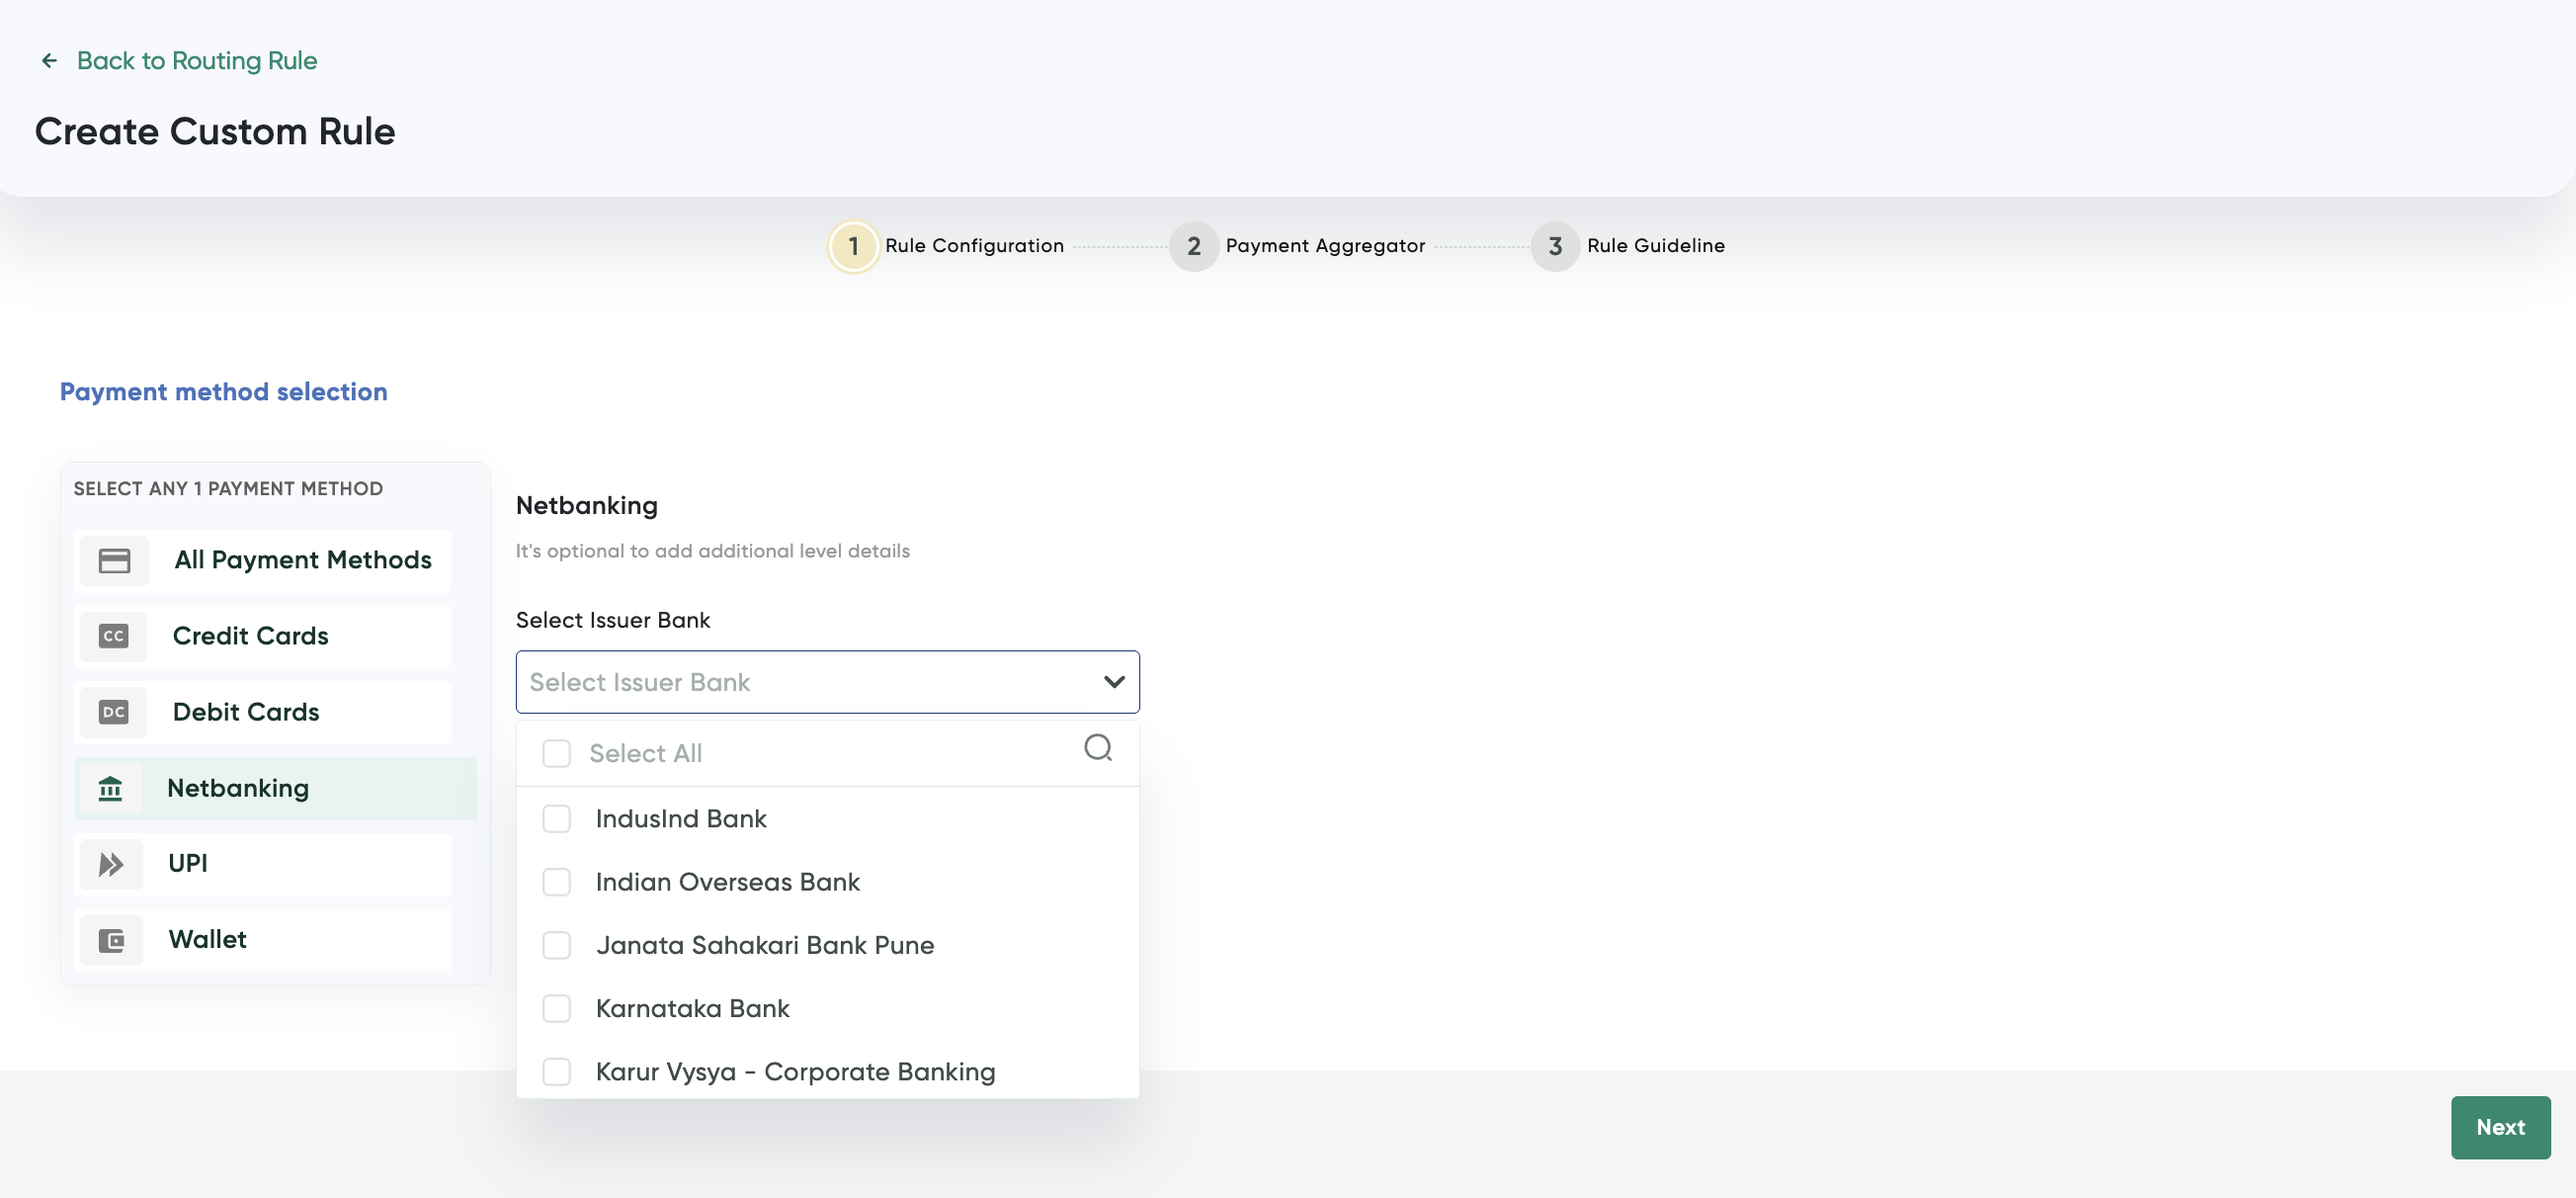
- Click the Select Issuer Bank drop-down list select the banks for which routing rules.
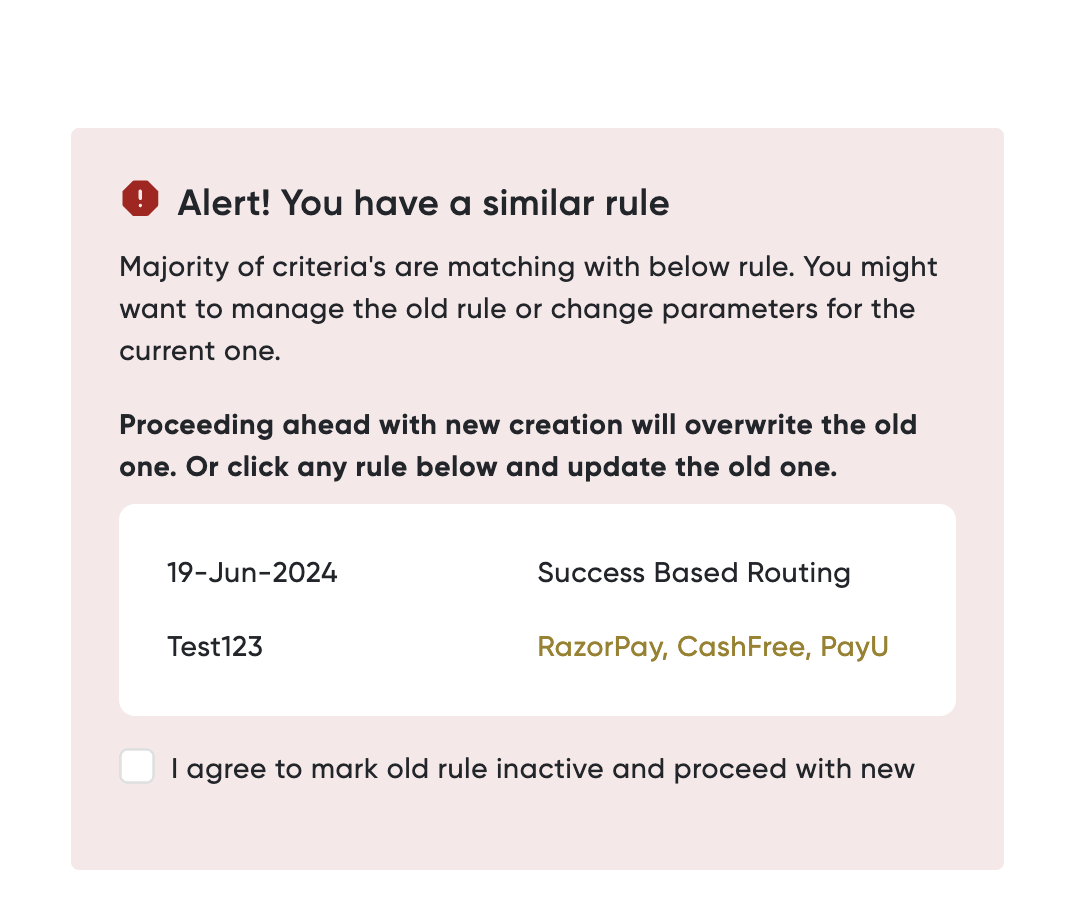
Note:If you have already created a routing rule for a bank or with the same combination (if any active rule exists) on the Netbanking tab (in this example), an error message is displayed in case of conflicting rules and merchant can either manage the old rule or create the new rule by overwriting the old rule. This holds good for all payment options including Cards, Wallets (wallet) or UPI (UPI provider) tab too.
-
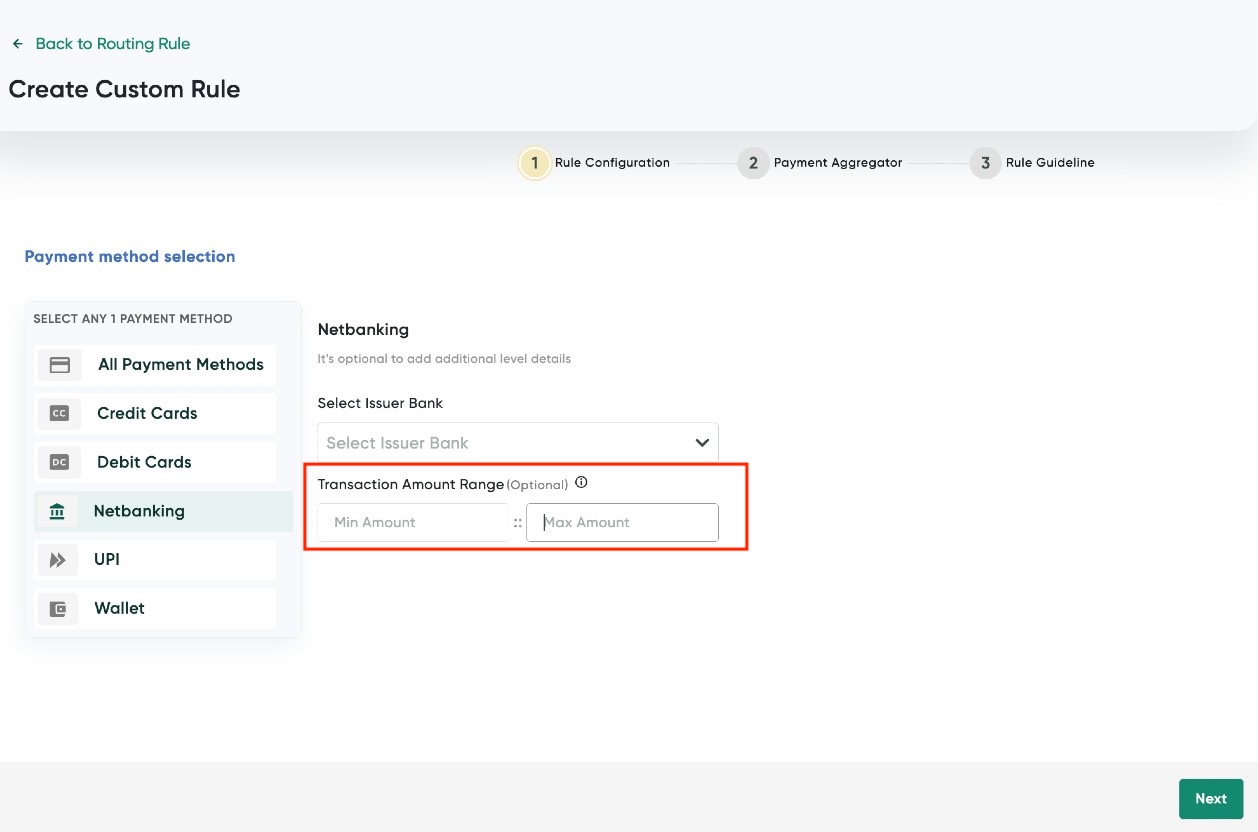
Enter the amount range in the Transaction Amount Range field. For more information, refer to Include an Amount Range with a Routing Rule.
-
Click Next after you have selected the banks for Net Banking routing.
The Payment Aggregator screen is displayed.
- Select the Priority Based Routing tab.
The Priority Based Routing tab is displayed.
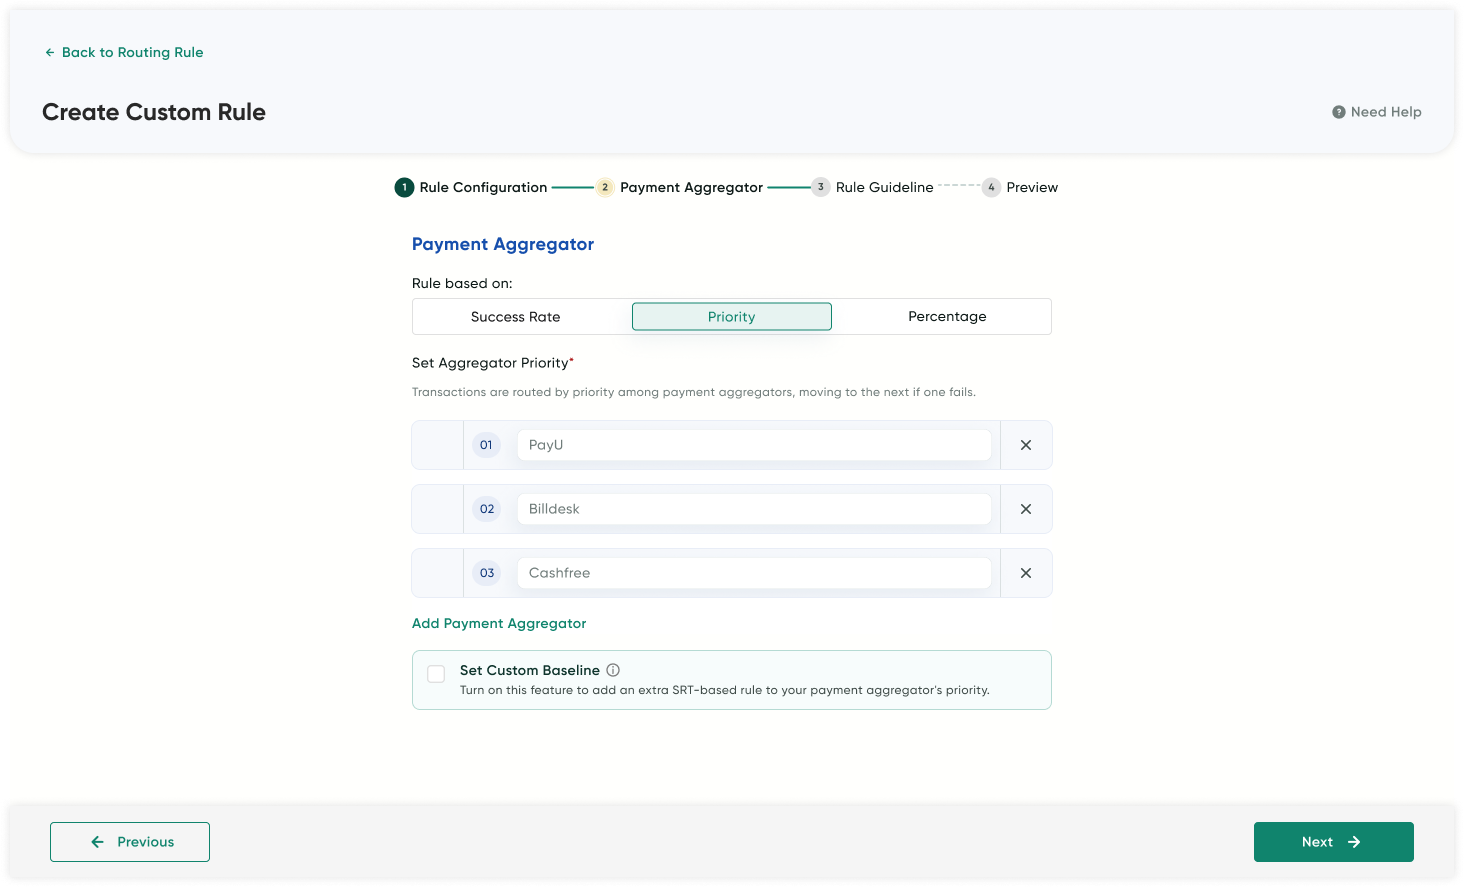
- Drag the payment aggregators using the following button next to them.

- Select the Set Custom Baseline check box to configure custom baseline for this rule/
Baseline Reference:For detailed understanding on baseline, refer to Understanding Baseline Logic.
- Click Next.
The Rule Guidelines screen is displayed.
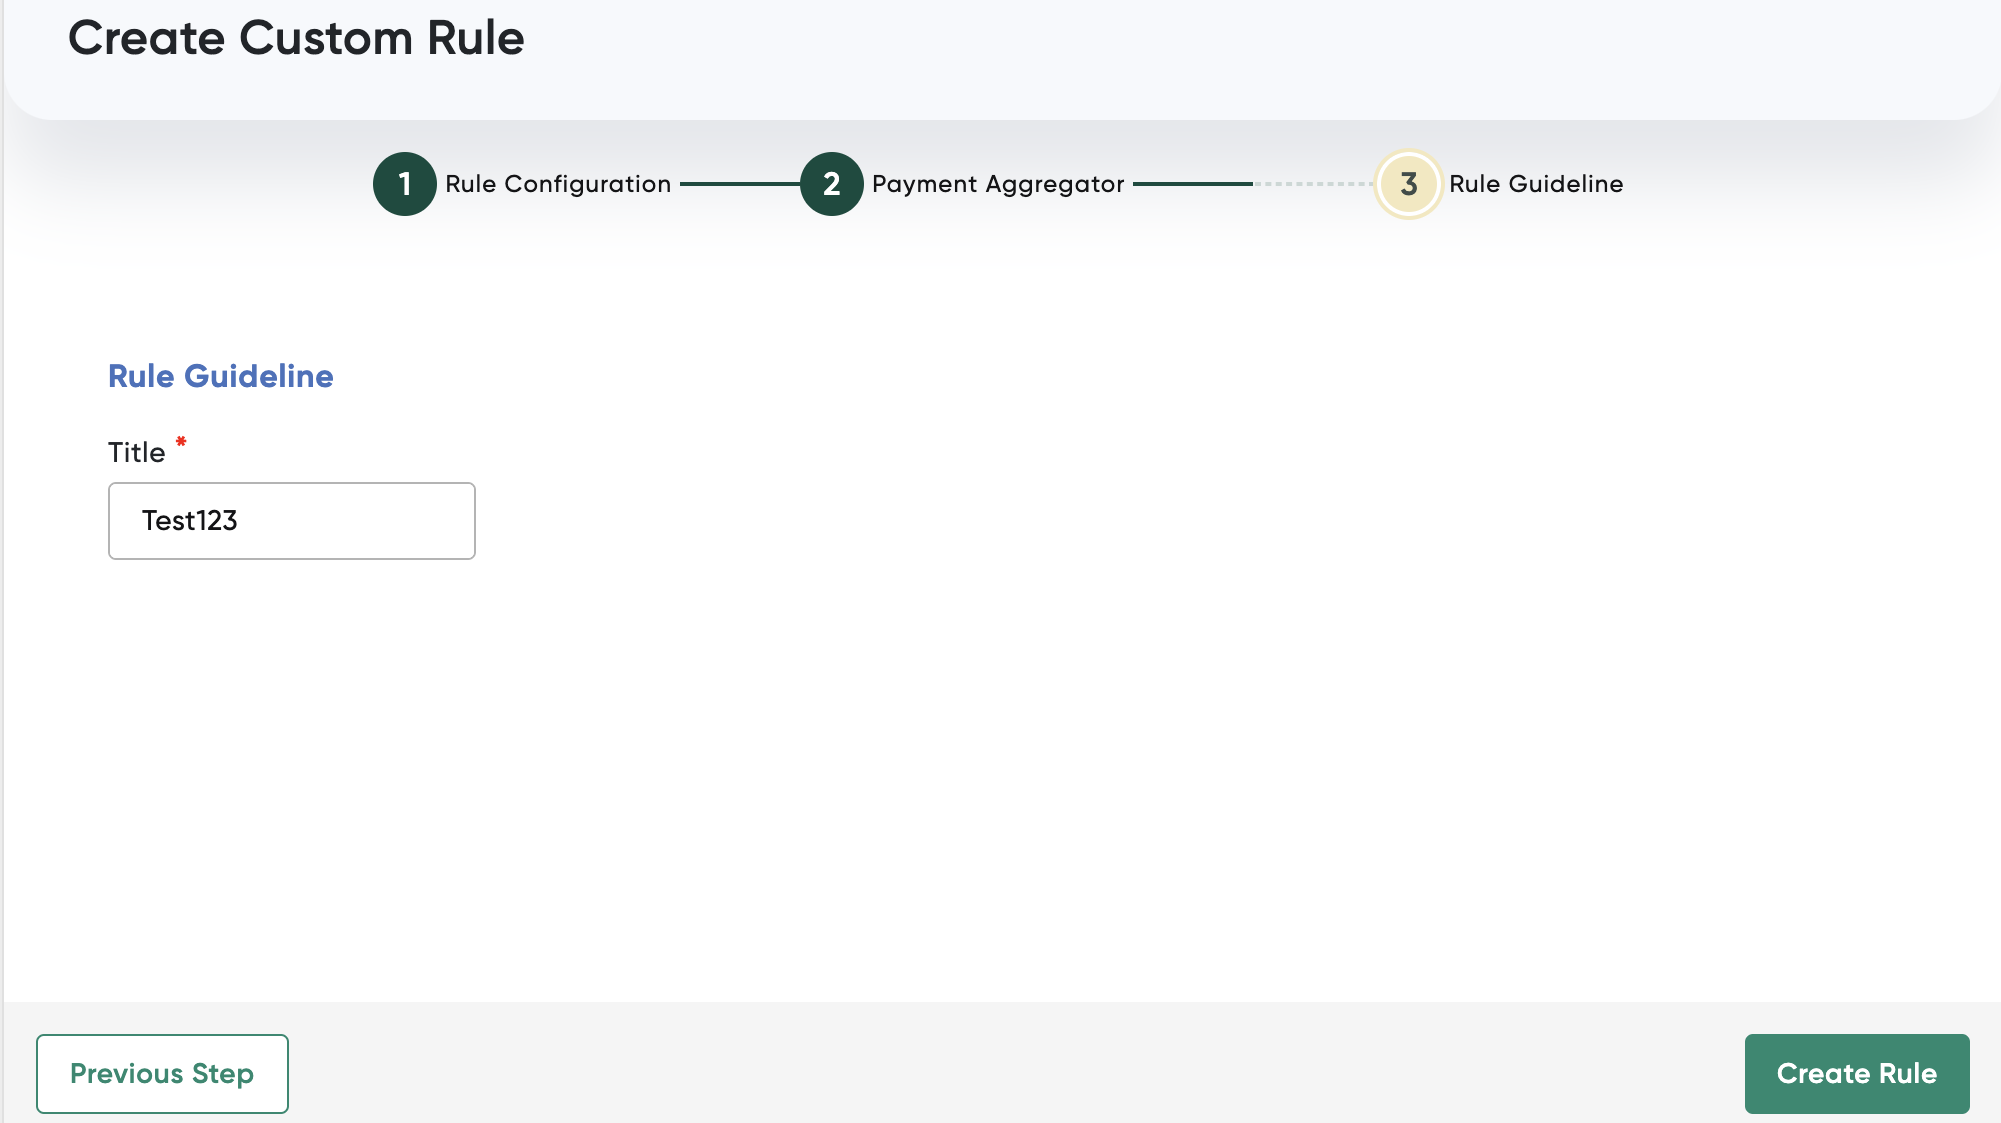
- Enter the name for the rule in the Title field.
- Click Publish Now to create the rule.
The rule is added to the Routing Rules tab of Maximizer dashboard.
Updated 3 months ago

