Install and Configure Odoo Plugin
After installing Odoo on your local machine or server, follow these steps for each operating system to configure the PayU custom add-on or plugin.
Prerequisites
Before you begin, ensure that:
- Odoo is installed and running on your local machine or server
- You have administrative access to the server (Linux/Windows)
- You have access to Odoo's configuration files
- You have a PayU merchant account (or can create one during setup)
Notes:
- Developer mode must be enabled in Odoo to proceed with eCommerce and PayU module setup.
- This plugin has been developed and tested on Odoo 18, so it is recommended using version 18 or above for optimal compatibility and performance.
Install on Linux OS
To install the PayU custom add-on on Linux-based servers:
- Create the directory structure for custom add-ons:
mkdir /opt/odoo/custom_addons- Clone the GitHub repository into the newly created folder:
cd /opt/odoo/custom_addons
git clone https://github.com/boxpay-tech/payu-connectors.git
After cloning, verify that the Payment_payu folder exists in the directory.
- Modify the
odoo.conffile to include the path to the custom addons folder:
sudo nano /etc/odoo/odoo.conf- Add the custom add-ons path to the
addons_pathconfiguration:
addons_path = /usr/lib/python3/dist-packages/odoo/addons,/opt/odoo/custom_addons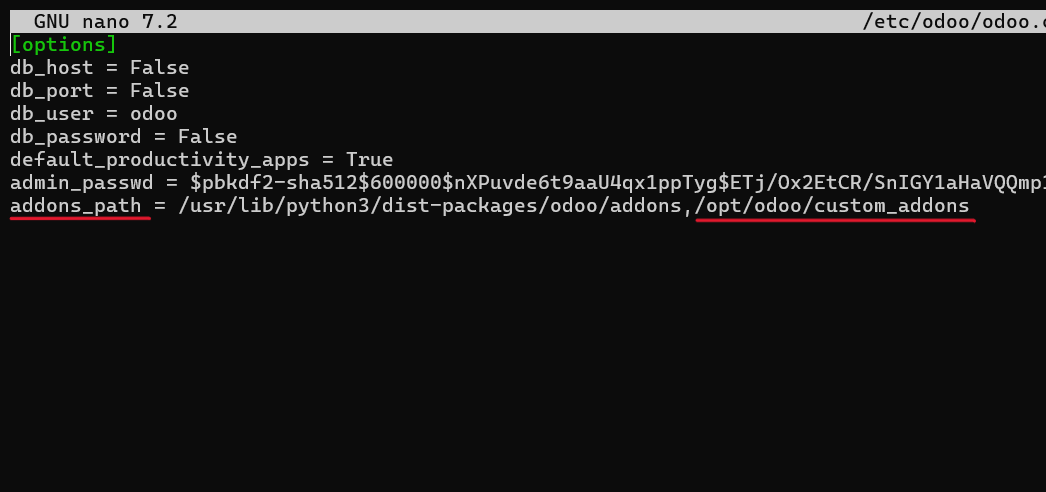
- Restart the Odoo service to apply the changes:
sudo systemctl restart odooInstall on Windows OS
Follow these steps to install the PayU Custom Addon on Windows systems:
- Create a folder in the same drive where Odoo is installed (preferably in the
C:/drive):
C:/custom_addons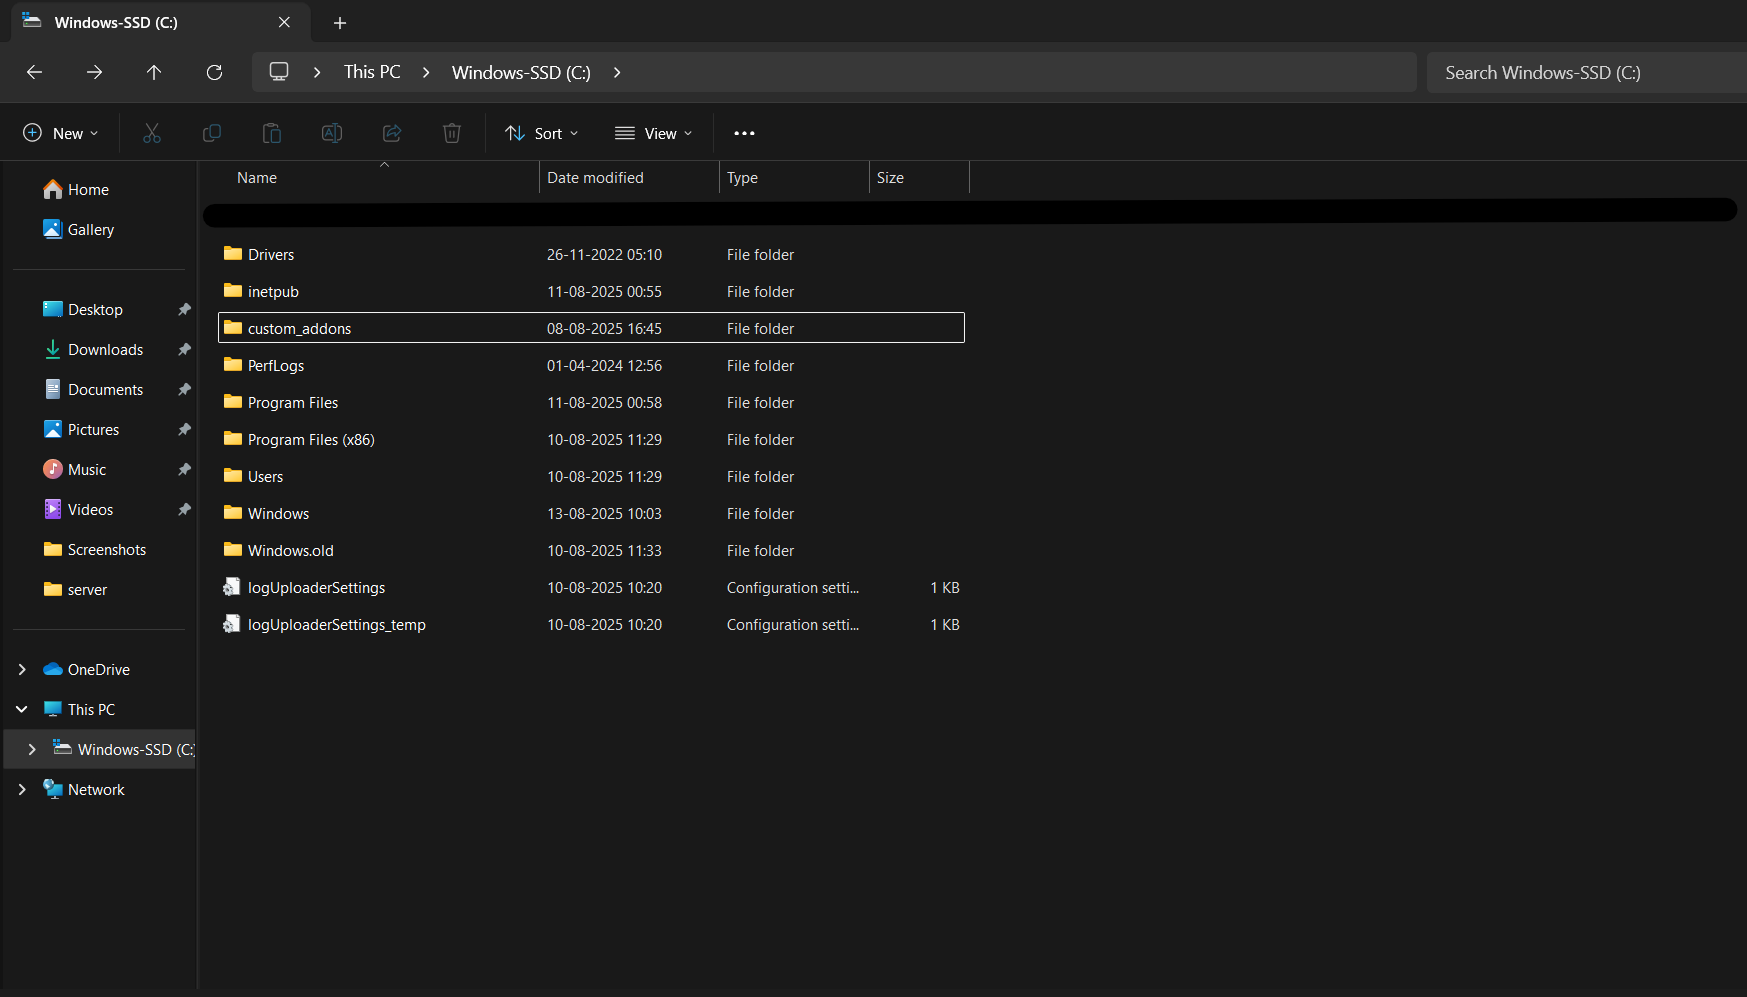
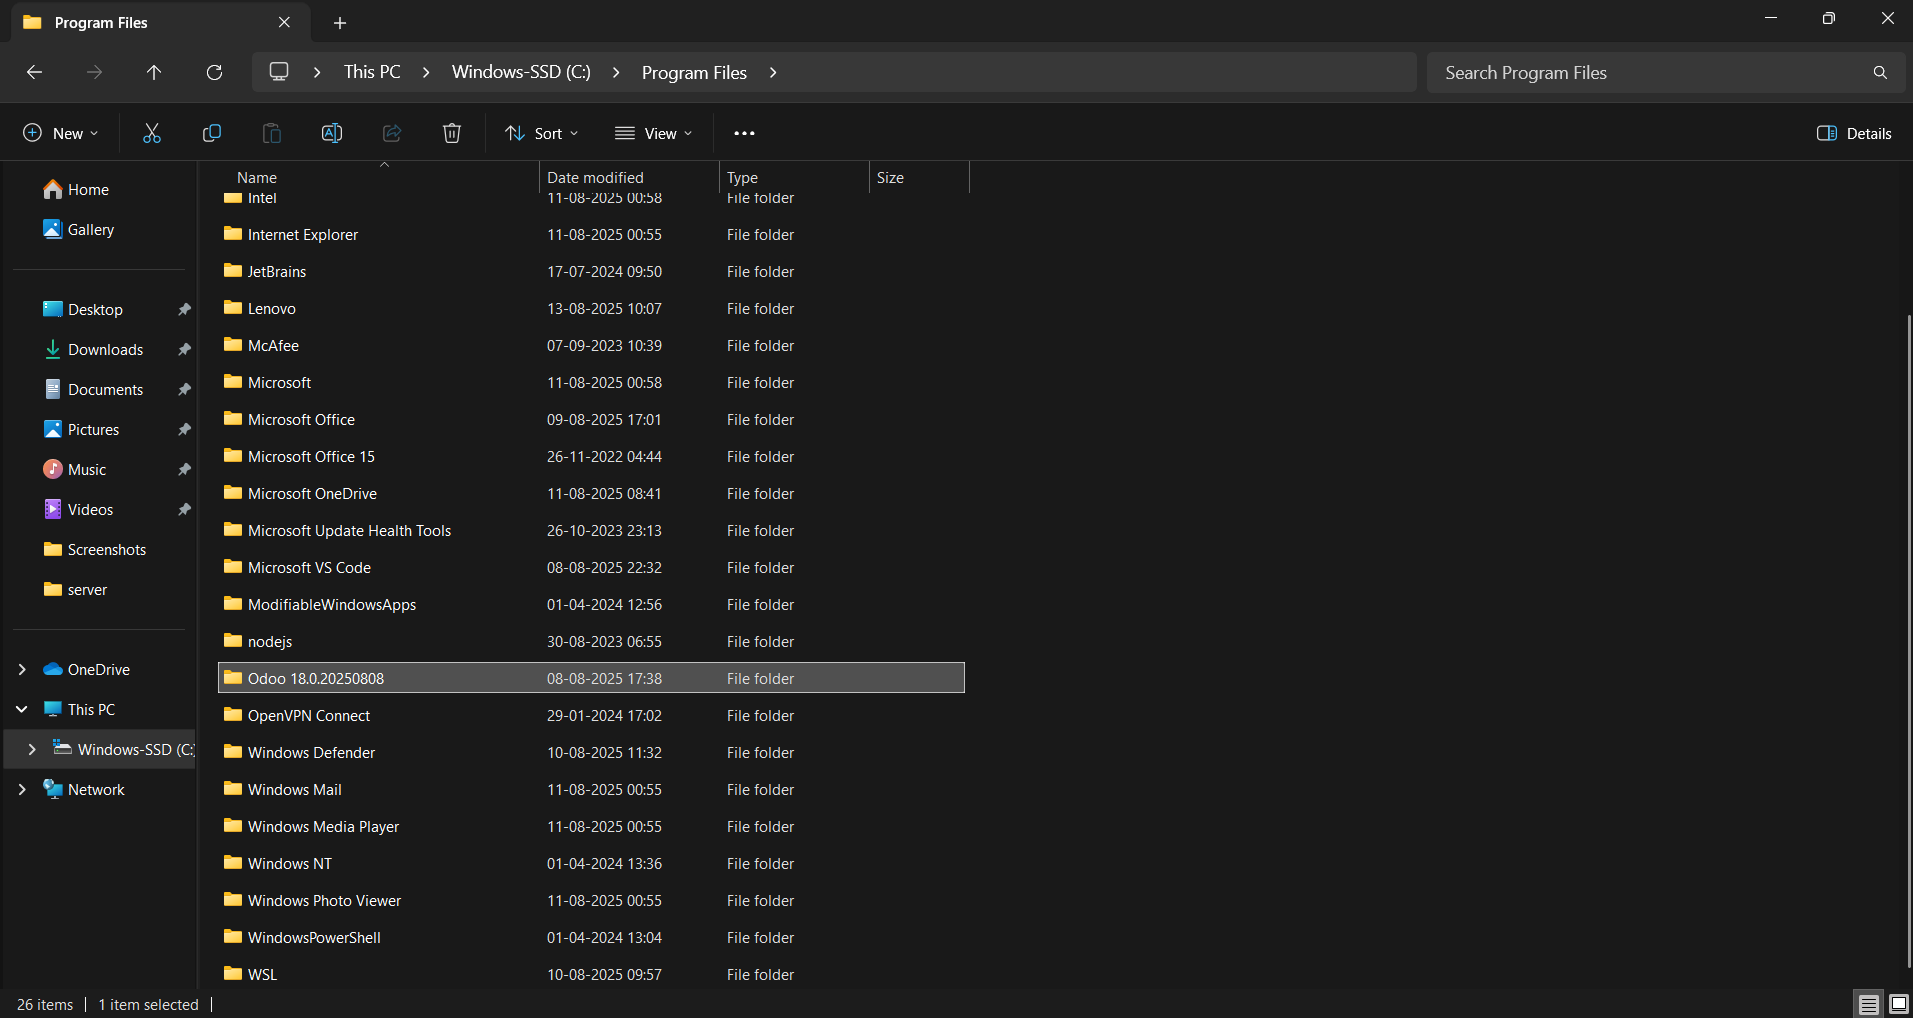
- Open Odoo's installed folder and navigate to the
serverfolder inside the installation directory.
- Clone the PayU repository in your custom add-ons folder:
cd C:/custom_addons
git clone https://github.com/boxpay-tech/payu-connectors.git- Modify the
odoo.conffile located in theserverfolder to include the path of the custom_addons folder under theaddons_path:
addons_path = C:/Program Files/Odoo/server/addons,C:/custom_addons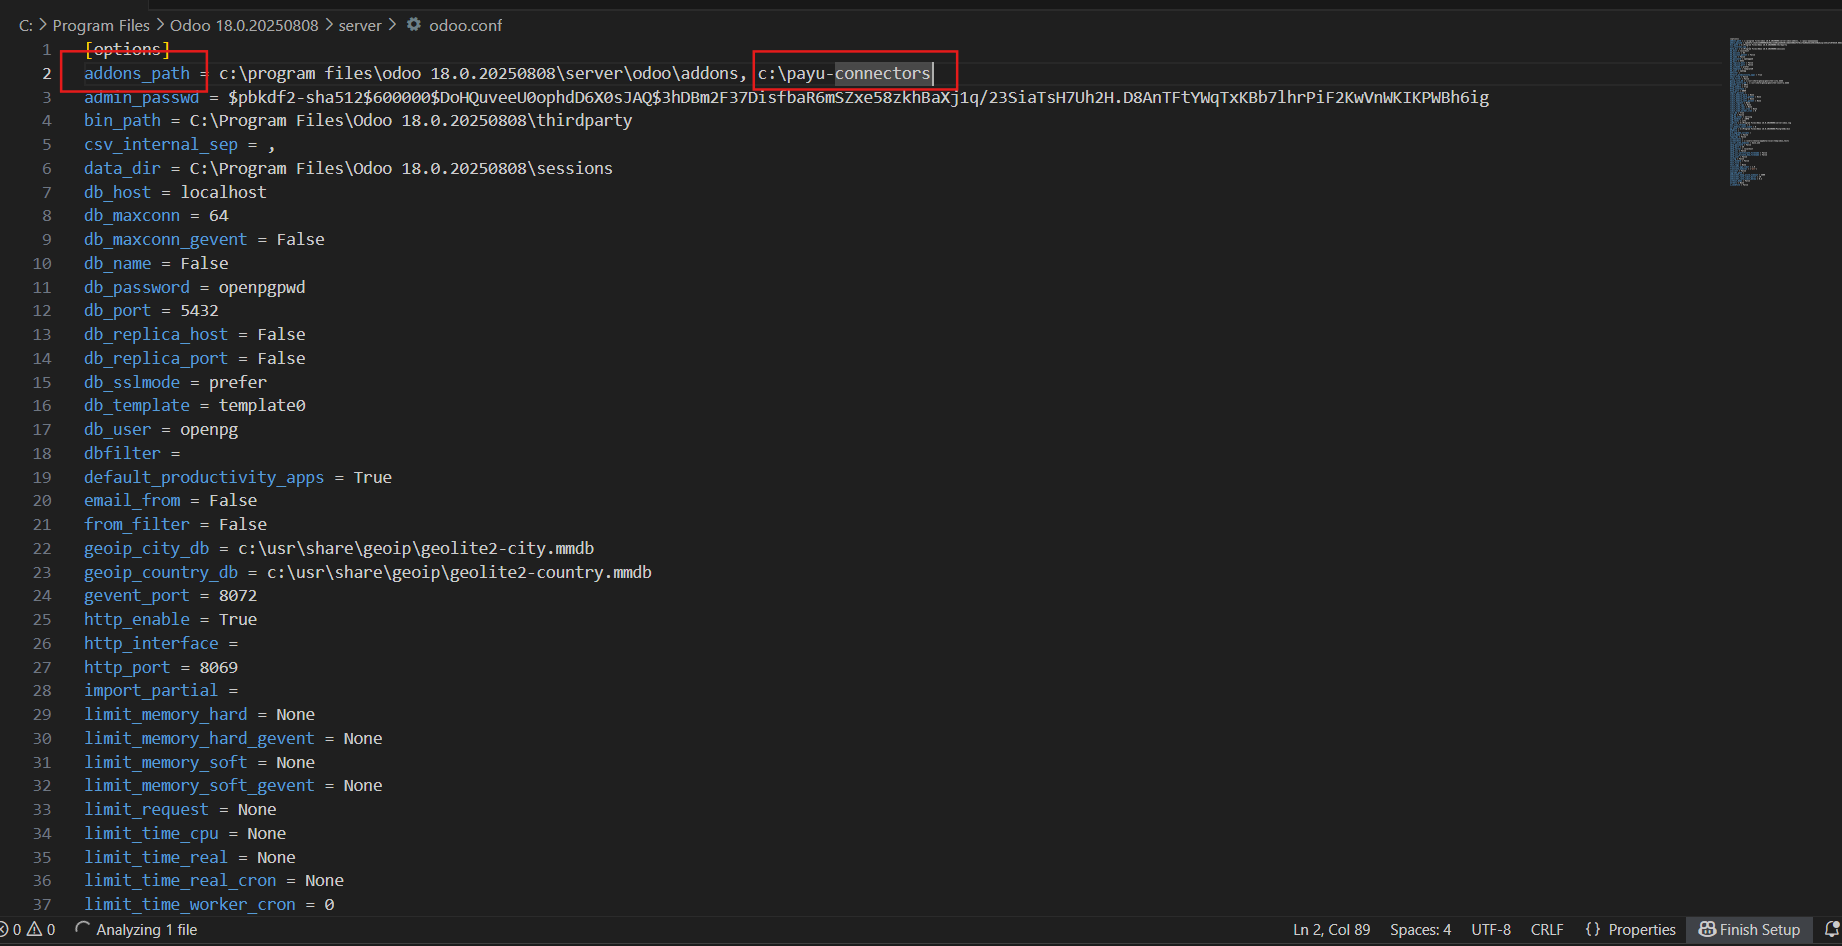
- Save the changes to the
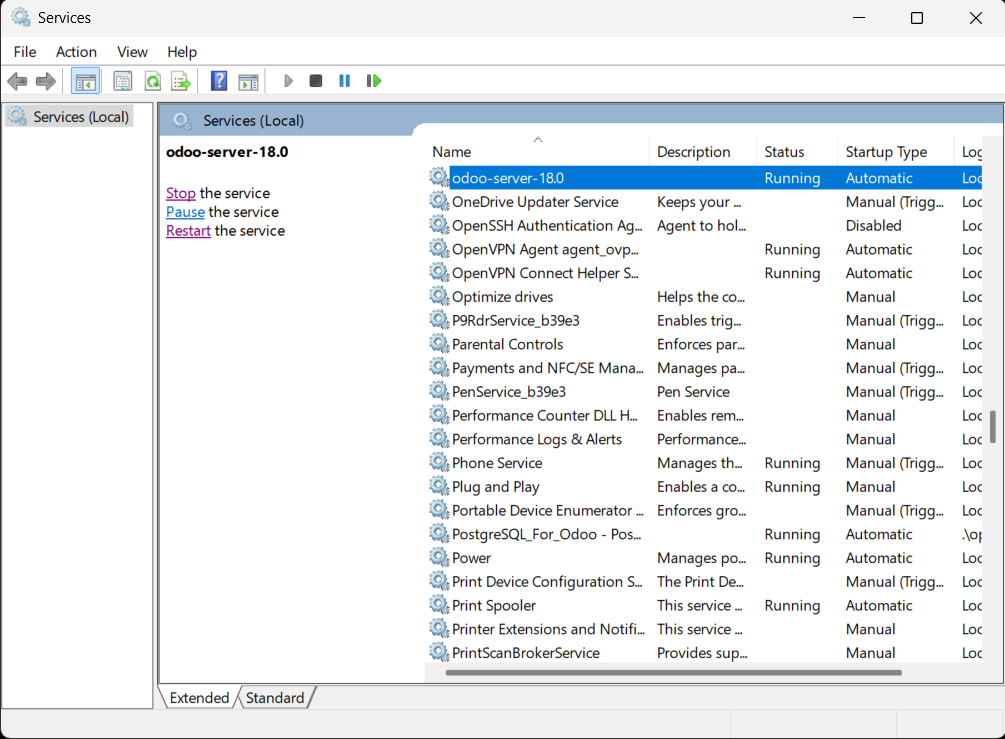
odoo.conffile. - Restart the Odoo service using Microsoft Windows Services:
- Open Services from the Start menu.
- Search and select the Odoo service.
- Right-click and select Restart
Setup Odoo for eCommerce
After installing the PayU custom add-on, configure Odoo for eCommerce function:
Step 1: Enable Developer Mode
- Open Odoo service hosted locally or on a remote server.
The Apps section is displayed on the Dashboard.
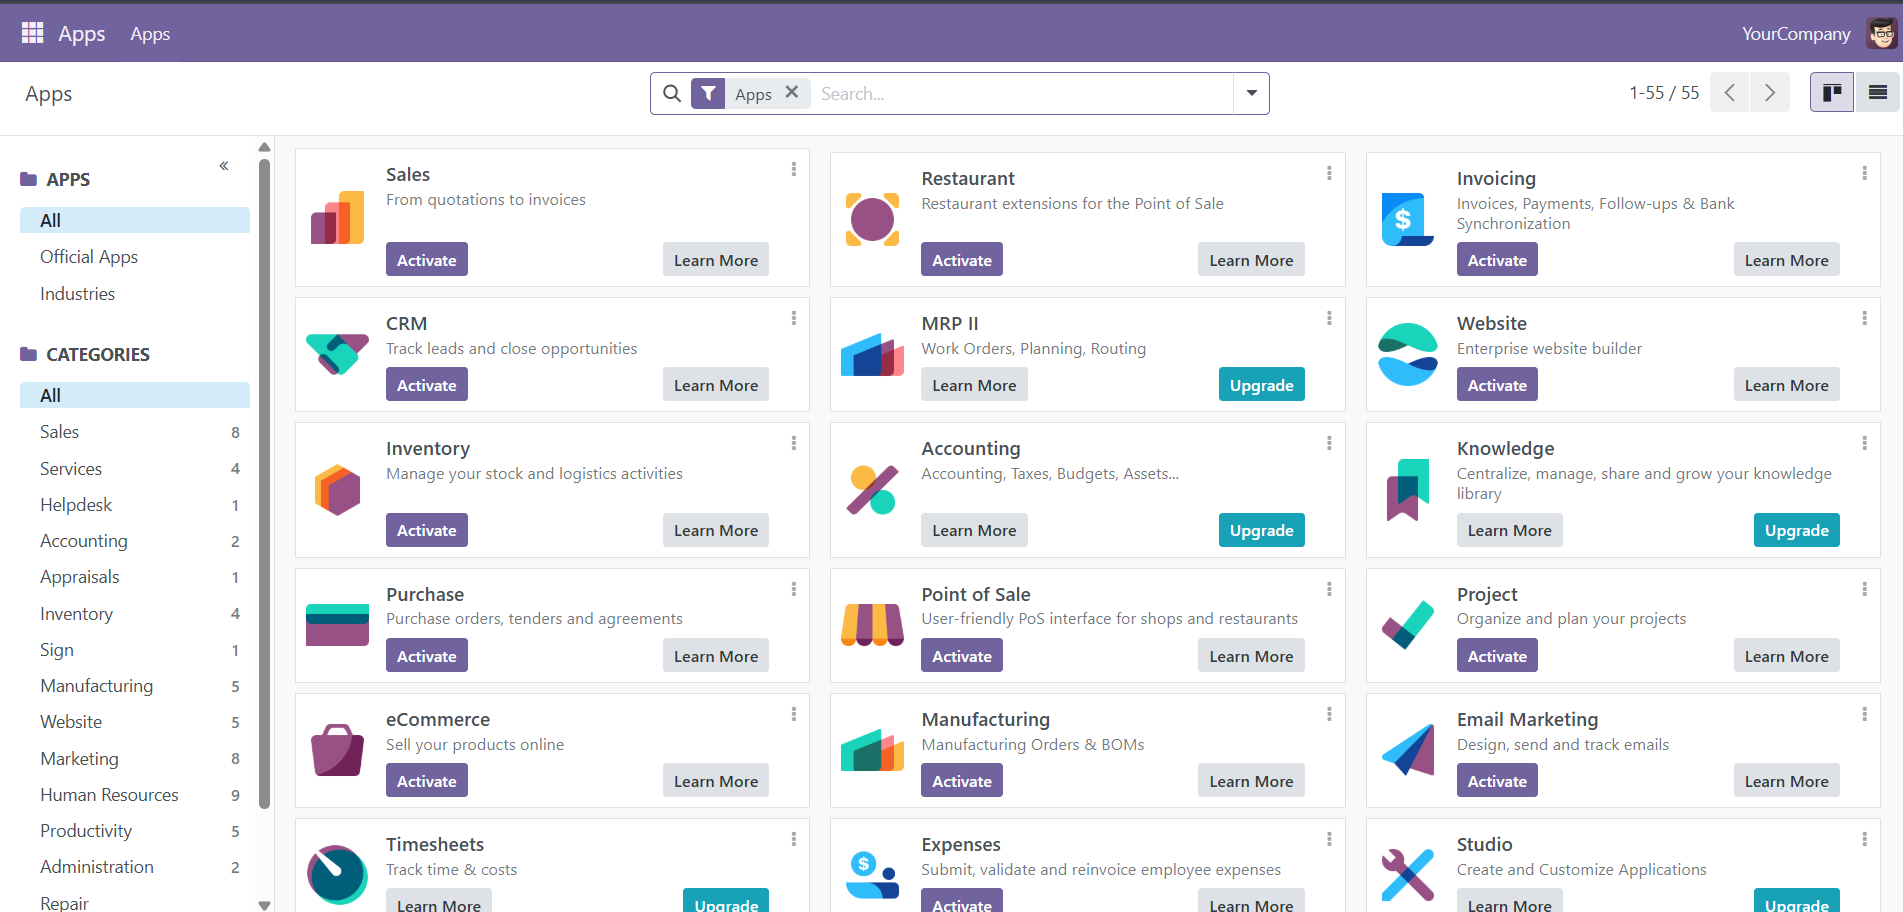
- Select the Home menu and choose Settings in the upper left-corner.

The Settings page is displayed.
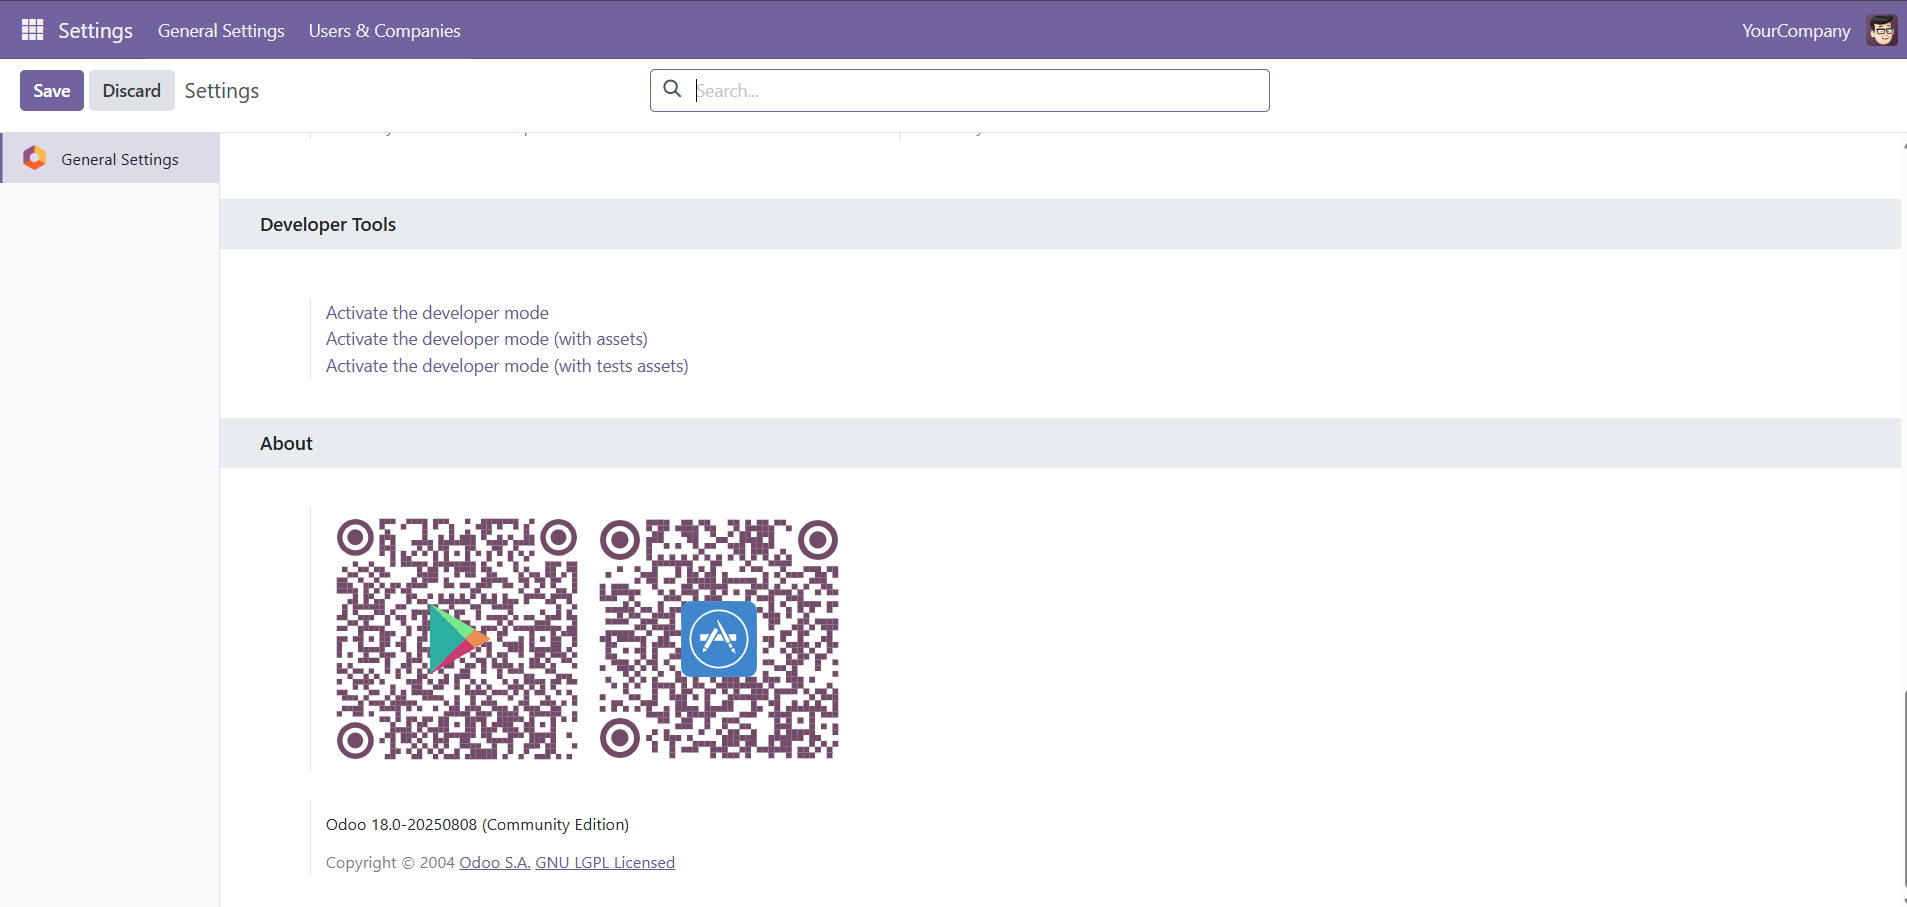
- Clicl Activate the Developer Mode.
Note: Developer Mode is required to access advanced configuration options.
Step 2: Install required modules
Return to the Apps section and activate the following modules:
- Website module
- eCommerce module
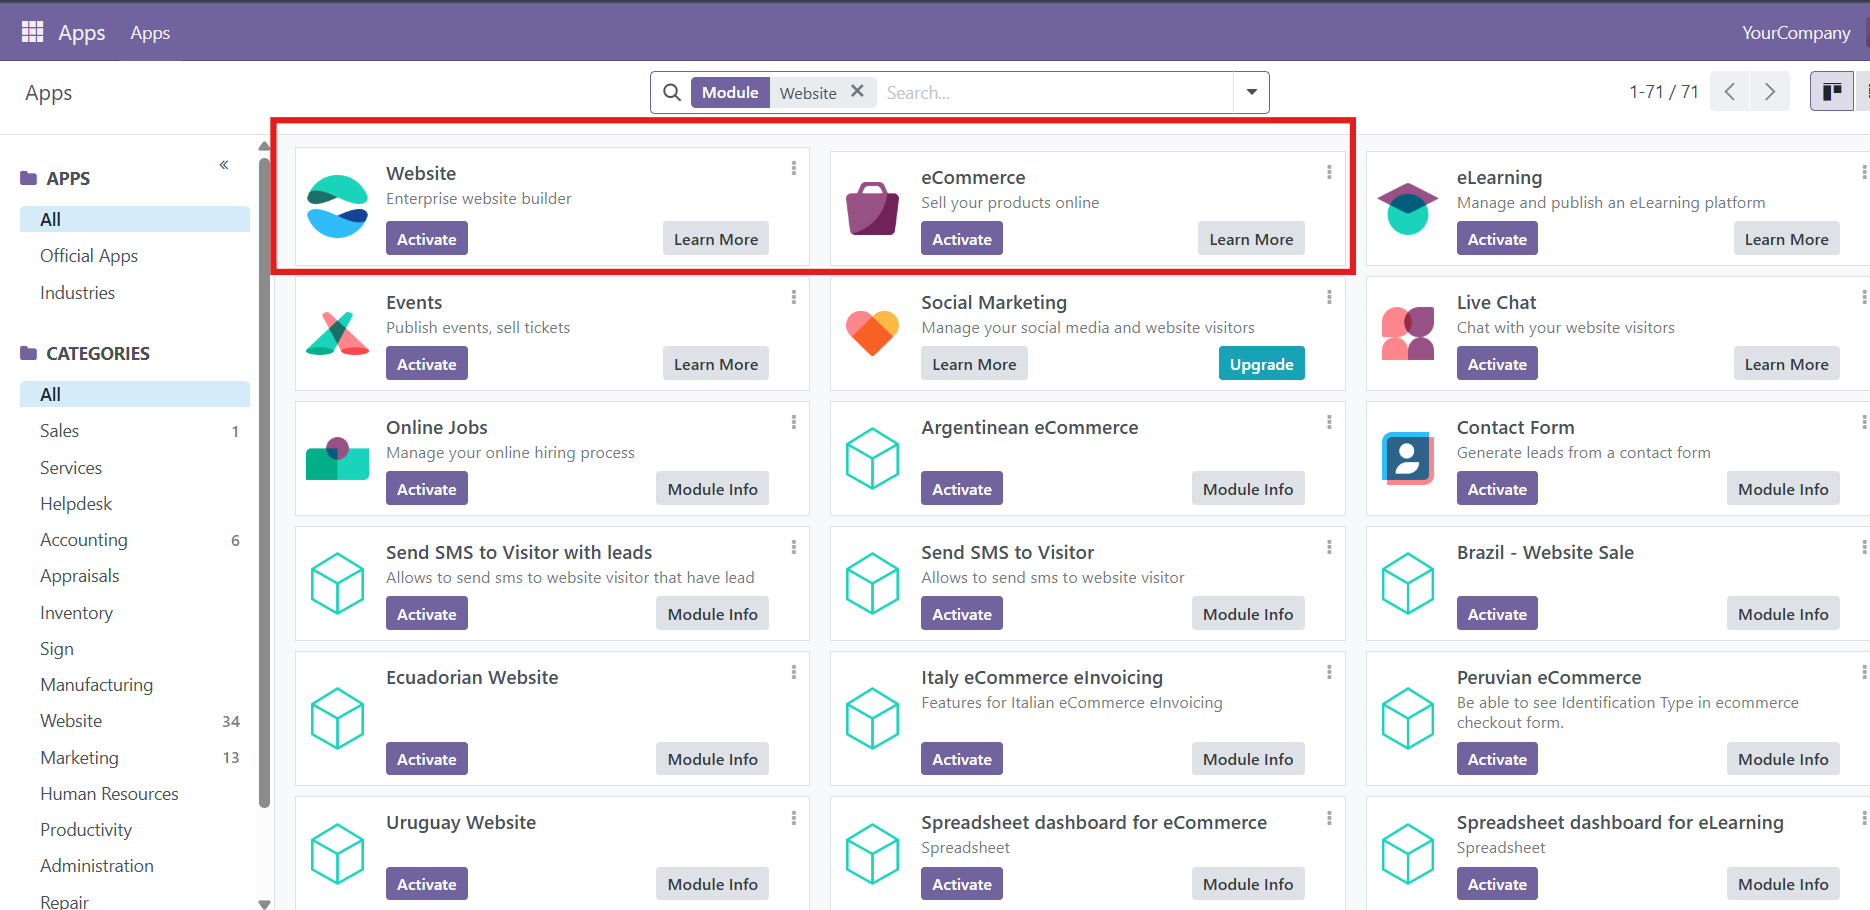
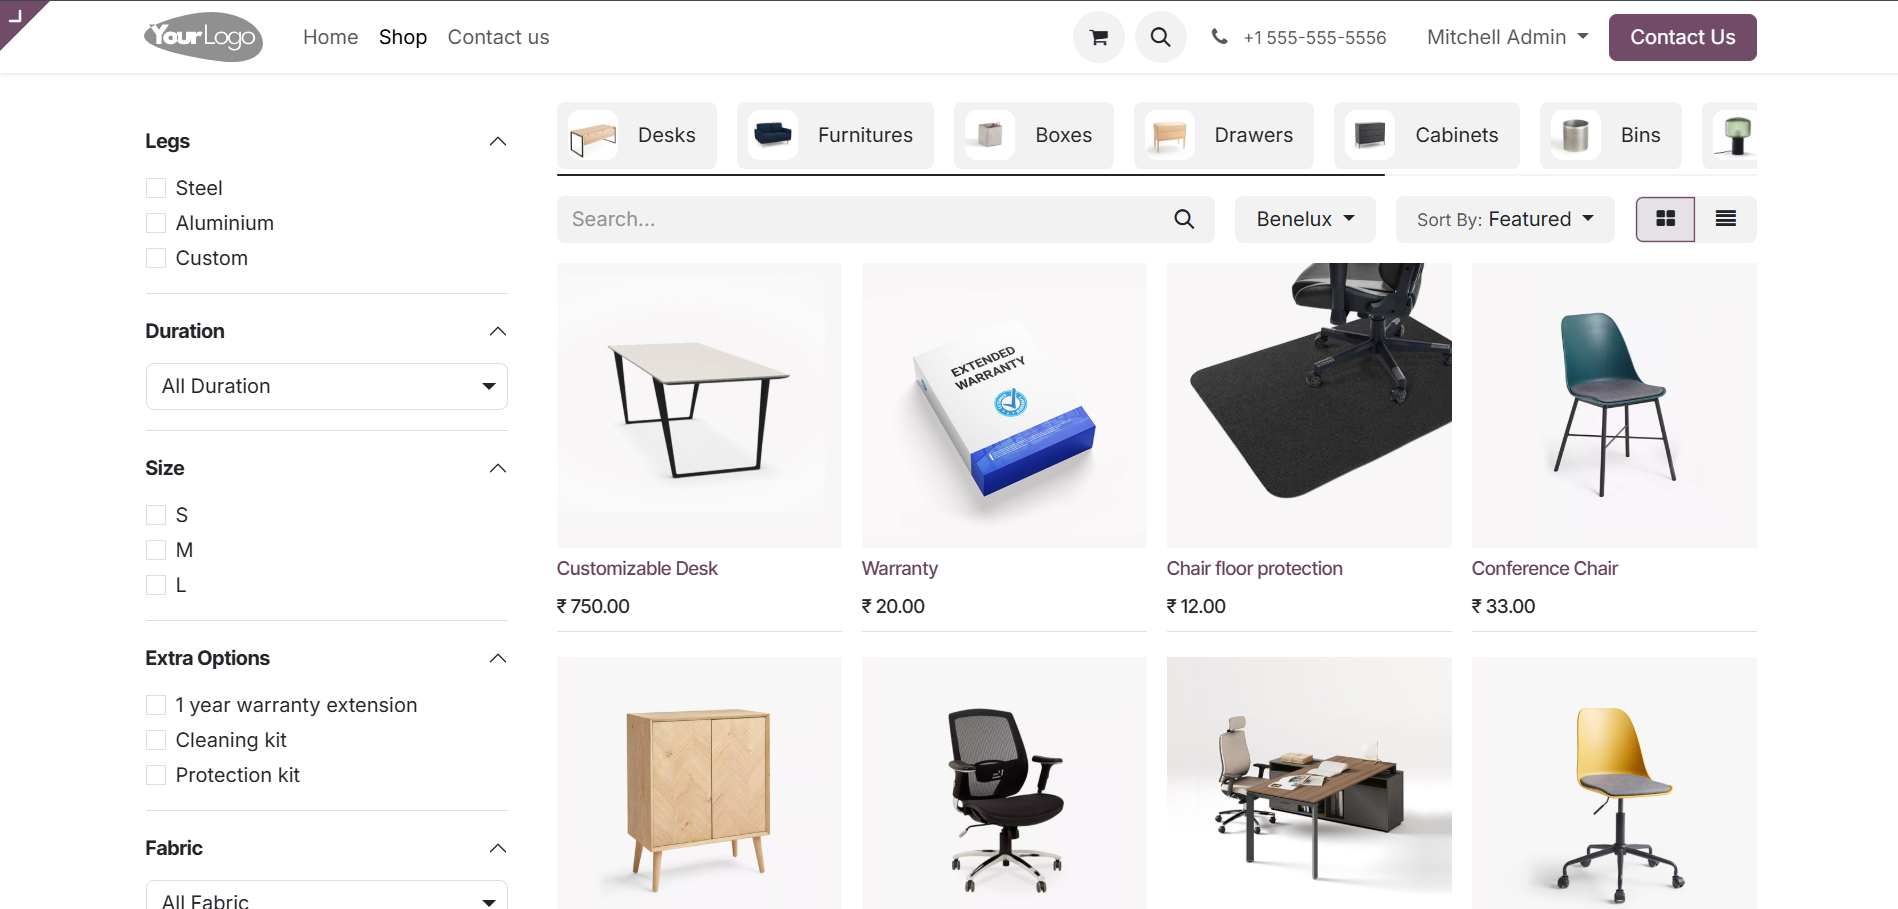
After activating these apps, your customers will be able access the Shop section similar to the following screenshot.
Step 3: Install PayU plugin
- In the Apps section, search for "payu" and select it.
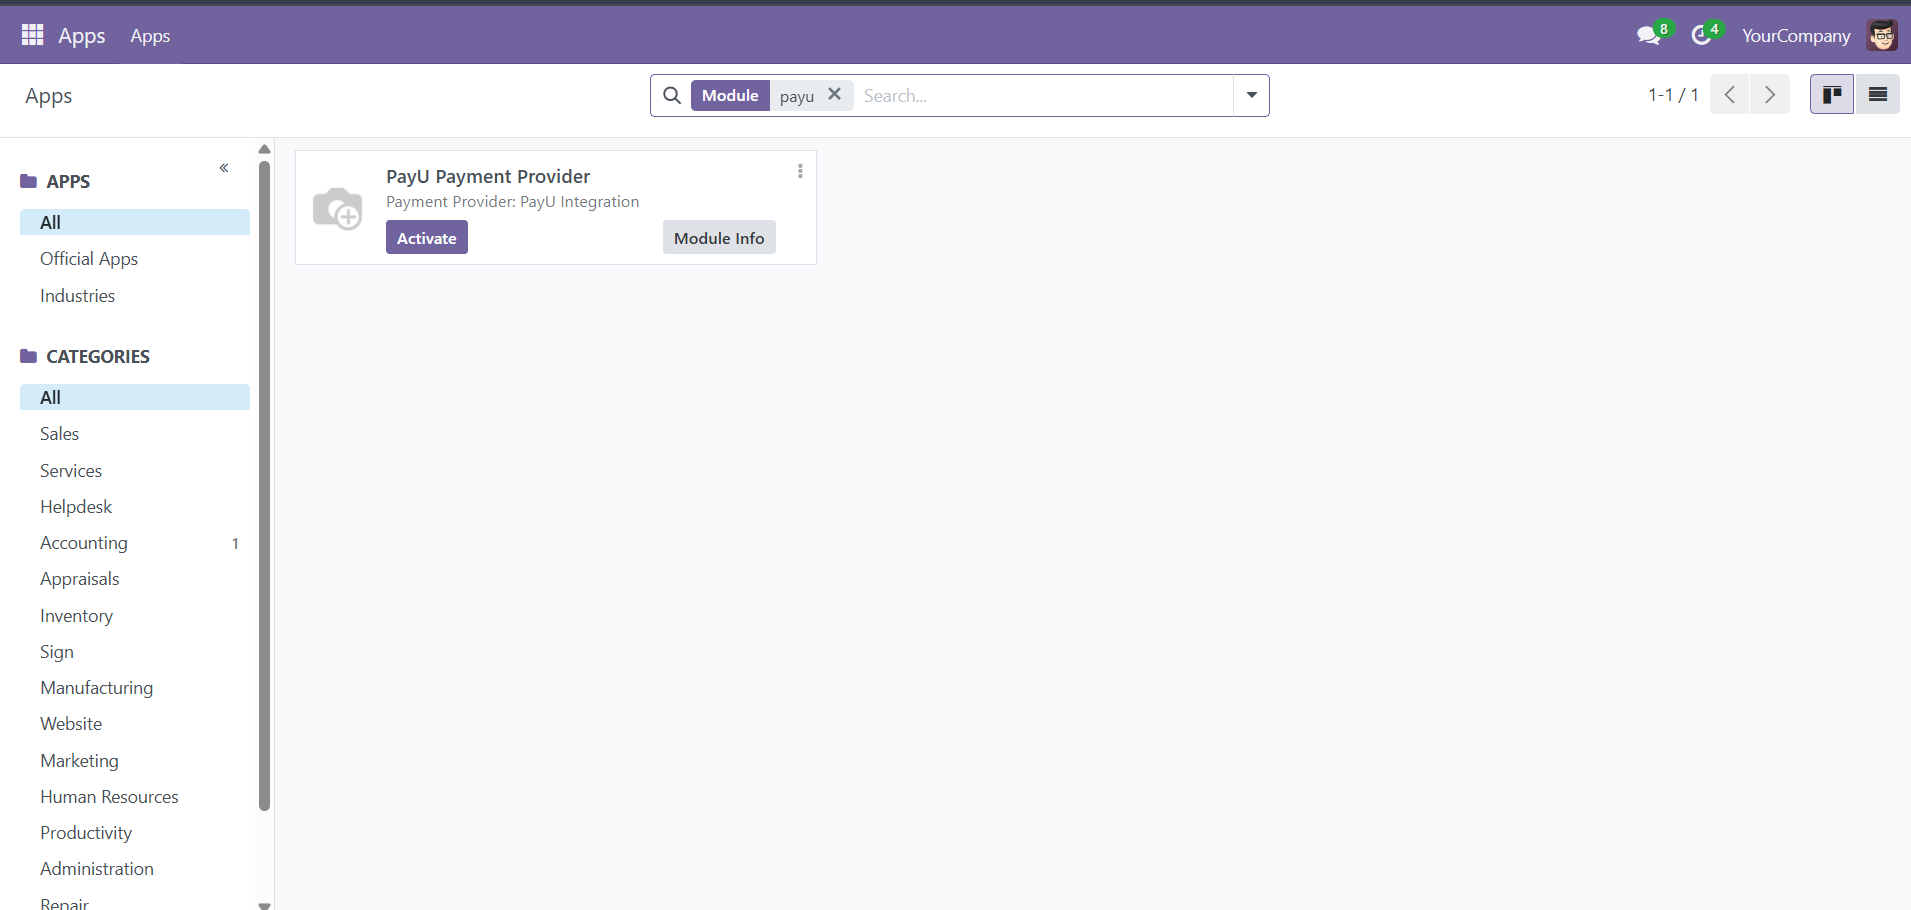
- Click Activate on the PayU Payment Provider tile.
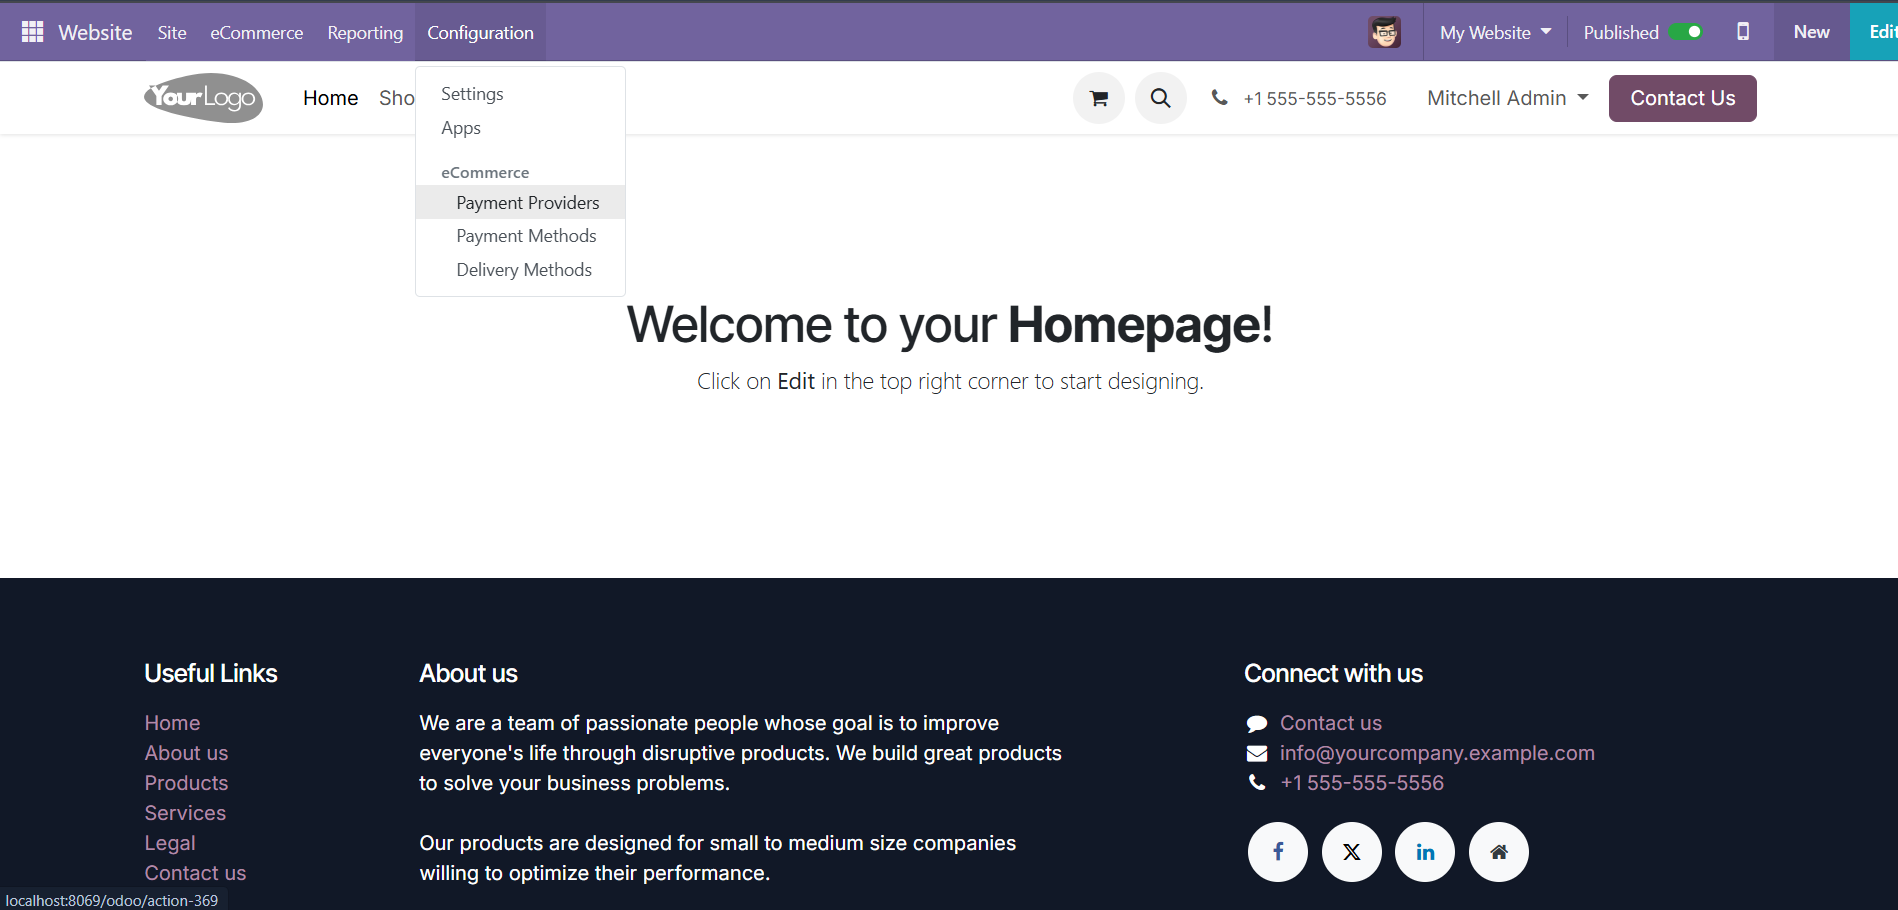
Step 4: Configure PayU as payment provider
To configure PayU as the payment provider:
- From the Home page, navigate to Configuration > Payment Providers.
- Find PayU and click Activate on the PayU tile to activate as the payment provider.
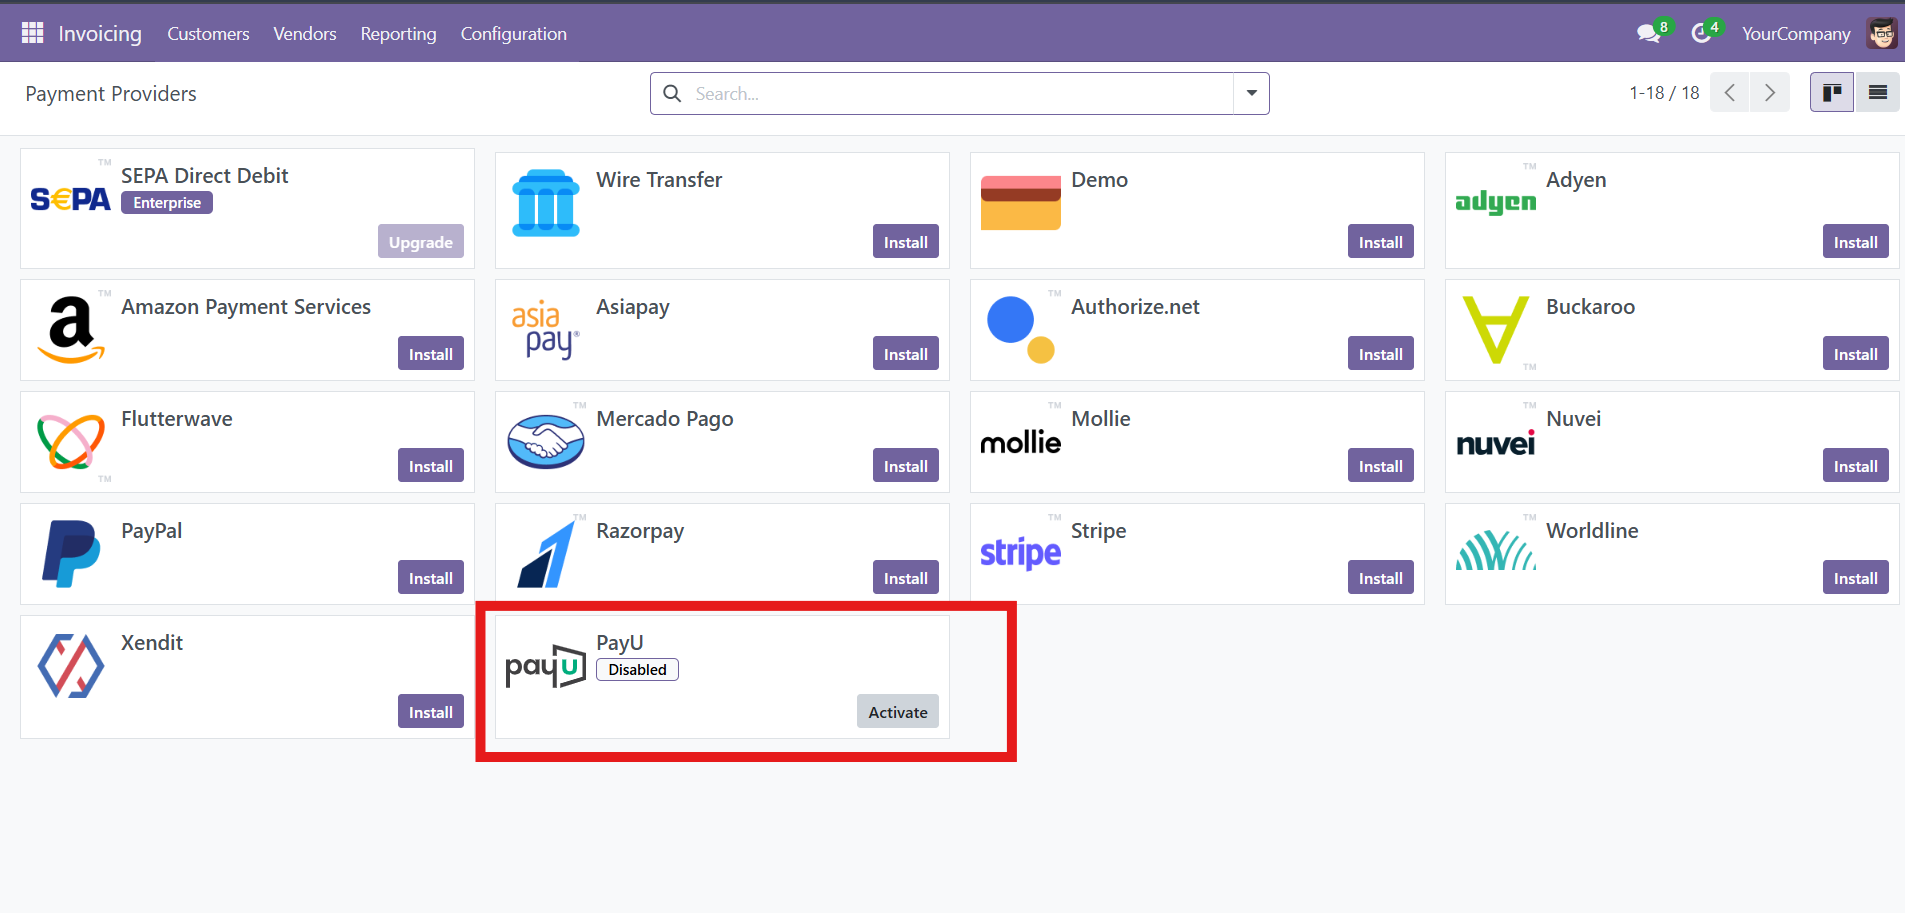
You will be redirected to PayU Configuration page on Odoo.
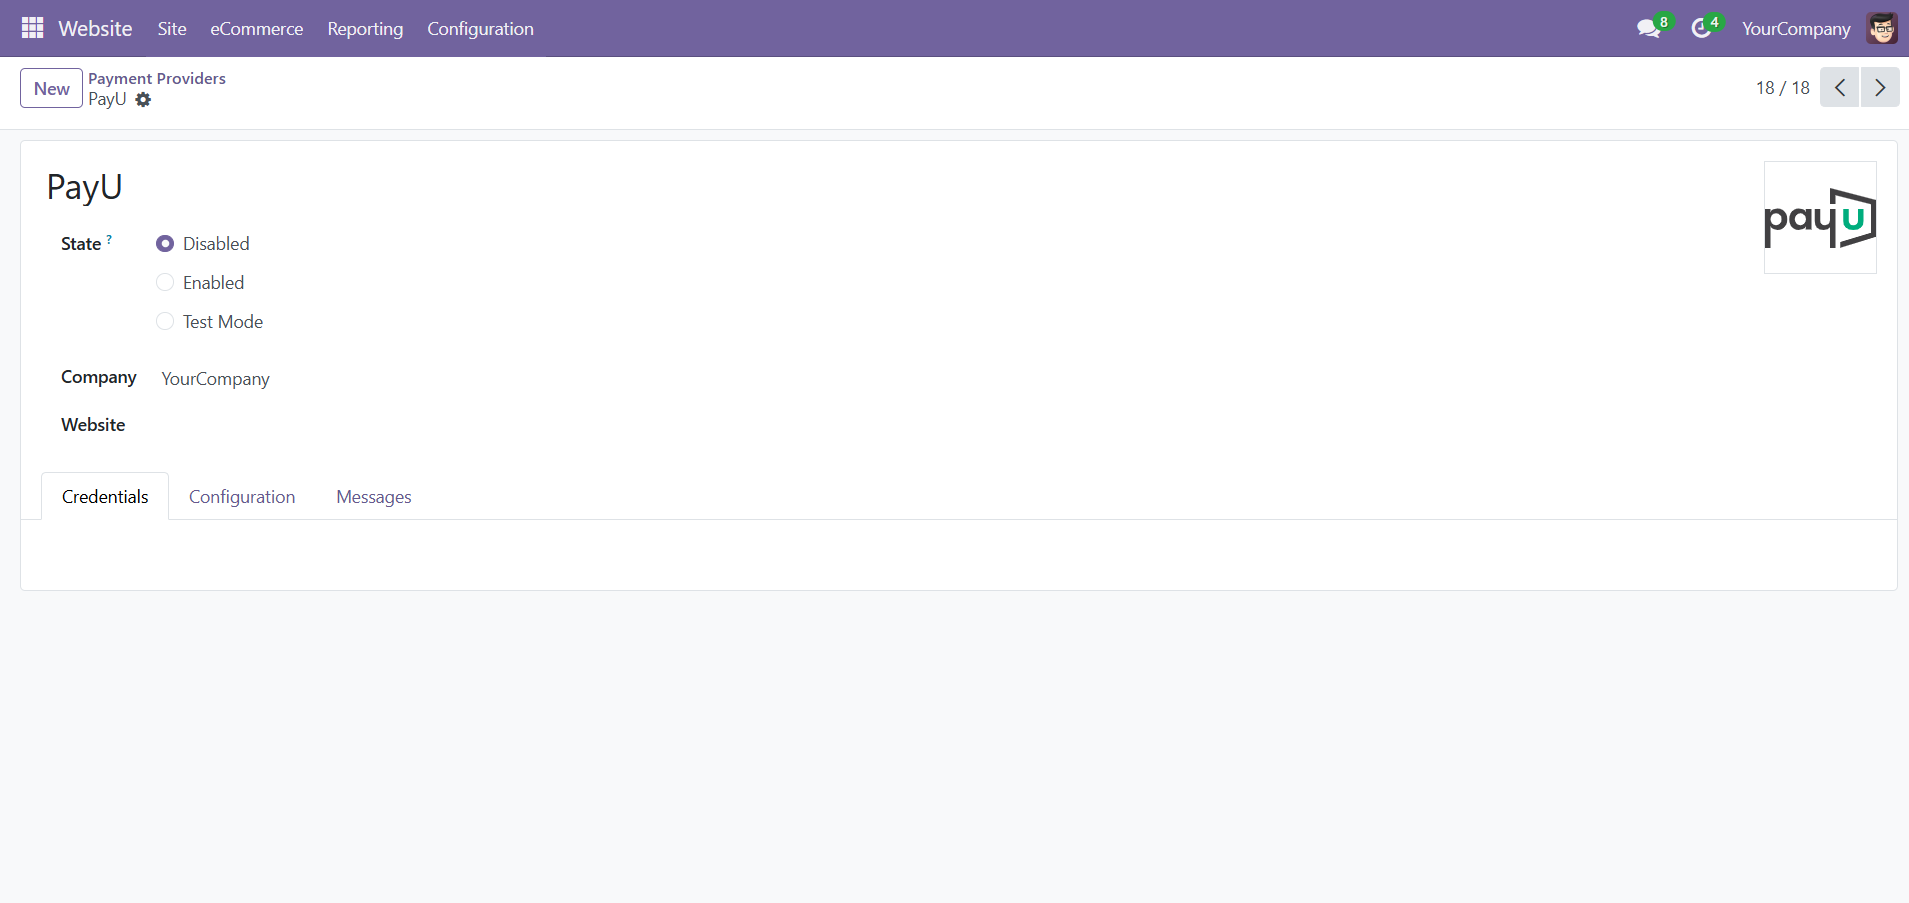
Step 5: Configure Key and Salt credentials
To configure credentials for payment transactions:
- Select Enabled from the State field.
- Perform any of the following procedures as per the environment you wish to configure and then click Save Credentials.
Reference: You can obtain your merchant keys and Salt from your PayU Merchant Dashboard. For more information, refer to any of the following based on the Test or Production environment:
If you do not have a PayU account, sign up for a merchant account. For more information, refer to Register for a Merchant Account.
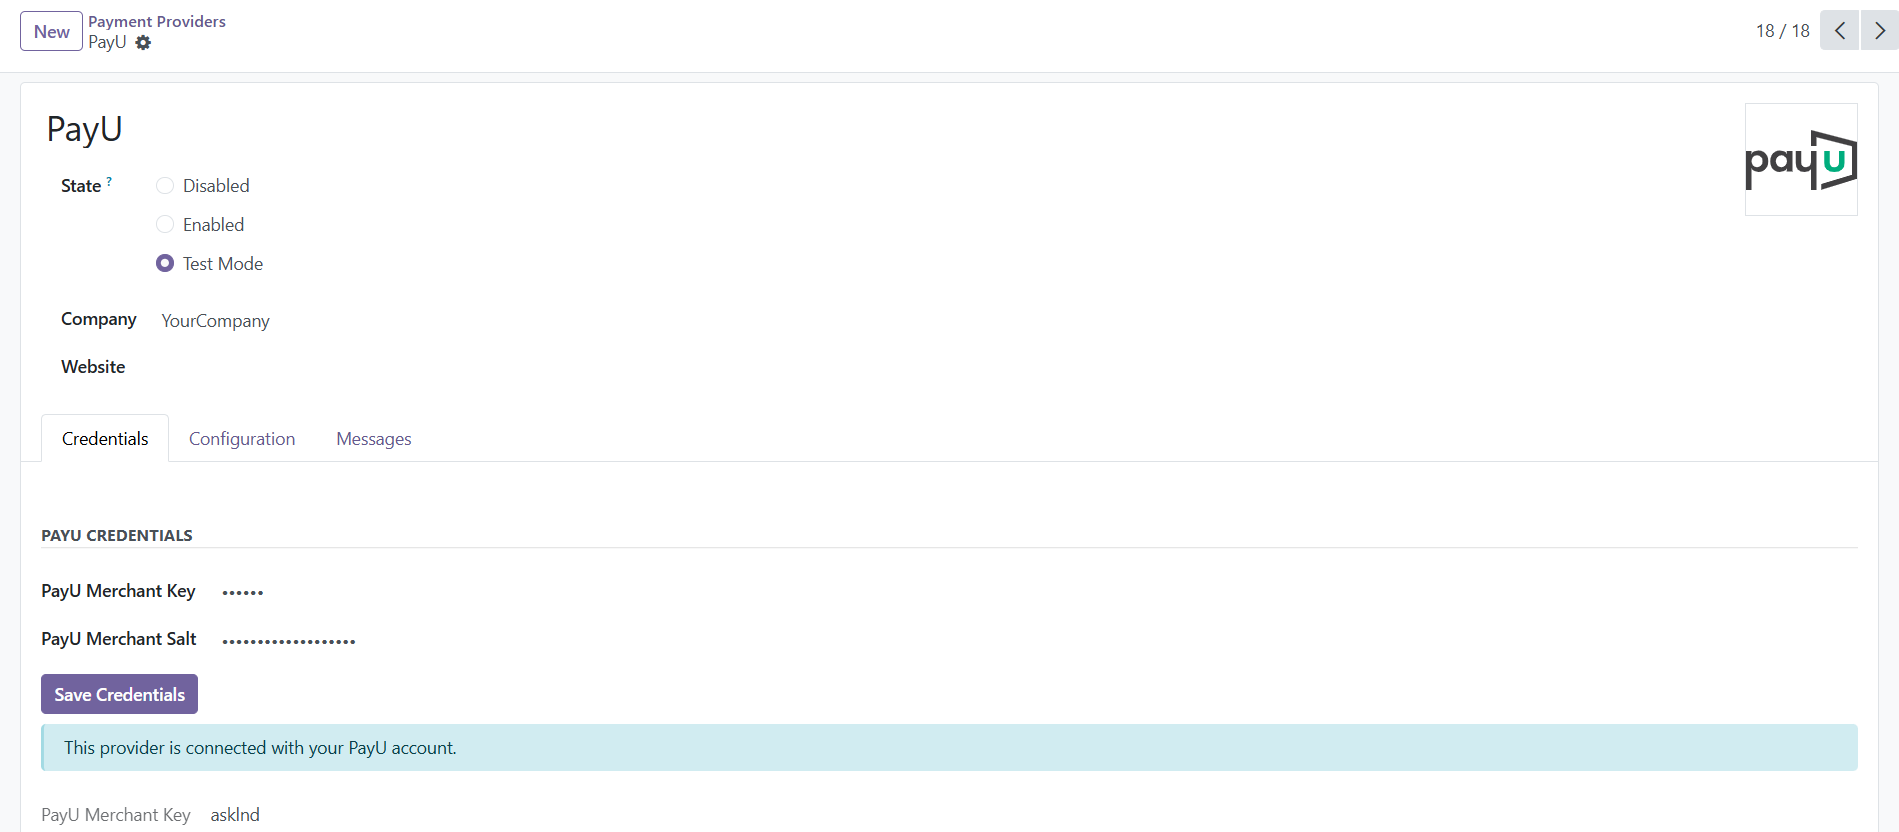
For Test Transactions
To configure the key/Salt for testing the transactions in Test or Sandbox environment:
- Select state: "Test Mode"
- Enter your Test merchant key.
- Enter your Test merchant Salt.
- Click Save to enable test payment transactions
For Live Transactions
To configure the key/Salt for collecting payments or live transactions or production environment:
- Select state: "Enabled"
- Enter your Production merchant key.
- Enter your Production merchant Salt.
- Click Save to enable live payment transactions.
Verification
To verify the installation:
- Ensure the PayU module is displayed in your installed apps.
- Check that PayU is available as a payment option in your eCommerce checkout.
- Perform a test transaction to confirm functionality.
Updated 9 months ago